Idis Direct IP DC-Y8C13WRX Quick Manual
Hide thumbs
Also See for Direct IP DC-Y8C13WRX:
- Installation manual (20 pages) ,
- Operation manual (49 pages) ,
- Operation manual (49 pages)
Table of Contents
Advertisement
Available languages
Available languages
Quick Links
Advertisement
Table of Contents

Related Manuals for Idis Direct IP DC-Y8C13WRX


Summary of Contents for Idis Direct IP DC-Y8C13WRX
- Page 1 Network Camera Quick Guide DC-Y3C14WRX DC-Y8C13WRX Powered by...
-
Page 2: Safety Precautions
Safety Precautions WARNING RISK OF ELECTRIC SHOCK DO NOT OPEN WARNING: TO REDUCE THE RISK OF ELECTRIC SHOCK, DO NOT REMOVE COVER (OR BACK). NO USER-SERVICEABLE PARTS INSIDE. REFER SERVICING TO QUALIFIED SERVICE PERSONNEL. Important Safeguards 1. Read Instructions 10. Overloading All the safety and operating instructions should be read before the Do not overload wall outlets and extension cords as this can result appliance is operated. -
Page 3: Safety Symbols
IDIS Co., Ltd. reserves all rights concerning this document. Use or duplication of this document in part or whole without the prior consent of IDIS Co., Ltd. is strictly prohibited. Contents of this document are subject to change without prior notice for reasons such as functionality enhancements. -
Page 4: Top Cover
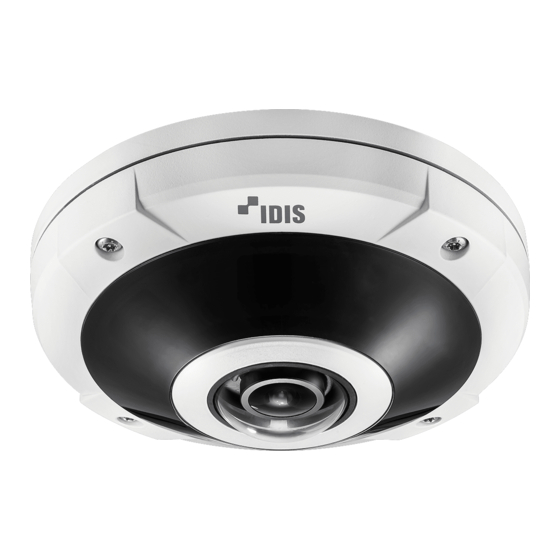
Overview DC-Y8C13WRX • Product color and design may vary depending on the model. • For more details on each part name, refer to the manual. Top Cover Wall/Ceiling Installation Hole Factory Reset Button Built-in Microphone Top Cover Screw Hole SD Memory Card Slot Safety wire IR LED Lens... -
Page 5: Camera Installation
• Push the SD memory card until it Audio In disengages from the slot, and then pull Alarm In it out. Alarm out • microSD Logo is a trademark of SD-3C, LLC. Camera Installation Installation • Check the wall or ceiling to see if it needs to be reinforced. - Page 6 the power adapter. Secure the top cover to the body by turning the screws clockwise with the Allen wrench. After securing the top cover, remove the peel off film from the dome port. Bushing (Only when the insulator is attached) Check the desiccant location under the top cover.
-
Page 7: Specifications
Specifications Vandal Resistance Out-door Ready IP67 Operating Temperature -10°C ~ +60°C (+14°F ~ +140°F) Boot Up Temperature 0°C ~ +50°C (+32°F ~ +122°F) Operating Humidity 0% ~ 90% Power Source , PoE Power DC-Y3C14WRX , 1.1A, 12.6W Consumption PoE, IEEE 802.3af(Class 3) DC-Y8C13WRX , 1A, 12W PoE, IEEE 802.3af(Class 3), 12W... - Page 9 Сетевая камера Краткое руководство пользователя DC-Y3C14WRX На основе технологии...
-
Page 10: Правила Техники Безопасности
Правила техники безопасности ПРЕДУПРЕЖДЕНИЕ ОПАСНОСТЬ ПОРАЖЕНИЯ ЭЛЕКТРИЧЕСКИМ ТОКОМ НЕ ОТКРЫВАТЬ ПРЕДУПРЕЖДЕНИЕ. ДЛЯ СНИЖЕНИЯ ОПАСНОСТИ ПОРАЖЕНИЯ ЭЛЕКТРИЧЕСКИМ ТОКОМ, НЕ СНИМАЙТЕ КРЫШКУ (ИЛИ ЗАДНЮЮ ПАНЕЛЬ). ВНУТРИ НАХОДЯТСЯ ДЕТАЛИ, ТЕХНИЧЕСКОЕ ОБСЛУЖИВАНИЕ КОТОРЫХ МОГУТ ПРОИЗВОДИТЬ ТОЛЬКО КВАЛИФИЦИРОВАННЫЕ СПЕЦИАЛИСТЫ. ДЛЯ ПРОВЕДЕНИЯ ТЕХНИЧЕСКОГО ОБСЛУЖИВАНИЯ ОБРАТИТЕСЬ К КВАЛИФИЦИРОВАННОМУ СПЕЦИАЛИСТУ. Важные... -
Page 11: Авторские Права
© 2020 IDIS Co., Ltd. Корпорация IDIS, Ltd. сохраняет за собой все права на данный документ. Частичное или полное использование или копирование этого документа без предварительного получения согласия корпорации IDIS, Ltd. строго запрещено.Содержимое данного документа может быть изменено без предварительного уведомления по причинам, связанным... -
Page 12: Установка Камеры
Обзор Порт входного (выходного) устройства • Цвет и конструкция устройства зависят от модели. • Подробные сведения о каждом шифре детали см. в руководстве. Верхняя крышка Сетевой порт FGND (защитное заземление) Разъем питания Аудиовыход Аудиовход Тревожный вход Корпус Тревожный выход Установка камеры Установка... - Page 13 Снимите белую бумаю с изоляционного материала и прикрепите его к стене или потолку. Это может сократить шум от камеры по сравнению с установкой на металлической поверхности. После установки SD-карты памяти в камеру закрепите корпус на стене или потолке с помощью винтов, вкладышей и дюбелей, Снимите...
- Page 14 Подсоедините внешние устройства, сетевой кабель и блок питания. Зафиксируйте верхнюю крышку на корпусе поворотом винтов по часовой стрелке с помощью торцового ключа. После закрепления корпуса снимите с порта оболочки пленку. Вкладыши Габаритные размеры (только при креплении изоляционного материала) Проверьте место для осушителя под верхней...
-
Page 15: Технические Характеристики
155 мм x 58,3 мм (6,10 дюймов x 2,29 дюймов ) Масса (основного блока) 0,91 кг (2 фунта) Пожалуйста, скачайте программное обеспечение (IDIS Discovery, IDIS Center, IDIS Solution Suite Compact) и руководство пользователя по следующей ссылке: - Веб-сайт IDIS (www.idisglobal.com) - Поиск... - Page 16 IDIS Co., Ltd. For more information, please visit www.idisglobal.com...
Need help?
Do you have a question about the Direct IP DC-Y8C13WRX and is the answer not in the manual?
Questions and answers