Advertisement
Quick Links
Advertisement

Subscribe to Our Youtube Channel
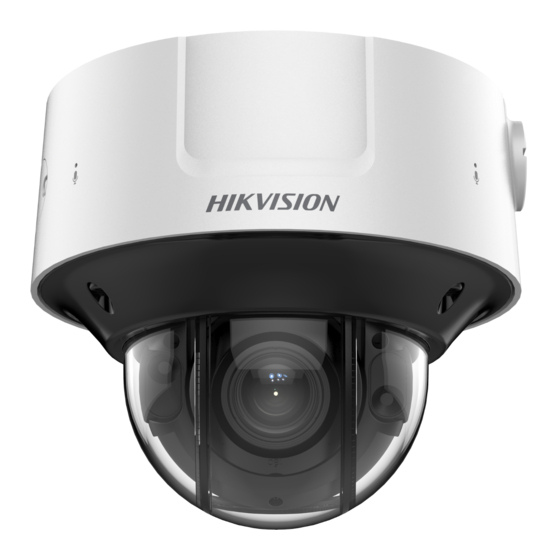
Summary of Contents for HIKVISION iDS-2CD75C5G0-IZHSY
- Page 1 Dome Network Camera Quick Start Guide...
-
Page 2: Legal Disclaimer
QUALITY, OR FITNESS FOR A PARTICULAR PURPOSE. THE USE OF THE PRODUCT BY YOU IS AT YOUR OWN RISK. IN NO EVENT WILL HIKVISION BE LIABLE TO YOU FOR ANY SPECIAL, CONSEQUENTIAL, INCIDENTAL, OR INDIRECT DAMAGES, INCLUDING, AMONG OTHERS, DAMAGES FOR... - Page 3 OPERATION, PRIVACY LEAKAGE OR OTHER DAMAGES RESULTING FROM CYBER-ATTACK, HACKER ATTACK, VIRUS INSPECTION, OR OTHER INTERNET SECURITY RISKS; HOWEVER, HIKVISION WILL PROVIDE TIMELY TECHNICAL SUPPORT IF REQUIRED. YOU AGREE TO USE THIS PRODUCT IN COMPLIANCE WITH ALL APPLICABLE LAWS, AND YOU ARE SOLELY RESPONSIBLE FOR ENSURING THAT YOUR USE CONFORMS TO THE APPLICABLE LAW.
- Page 4 on, the user is encouraged to try to correct the interference by one or more of the following measures: —Reorient or relocate the receiving antenna. —Increase the separation between the equipment and receiver. —Connect the equipment into an outlet on a circuit different from that to which the receiver is connected.
-
Page 5: Cautions And Warnings
Cautions&Warnings These instructions are intended to ensure that the user can use the product correctly to avoid danger or property loss. Laws and Regulations The device should be used in compliance with local laws, electrical safety regulations, and fire prevention regulations. Transportation Keep the device in original or similar packaging while transporting Power Supply... -
Page 6: Maintenance
DO NOT dispose of the battery into fire or a hot oven, or mechanically crush or cut the battery, which may result in an explosion. DO NOT leave the battery in an extremely high temperature surrounding environment, which may result in an explosion or the leakage of flammable liquid or gas. -
Page 7: Time Synchronization
DO NOT place the device in extremely hot, cold, dusty or damp locations, and do not expose it to high electromagnetic radiation. White Light Illuminator (If supported) Possibly hazardous optical radiation emitted from this product. DO NOT stare at operating light source. May be harmful to the eyes. -
Page 8: Symbols And Marks
CAUTION: Hot parts! Burned fingers when handling the parts. Wait one-half hour after switching off before handling parts. This sticker is to indicate that the marked item can be hot and should not be touched without taking care. For device with this sticker, this device is intended for installation in a restricted access location, access can only be gained by service persons or by users who have been instructed about the reasons for the restrictions applied to the location and... - Page 9 Purchase separately Other situations Other situations omitted Waterproof Skip this step if not necessary...
-
Page 11: Interface Introduction
Interface Introduction Memory Card Slot Reset Button Power Interface Network Interface Alarm Interface Audio Out Interface Audio In Interface... - Page 13 microSD...
- Page 15 A.1-A.8 B.1-B.8...
- Page 16 Ø5.5mm Ø30mm...
- Page 20 5≤Ø≤6.5 Ø Ø≤8 <...
- Page 22 Ø5.5mm...
- Page 27 5≤Ø≤6.5 Ø Ø≤8 <...
- Page 34 0°-75°...
- Page 35 0°-355° 0°-355°...
- Page 38 Activate and Access Network Camera Scan the QR code to get Activate and Access Camera. Note that mobile data charges may apply if Wi-Fi is unavailable.
- Page 39 Reset and Restore Camera Press Reset button for about 10s when the camera is powering on or rebooting to restore the default settings, including the user name, password, IP address, port No., etc. For the position of the reset button, refer to the figure in the interface introduction page.
- Page 40 UD19198B...


Need help?
Do you have a question about the iDS-2CD75C5G0-IZHSY and is the answer not in the manual?
Questions and answers