
Subscribe to Our Youtube Channel
Related Manuals for FIRST TEAM SPORTS INTRUDER EZ-CRANK


Summary of Contents for FIRST TEAM SPORTS INTRUDER EZ-CRANK
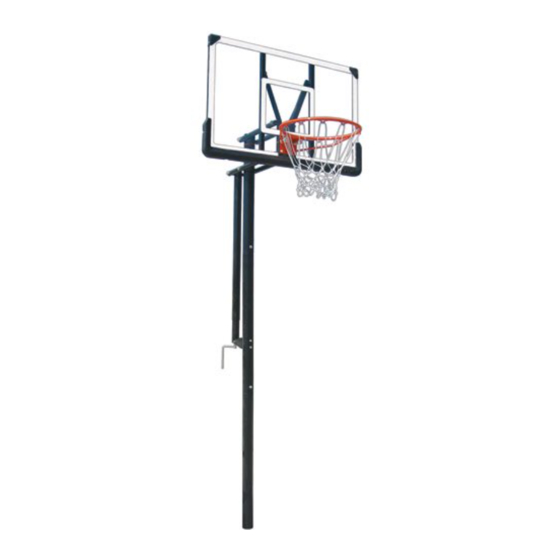
- Page 1 FIRST TEAM SPORTS, INC. INTRUDER™ EZ-CRANK PORTABLE BASKETBALL GOAL ASSEMBLY INSTRUCTIONS (revised 08/20/10)
- Page 2 BILL OF MATERIALS (1) BACKBOARD MOUNT (1) ACTUATOR CAP (2) 5/16” X 1 ½” HEX BOLT (1) LOWER POST (2) SPRING CUP (1) 5/16” X 2 ½” HEX BOLT (1) MID POST (2) RIM SPRING (4) 5/16” X 4 1/2” HEX BOLT (1) TOP POST (1) FLEX GOAL (2) 3/8”...
- Page 3 5. Fill hole to top with concrete following the directions on the bag for mixing instructions. This should require approximately 6 bags of concrete. Save a 1/2 bag for use later in assembly. 6. Insert the bottom end of the LOWER POST into the wet concrete pushing it down until you reach the 8”...
- Page 4 14. Insert the reduced end of the LOWER POST into the bottom end of MID POST until the holes line up for the joint attachment bolt. If the posts do not seat together easily, tap them 4 to 5 times up and down. 15.
- Page 5 19. Attach UPPER ARMS to TOP POST using (1) ½” x 7” hex bolt, (2) flat washer, (1) ½” locknut and (2) ARM SPACER as shown. NOTE: ARM SPACERS are sandwiched BETWEEN the UPPER ARMS and the TOP POST to prevent metal to metal contact. 20.
- Page 6 26. Using (2) 5/16”x 4” hex bolt, (2) SPRING CUP, (2) RIM SPRING, (2) flat washer and (2) 5/16” hex nut attach FLEX GOAL (TOP HOLES) to BACKBOARD and BACKBOARD MOUNT as shown. NOTE: The heads of the hex bolts should be on the front face side of backboard with the flat washers and hex nuts on the back side of BACKBOARD MOUNT.
- Page 7 24. Check over unit to make sure all hardware is tightened adequately (NOT TOO TIGHT). 25. Place POST CAP on top of post. 26. Place ACTUATOR CAP on top of ACTUATOR. 26. Hang net. Congratulations! Assembly of your INTRUDER E-Z crank adjustable basketball goal is complete.
Need help?
Do you have a question about the INTRUDER EZ-CRANK and is the answer not in the manual?
Questions and answers