
Subscribe to Our Youtube Channel
Related Manuals for Bogen NYQUSIT E7000 Series


Summary of Contents for Bogen NYQUSIT E7000 Series
- Page 1 User Guide E7000 Series 2017 Bogen Communications, Inc. All rights reserved. 740-00031A 1709...
-
Page 3: Table Of Contents
Contents Introducing Nyquist E7000 ................1 Using the Web-Based User Interface ............1 Accessing the Dashboard ..............1 Making UI Selections ................3 Getting Help ....................3 Understanding Class of Service (CoS), Stations, Roles, and Users ....................4 Performing Tasks ....................5 Managing Calls Via the Dashboard ............ -
Page 5: Introducing Nyquist E7000
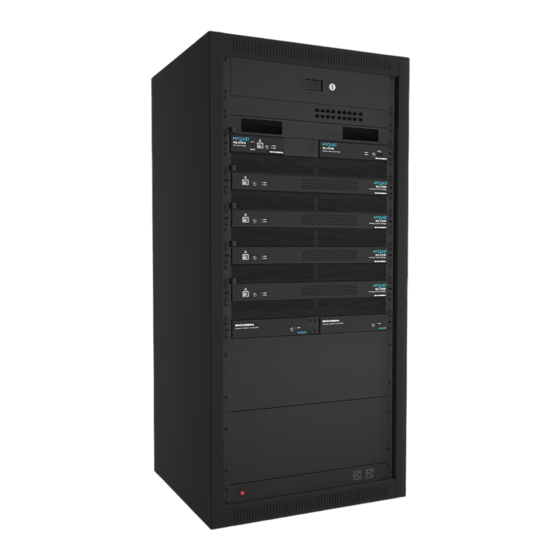
Introducing Nyquist Introducing Nyquist E7000 E7000 Nyquist E7000 is an Internet Protocol (IP) network based intercom and paging solution that simplifies routine and emergency network communications and allows the linking of administrative and staff locations within a single building, among multiple buildings through- out a campus, or across the entire district. - Page 6 Figure 1-1, Nyquist Login Figure 1-2, Nyquist Dashboard...
-
Page 7: Making Ui Selections
1.1.3 Getting Help Help is available through the Nyquist Web UI and through Bogen’s Technical Support. Technical Support is available between 8:30 am and 6:00 pm, and on-call until 8 pm, Monday through Friday. Techni- cal Support contact information is as follows:... -
Page 8: Understanding Class Of Service (Cos), Stations, Roles, And Users
• About – Selecting this option displays the version number and contact information for Bogen Communications, Inc. • Help Topics – Selecting this option displays the online help. • User Guide – Selecting this option displays the Nyquist User Guide. -
Page 9: Performing Tasks
Performing Tasks Performing Tasks The dashboard that appears if you have been assigned the user role is divided into three areas: • Telephone tasks, which is an unnamed area at the top of the dash- board that provides icons for Directory, Dial Pad, Voicemail, and Call Forwarding •... -
Page 10: Using The Dial Pad
To place a call using the directory: Step 1 Select Directory. Note: Step 2 On the Directory popup, select the extension that you You can sort the Directory list- want to call. (See "Using the Dial Pad” on page 6.) ing by extension Step 3 Select End Call to end the call. -
Page 11: Checking Voicemail
To place a call using the Dial Pad: Step 1 Select Dial Pad. Step 2 Dial the extension or number that you want and select Send. Step 3 Select End Call to end the call. Figure 2-2, Dial Pad Checking Voicemail If your station has been configured for voicemail, you can retrieve messages left for your extension. - Page 12 Warning If you turn off the microphone on your computer, then you cannot launch audio distribution, tones, alarms, and so on. When attempting to making a call with the computer’s microphone turned off, Nyquist automatically hangs up the call. If you make a second call, the dashboard displays a message that the phone is in use.
-
Page 13: Using Call Forwarding
Using Call Forwarding If your station has been configured for call forwarding, you can for- ward your calls to another extension. Note that call forwarding is not the same as having your extension set to ring at an Admin Station during day or night hours. Your Nyquist system administrator sets the Day Admin and Night Admin for your station. -
Page 14: Contacting The Front Office
Figure 2-4, Call Forwarding Popup Contacting the Front Office You can make Normal, Emergency, and Emergency 911 calls to the front office by selecting the desired icon from the dashboard. Placing such calls connects you to the front office’s Admin Station. If the Admin Station is on another call or making a page, then the Admin Phone will ring for 45 seconds. -
Page 15: Viewing This Week's Schedule
To call the front office: Step 1 Under Contact Front Office, select the icon for the type of call that you want to make. Step 2 If prompted that the station wants to use your micro- phone, select Allow. Warning If you turn off the microphone on your computer, then you cannot launch audio distribution, tones, alarms, and so on. -
Page 16: Enabling And Disabling Audio
From the dashboard, you can view this week’s schedule or use the Prev and Next buttons to view the schedule for other weeks. If you select a specific schedule for a day, you can also view details of that schedule. To view this week’s schedule: Step 1 Scroll to the This Week’s Schedules section.
Need help?
Do you have a question about the NYQUSIT E7000 Series and is the answer not in the manual?
Questions and answers