Advertisement
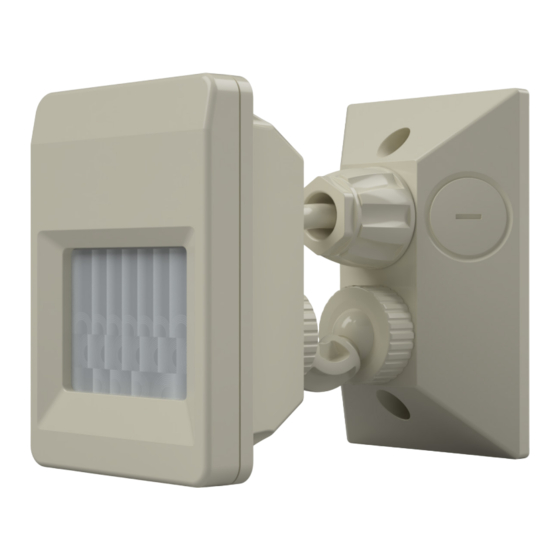
SENTRY IP66 WEATHERPROOF MOTION SENSOR
SUMMARY
The MATelec Australia Sentry Motion Sensor is an extremely reliable, IP66 rated PIR motion
sensor, suitable for a great range of applications.
SPECIFICATIONS
Power Source:
Power Frequency:
Ambient Height:
Time Range:
Rated Load:
Detection Distance:
Detection Range:
Installation Height:
Power Consumption:
Connection:
Manual Override:
Warranty:
M A T E L E C A U S T R A L I A . P 1 8 0 0 2 8 1 2 8 2 . F 1 3 0 0 2 8 1 2 8 2
I N F O @ M A T E L E C A U S T R A L I A . C O M . A U . W W W . M A T E L E C A U S T R A L I A . C O M . A U
DOC: FSA-25000
220V - 240VAC
50HZ
3 - 2000 LUX (adjustable)
10 seconds - 30 minutes
2000W Resistive (Incandescent)
1000W Inductive (Fluoro or LED)
6m to 18m
120°
1.8m - 2.5m
0.5W
3 wire
Yes
3 years
Sentry
Advertisement
Table of Contents

Related Manuals for Matelec SENTRY IP66


Summary of Contents for Matelec SENTRY IP66
- Page 1 SENTRY IP66 WEATHERPROOF MOTION SENSOR Sentry SUMMARY The MATelec Australia Sentry Motion Sensor is an extremely reliable, IP66 rated PIR motion sensor, suitable for a great range of applications. SPECIFICATIONS Power Source: 220V - 240VAC Power Frequency: 50HZ Ambient Height:...
- Page 2 OPERATION OVERVIEW The Sentry has both Automatic Mode, and Manual Override. Auto Mode In Automatic Mode, the lighting load will turn ON when movement is detected in the sensing range, and the ambient light level is below the Lux setting. If no movement is detected, and the delay time has expired, the load will turn OFF automatically.
- Page 3 MOUNTING PROCEDURE WARNING: ALL ELECTRICAL INSTALLATIONS MUST BE CARRIED OUT BY A SUITABLY QUALIFIED ELECTRICIAN IN ACCORDANCE WITH AUSTRALIAN AND LOCAL REGULATIONS After identifying a suitable location, wire up the sensor as per the diagram below: BLUE BROWN LOAD SUPPLY Using the supplied weatherproof seal, mount the sensor using the fixings provided.
- Page 4 SET UP AND TEST The sensor has 3 adjustment dials. With the sensor OFF, set the adjustment dials as follows: • Turn the TIME dial to minimum (10 s) • Turn the SENS dial to maximum (+) • Turn the LUX dial to maximum (sun) Switch the power ON.
Need help?
Do you have a question about the SENTRY IP66 and is the answer not in the manual?
Questions and answers