
Subscribe to Our Youtube Channel
Related Manuals for iLoq G50S.2x1


Summary of Contents for iLoq G50S.2x1
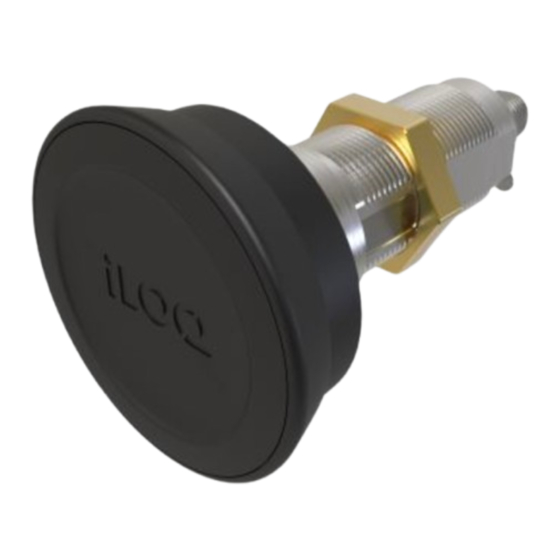
- Page 1 Page 1 of 10 Date: 08.02.2021 G50S.2x1 CAM LOCK CYLINDER INSTALLATION, OPERATING AND CARE INSTRUCTIONS...
-
Page 2: Table Of Contents
Page 2 of 10 Date: 08.02.2021 TABLE OF CONTENTS BEFORE INSTALLATION ............... 3 CARE & MAINTENANCE ..............3 INSTALLATION OF ILOQ G50S.2X1..........4 OPERATING INSTRUCTIONS OF ILOQ G50S.2X1 ....... 5 Opening ....................5 Locking ....................6 4.2.1 Locking manually ................ 6 4.2.2 Locking with key ................ -
Page 3: Before Installation
1) These instructions should be carefully followed during installation. 2) These instructions should be passed on by the installer to the user. 3) iLOQ G50S cylinders must be installed and used effortlessly without the use of excessive force. 4) The product should not be modified in any way except in accordance with those modifications described in these instructions. -
Page 4: Installation Of Iloq G50S.2X1
Page 4 of 10 Date: 08.02.2021 3. INSTALLATION OF ILOQ G50S.2X1 These instructions should be carefully followed during installation. Use appropriate escutcheon and/or adapter type according to the installation environment: G50S for Finnish installations – no need for adapters. G50S for other market areas – adapter kit AG50.5 may be needed due the pre-drilled assembly hole on the door. -
Page 5: Operating Instructions Of Iloq G50S.2X1
1. Present a valid key to the reader knob and wait until the key shows a green light to indicate that the lock is open. Valid key could be Android mobile device with iLOQ app and NFC capability or iLOQ key Fob. -
Page 6: Locking
Page 6 of 10 Date: 08.02.2021 4.2 Locking 4.2.1 Locking manually 1. Push the door to closed position and turn the reader knob counterclockwise. After turning the knob, it takes from 5 to 15 seconds before lock is in locked position. 2. -
Page 7: Locking With Key
1. Present a valid key to the reader knob and wait until the key shows a green light to indicate that the lock is open. Valid key could be Android mobile device with iLOQ app and NFC capability or iLOQ key Fob. -
Page 8: Replacing The Reader Knob
Page 8 of 10 Date: 08.02.2021 5. REPLACING THE READER KNOB If the reader knob is damaged and needs replacement knob, please follow instructions how to replace the reader knob correctly. 1. Loosen the fixing screw 2. Pull the knob off 3. -
Page 9: Replacing The Reader Knob With Escutcheon
Page 9 of 10 Date: 08.02.2021 6. REPLACING THE READER KNOB WITH ESCUTCHEON If the reader knob is damaged and needs replacement knob, please follow instructions how to replace the reader knob correctly. 1. Loosen the fixing screw 2. Pull the knob off 2. -
Page 10: Other Information
These instructions and any maintenance instructions should be passed on by the installer to the user. The lock cylinder has 24 months warranty. iLOQ cylinders are recyclable as metal scrap. So are also iLOQ cylinder rings, accessories and tail piece sets. 8. DECLARATION OF CONFORMITY...
Need help?
Do you have a question about the G50S.2x1 and is the answer not in the manual?
Questions and answers