Table of Contents
Advertisement
Quick Links
Advertisement
Table of Contents

Related Manuals for Motorline professional RAP100S


Summary of Contents for Motorline professional RAP100S
- Page 1 RAP100S RAP100S USER / INSTALLER MANUAL V3.0 REV. 05/2022...
-
Page 2: Table Of Contents
01. SAFETY INSTRUCTIONS This product is certified in accordance with European Community (EC) safety standards. 02. THE PRODUCT RAP100S This product complies with Directive 2011/65/EU of the TECHNICAL CARACTERISTICS European Parliament and of the Council, of 8 June 2011, on... -
Page 3: Safety Instructions
01. SAFETY INSTRUCTIONS GENERAL WARNINGS the motorized door or gate from being triggered involuntarily. • This manual contains very important safety and usage information. WARNINGS FOR TECHNICIANS very important. Read all instructions carefully before beginning the installation/usage procedures and keep this manual in a safe place •... - Page 4 01. SAFETY INSTRUCTIONS to the release mechanism. use or maintenance! • Disconnect means, such as a switch or circuit breaker on the electrical • Safety norms are not followed in the installation, use and panel, must be provided on the product’s fixed power supply leads in maintenance of the product.
-
Page 5: The Product
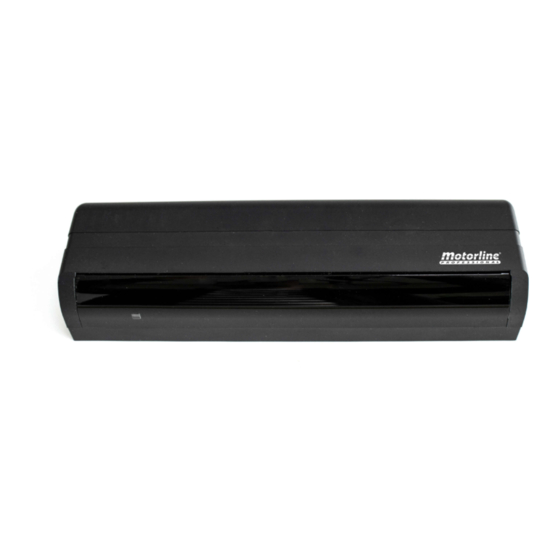
02. THE PRODUCT 02. THE PRODUCT RAP100S DESCRIPTION Cover The RAP100S is an infrared radar designed to activate automatic doors at a height of up to 3m. Depth adjustment lever arm (2 external lines) Drilling mold Area Mask (3 Area Mask ( 2... -
Page 6: Installation
03. INSTALLATION INSTALLATION AND CONNECTIONS To ensure the right operation of RAP100S, be aware of the following instructions: • Prevent the installation site from accumulating snow or water on the ground. • Install in a protected area so that rain or snow does not fall directly on the unit. If the sensor has to be exposed, install it with a protection;... -
Page 7: Configuration
04. CONFIGURATION 04. CONFIGURATION DIP SWITCH SETTINGS FREQUENCY When two or more sensors are installed next to each other , select different frequency configurations for Activated Activated Activated each sensor to avoid cross interference. Dip switch Dip switch #1 e #2 #1 e #2 #1: ON | #2:ON #1: ON | #2:ON... -
Page 8: Direction Detection 7A
04. CONFIGURATION 04. CONFIGURATION DOOR OPENING DIRECTION DETECTION When activated, pedestrians that walk away won´t be detected by the sensor. Switch to OPEN to keep the door in open position. To ensure pedestrians safety with the activated "entrance recognition", the 1st and 2nd lines of detection will detect the pedestrians, regardless of the direction of movement. -
Page 9: Detection Area Depth Adjustment: 3 Internal Lines 8A
04. CONFIGURATION 04. CONFIGURATION DETECTION AREA DEPTH ADJUSTMENT: 3 INTERNAL LINES DETECTION AREA WIDTH ADJUSTMENT 01 • Angle Adjustment - Adjust the detection pattern 0˚ or -8˚ by moving the angle of the body. 02 • Adjust the detection width by adjusting the 3 internal lines adjustment lever arm, marked in the image below. -
Page 10: Power Connection And Recognition Adjustment 9A
04. CONFIGURATION 04. CONFIGURATION POWER CONNECTION AND RECOGNITION ADJUSTMENT POWER CONNECTION AND RECOGNITION ADJUSTMENT When entrance recognition is active, the sensitivity level of the internal detection line is only at See page 7B of the manual, to configure the maximum when the external detection lines are enabled. Turn off sensor power when performing the following work: Behavior Entrance Recognition Offline... -
Page 11: Event Time Diagram 10A
04. CONFIGURATION 05. MAINTENANCE EVENT TIME DIAGRAM DOOR MAINTENANCE TASKS When performing door maintenance with the sensor connected to the power, on the door controllers Safety Output Line 1, 2/ Test Input connected to "test" the sensor, be sure to set the DIP switches. Dip switch Safety ouput Note •... -
Page 12: Troubleshooting
06. TROUBLESHOOTING INSTRUCTIONS FOR FINAL CONSUMERS / SPECIALIZED TECHNICIANS Anomaly Probable cause Solution The sensor's connector isn´t properly connected. Tighten or reconnect the connector. The door doesn´t open when a person enters Deactivated Incorrect supply voltage. Apply the proper voltage to the sensor (12-24V ac/dc). in detection area Incorrect sensor connection.
Need help?
Do you have a question about the RAP100S and is the answer not in the manual?
Questions and answers