
Subscribe to Our Youtube Channel
Related Manuals for DITEC TS35


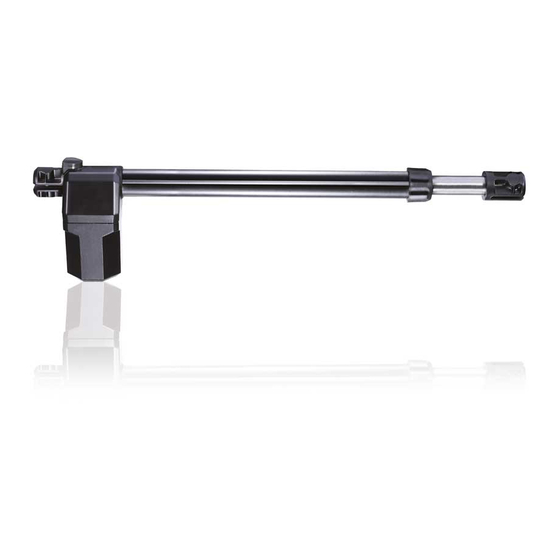
Summary of Contents for DITEC TS35
- Page 1 Last version of this manual IP2373EN • 2022-02-14 Ditec TS35 Technical Manual Automation for swing gates (Translation of the original instructions) www.ditecautomations.com...
-
Page 2: Table Of Contents
Contents General safety precautions ....................3 EC Declaration of Incorporation ....................5 Technical specifications ....................6 Machinery Directive ....................6 Gearmotor dimensions ....................7 Standard installation ..................8 Installation . -
Page 3: General Safety Precautions
General safety precautions ATTENTION! Important safety instructions. Please follow these instructions carefully. Failure to observe the information given in this manual may lead to severe personal injury or damage to the equipment. Keep these instructions for future reference. This manual and those for any accessories can be downloaded from www.ditecautomations.com. - Page 4 gate • The safety devices must protect against crushing, cutting, trapping and general danger areas of the motorized door or gate. Display the signs required by law to identify hazardous areas. Each installation must bear a visible indication of the data identifying the motorized door or gate •...
-
Page 5: Ec Declaration Of Incorporation
Lodjursgatan 10 SE-261 44 Landskrona Sweden Declare under our sole responsibility that the type of equipment with name: Ditec TS35AC Automation for swing gates Comply with the following directives and their amendments: 2006/42/EC Machinery Directive (MD) for the following essential health and safety requirements: 1.1.2, 1.1.3, 1.2.1, 1.2.2, 1.2.3, 1.2.4.2, 1.2.6, 1.3.9, 1.4.3, 1.7.2,... -
Page 6: Technical Specifications
1. Technical specifications Power supply 230 V~ - 50 / 60 Hz Max absorption 1,5 A Power absorbed 330 W Capacitor 8 µF Max thrust 3500 N Maximum stroke 400 mm Opening time 18-22 s / 90° Intermittence S2= 10min / S3= 30% Lifespan 100000 cycles Operating temperature... -
Page 7: Gearmotor Dimensions
1.2 Gearmotor dimensions 35 7,5 ø10,4 ø10 1141 ø12,4 ø12 1182... -
Page 8: Standard Installation
2. Standard installation Ref. Description Cable Transmitter Flashing light 2 x 1mm² Antenna (integrated in the flashing light) RG58 50Ω Key selector switch 4 x 0,5mm² Digital combination wireless keypad Actuator 4 x 1,5mm² Photocells 4 x 0,5mm² Control panel 3G x 1,5 mm²... -
Page 9: Installation
3. Installation The declared operating and performance features can only be guaranteed with the use of Ditec accessories and safety devices. 3.1 Preliminary checks Make sure the gate structure is sturdy and the hinges are lubricated and smooth. Install a stop in the open and closed positions (the mechanical structural elements must be com- pliant with the requirements of the standard EN12604). -
Page 10: Fastening The Brackets
3.2 Fastening the brackets - Fasten the tail bracket , en- suring that the measurements [A] and [B] are correct for the desired opening angle [D] (see tab. 3.1). screws M10 - not supplied - Fasten the piston to the tail bracket with the pin cluded. - Page 11 - Install the gear motor so that it is inclined by an angle of approximately 1°. 1° - Fit the head bracket and fasten the piston to the head bracket with the pin included. - Unlock the gear motor and check, by moving the gate manually, that the gate moves freely To work correctly, the gear motors must be assembled with the motor casing at the bottom.
-
Page 12: Electrical Connections
The gear motors TS35AC may be connected to the LCA70 and LCA80 electronic control panels. The electrical connections and the procedure for setting up Ditec TS35 gear motors are illustrated in the figure and in the installation manuals of the LCA70 (-> link) and LCA80 (-> link) electronic control panels. -
Page 13: Release Instructions
4. Release instructions In the event of a fault or a power failure, open the window, insert the key in the relative lock and turn it counterclockwise (as indicated by the arrow). Release the electric lock (if present). Manually open the gate. To lock the gate again, close the hatch, turn the key anticlockwise and remove the key. -
Page 14: Troubleshooting
6. Troubleshooting Problem Possible cause Operation No power supply. Make sure the mains supply is active. Gearmotor released. See the release instructions. Check the photocells are clean and op- Photocells occupied. erating correctly. The gate doesn’t Check the STOP command or the con- Permanent STOP command.
Need help?
Do you have a question about the TS35 and is the answer not in the manual?
Questions and answers