Advertisement
Quick Links
Advertisement

Subscribe to Our Youtube Channel
Related Manuals for Costway 24309175


Summary of Contents for Costway 24309175
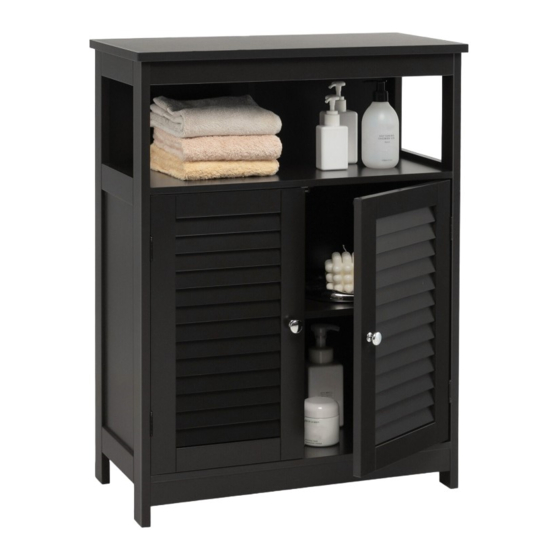
- Page 1 USER'S MANUAL Bathroom Cabinet...
-
Page 2: Product Assembly
PRODUCT ASSEMBLY Hardware List 16 pcs 2 pcs 1 pc 16 pcs 1 pc 8 pcs 16 pcs 3 pcs 8 pcs 4 pcs 4 pcs 2 pcs 2.5*10mm 2 pcs 1 pc 18 pcs 2 pcs 2 pcs 7 pcs 4*40mm Parts List 1 pc... - Page 4 2 pcs 1 pc 5 pcs 1 pc 1 pc a) Attach Hinge (D) and Magnetic Bar (E) to Left Door (8) using Screw (F) as shown. b) Attach Knob (H) to Door using Bolt (G). 2 pcs 1 pc 5 pcs 1 pc 1 pc...
- Page 5 3 pcs Attach Connect Bar (4) to Bottom Shelf (6) using Screw (N). 6 pcs 6 pcs 6 pcs Turn cam-lock a) Screw Cam-bolt (B) into the pre-drilled holes on Left Panel (1). clockwise b) Attach Connect Bar (4), Fixed Shelf (5) and Bottom Shelf (6) to (1) via Wood Dowel (A) and Cam-bolts on (1).
- Page 6 6 pcs 6 pcs 6 pcs a) Screw Cam-bolt (B) into the pre-drilled holes on Right Panel (2). Turn cam-lock clockwise b) Attach (2) to (4, 5 & 6) via Wood Dowel (A) and Cam-bolts on (2). c) Insert Cam-lock (C) and turn it clockwise to lock onto Cam-bolt. a) Slide in the Back Panel (10) via the groove on Side Panel and Bottom Shelf.
- Page 7 4 pcs 4 pcs 4 pcs a) Screw Cam-bolt (B) into the pre-drilled holes on Top Panel (3). b) Attach (3) to (1 & 2) via Wood Dowel (A) and Cam-bolts on (3). c) Insert Cam-lock (C) and Turn turn it clockwise to lock cam-lock onto Cam-bolt.
- Page 8 8 pcs Attach Door (8 & 9) to Side Panels (1 & 2) using Screw (F) and hinge on Door. 4 pcs Insert Shelf Pin (F) into the pre-drilled hole on Side Panels and place Adjustable Shelf (7) on it.
- Page 9 8 pcs 8 pcs 3*16mm 2 pcs a) Attach Fixed Button (P) to the groove for back panel by using Screw (Q) as shown. b) Affix Back panel to Fixed Shelf using Screw (R). 1 pc 3*14mm 1 pc 2 pcs WALL 1 pc 1 pc...
Need help?
Do you have a question about the 24309175 and is the answer not in the manual?
Questions and answers