Table of Contents
Advertisement
Quick Links
Advertisement
Table of Contents

Related Manuals for Out & Out HOMMY 06-W


Summary of Contents for Out & Out HOMMY 06-W
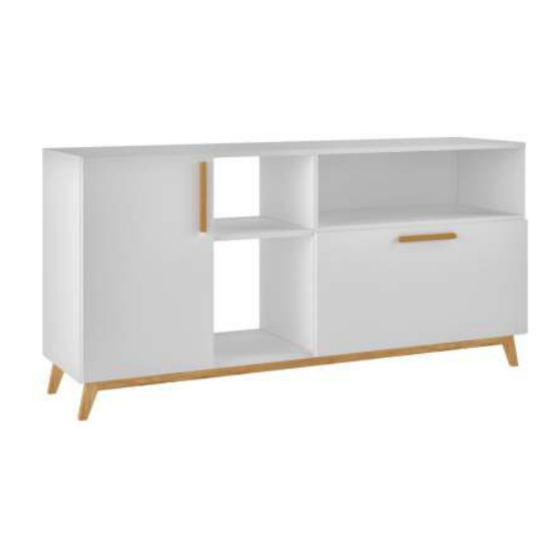
- Page 1 HOMMY 06-W HOMMY 06-B ASSEMBLY INSTRUCTIONS...
-
Page 3: Table Of Contents
Summary V : 11/19 Identifying parts Introduction Hardware included in box Avoid accidents Weight Capacity Before Starting Furniture assembly Cleaning Dimensions and tools Introduction Read this manual and follow the steps in order to keep the guarantee and also for the perfect fit. -
Page 4: Before Starting
Before starting Prepare the room before starting the assembly, leaving it completely clean and the area in good condition to start the work. Cover the assembly area with a blanket or Use the cardboard of the packaging to carpet to avoid damaging the parts during separate and support the parts removed from the boxes. -
Page 5: Dimensions And Tools
Dimensiones and t ools 665 mm 26.18 in You may need help to assembly easier. To improve assembly, use an eletronic screwdriver. -
Page 6: Identifying Parts
Identifying parts PART DESCRIPTION BASE LEFT SIDE RIGHT SIDE LEFT PARTITION RIGHT PARTITION LEFT SHELF CENTRAL SHELF RIGHT SHELF LOWER DOOR LONGER DOOR BACK A BACK B BACK C FEET... -
Page 7: Hardware Included In Box
Hardware included in bo x STICKER x 24 EF 000106 x 25 EF 000033 x 20 EF 000381 x 4 EF 000132 x 8 CHALK x 01 HANDLE x 2 EF 000216 X 20 EF 000094 X 12 EF 000024 X 4 EF 000044 X 4 EF 000067 X 4 EF 000731 x 4... -
Page 8: Furniture Assembly
STEP 1 Fix hardware EF 000094 in pieces 02, 03 and 04. EF 000094 STEP 2 Attach hardware EF 000024 to pieces 01 and 03 using hardware EF 000106. EF 000024 STEP 3 Insert hardware EF 000033 into pieces 03, 04, 05, 06, 07 and 09. - Page 9 STEP 4 Attach hardware EF 000044 on pieces 10 and 11 using hardware EF 000106. Attach the handle using hardware EF 000381. EF 000381 Handle EF 000044 STEP 5 Insert hardwares EF 000067 and EF 000731 to connect pieces 05, 07 and 08.
- Page 10 STEP 7 Connect pieces 03 and 04, insert hardware EF 000216 and turn to tighten. EF 000024 Please, note hardware EF 000024 position. STEP 8 Fit pieces 12, 13 and 14 in the specific spaces. EF 000024 Please, note hardware EF 000024 position. STEP 9 Fix pieces 15 to piece 01 using hardware EF 000745 and EF 000741.
- Page 11 STEP 10 Connect the parts assembled in the steps 8 and 9 using hardware EF 000132. EF 000024 Please, note hardware EF 000024 position. STEP 11 Turn the furniture to connect piece 02 to the part assembled in the previous step insert hardware EF 000216 and turn to tighten. STEP 12 Attach pieces 10 and 11 to assembled furniture.
- Page 12 STEP 13 Attach the parts 1 and 2 using hardware EF 000106, according the image, then fit the part 3. STEP 14 Use the chalk to give the final finish on the product. Sticker STEP 15 Use the chalk to give the final finish on the product. Chalk...
Need help?
Do you have a question about the HOMMY 06-W and is the answer not in the manual?
Questions and answers