
Subscribe to Our Youtube Channel
Related Manuals for Cookology CITFZ177

Summary of Contents for Cookology CITFZ177
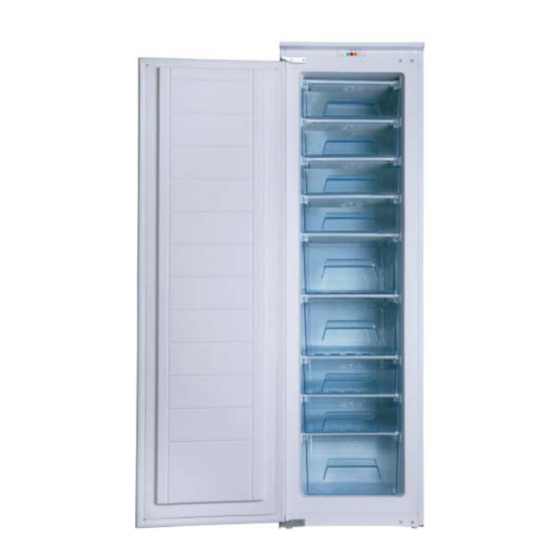
- Page 1 Simple but stylish home appliances Built in Freezer Instruction Manual CITFZ177 Before use, please read and follow all the safety rules and operating instructions.
- Page 2 European Safety Certificate Compliance Declaration The manufacturer assumes full responsibility for the compliance of products manufactured with relevant safety, health and environmental protection requirements set out in European Directives. Test reports are available for verification upon request. The manufacturer will present the quality certificate or manufacture licence to a refrigerator dealer if so required.
-
Page 3: Table Of Contents
Content Page Important! 1. Environmental Protection and Proper Disposal..2 Please note that refrigeration systems contain refrigerants, 2. Location..............2 which require specialised waste disposal. Contact your local 3. Installation .............2-3 waste disposal centre for disposal of an old appliance and 4. -
Page 4: Environmental Protection And Proper Disposal
1.Environmental Protection 3.Installation Proper Disposal a) Remove all packaging materials. Packaging Materials b) Remove any items inside the freezer. Ensure that all film and tape on the cabinet and the The applianc e is packaged in a way to prevent damages door is removed. -
Page 5: Rating Plate
Write down This Technical Data. Write down the technical data for later reference to avoid Warning! the need for moving the refrigerator when such data are needed. After the freezer is installed, allow it to stand still for at Model / Type least 2 hours before starting it up to ensure stable refrigerant circulation and faultless operation. -
Page 6: Freezer
To select a lower temperature: Turn clockwise. 2 The higher the temperature regulator is set, the lower the temperature within the freezer will be. To select a higher temperature: Turn anti-clockwise. 3 Normally, when food requires only a short period of Turn temperature reg ulator anti-clockwise to the lowest storage, select a medium setting. -
Page 7: Ice & Ice Cream Making
8.Making Ice cubes, Ice cream and Steam cleaners are dangerous and strictly prohibited. Water ice Wash the inner compartment with lukewarm clean water and dry with a soft cloth. It is absolutely dry after waiting for 3-4 minutes. Ensure water does not get into electric parts in the appliance. -
Page 8: Problem Diagnosis
· Ice and frost form on the surface of the evaporator · Has the freezer started up? (The temperature dial during operation. A thick layer of ice or frost acts as heat should not be set at “0”.) insulation and hinders thermal conducting. ·... -
Page 9: During A Power Cut
16. Installation in Kitchen e) There is thick ice in the freezer. Please check: If you want to place the appliance in the kitchen, you should contact a professional installer. · Is the door of freezer properly closed? · If some food becomes frozen to the inner walls, try to DO NOT do it yourself. - Page 10 Installation and Ventilation This appliance must never be installed close to heat sources i.e. heating elements, cookers or in damp places The diagram shows the ventilation requirements for your product. Failure to provide adequate ventilation can lead to increased running costs and premature failure and may invalidate the warranty provided with the product.
- Page 11 Ventilation The main consideration when installing any refrigeration unit into a fitted kitchen is ventilation. The heat removed from the cooling compartment needs to be dissipated into the atmosphere. Incorrect ventilation can lead to premature compressor failure, excessive power consumption and total system failure. For products intended to be installed into a tall housing unit, the following requirements need to be met: - Important...
- Page 12 The open channel at the rear is clearly shown. For the correct operation of the appliance it is important that the top of the housing unit is not blocked off. A channel depth of 40-50mm is normal with most units. A hole is shown in the base shelf of the unit;...
- Page 13 Reversing the Door fig. 4 It is possible to reverse the door on this appliance, if required. To do so, follow the steps below: 1. Loosen the top hinge fixing screws and remove the top hinge, taking care to support the weight of the door.
- Page 14 Mounting the Fascia Door • Using a screwdriver, fix the mounting brackets to the appliance door, as shown in figure 5. • Position the appliance within the unit. Ensure that there is a gap of 3 fig. 5 to 4 mm between the non-hinged side and the cabinet wall.
- Page 15 Simple but stylish home appliances Manufacturer’s Declaration The manufacturer hereby declares that this product meets the re-quirements of the following European directives: · Low Voltage Directive 2014/35/EC · Electromagnetic Compatibility (EMC) Directive 2014/30/EC · ErP Directive 2009/125/EC · Directive RoHS 2011/65/EC and has thus been marked with the symbol and been issued with the CE symbol and been issued with a declaration of compliance made available to market regulators.
Need help?
Do you have a question about the CITFZ177 and is the answer not in the manual?
Questions and answers