Advertisement
Helpful Hints
Assembly steps that are marked with
a star ( ) are "one-time snaps".
Once these parts are put together,
they cannot be taken apart.
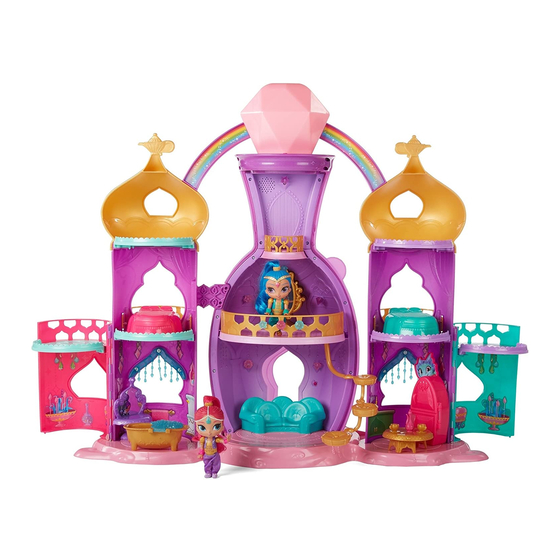
Magical Light-Up
Genie Palace
Keep these instructions for future reference as
they contain important information.
Need help assembling this product?
Go to service.fisher-price.com and enter FLV06.
Click on the product image and then click the video link
for a step-by-step assembly video.
CHOKING HAZARD
Not for children under 3 years.
ADULT ASSEMBLY REQUIRED.
REQUIRED TOOL: PHILLIPS SCREWDRIVER (NOT INCLUDED).
WARNING:
– Small parts.
Advertisement
Table of Contents

Related Manuals for Fisher-Price Nickelodeon Shimmer and Shine Magical Light-Up Genie Palace FLV06


Summary of Contents for Fisher-Price Nickelodeon Shimmer and Shine Magical Light-Up Genie Palace FLV06
- Page 1 Keep these instructions for future reference as they contain important information. Need help assembling this product? Go to service.fisher-price.com and enter FLV06. Click on the product image and then click the video link for a step-by-step assembly video. Helpful Hints...
- Page 2 What’s Included each x1 LEFT TOWER x1 RIGHT TOWER x1 METAL PINS x2 • 1 LABEL SHEET 3,0 mm x 9,27 mm (0.118 in x 0.365 in) Shown Actual Size Tighten and loosen all screws with a Phillips screwdriver. Do not over-tighten.
- Page 3 Before you play Helpful Hints: Lay palace on the ground Label Sheet/Placement for easy label application. Rotate translucent bottle door to locate switch Remove protective film on back of palace. from mirror and discard. LIGHTS LIGHTS & ONLY SOUNDS...
- Page 4 Need help assembling this product? Go to service.fisher-price.com Assembly and enter FLV06. Click on the product image and then click the video link for a step-by-step assembly video. Align and fasten one of the c-shaped pieces Connect the base pieces.
- Page 5 Assembly Assembly Slide the smaller floor piece in Slide the teal floor pieces into the left side Slide the purple floor pieces into the right side until it snaps into place. tower and door until they snap into place. tower and door until they snap into place. Align the left door with the hinge on the left tower, Align the right door with the hinge on the right tower, then insert metal pin from the bottom of the hinge.
- Page 6 Assembly Insert the balcony pieces to the back of the side towers Insert the rainbow pieces into the gem Insert the rainbow pieces into the gem until they snap into place. until they snap into place. until they snap into place. Back View Back View Snap the large gem stone into the top of the middle tower.
- Page 7 How to Play Helpful Hints • To wake up, press any of the buttons (top gem, mirror or bottom floor) or rotate door open if it is closed. • To preserve battery life, palace enters sleep mode if inactive for 2 minutes. •...
- Page 8 Battery Information BATTERY INSTALLATION: 1,5V x 3 “AA” (LR6) • Unscrew and lift cover from the back of the center bottle (upper section when palace door is closed). REQUIRED TOOL: • Install batteries as indicated inside the battery compartment. PHILLIPS SCREWDRIVER •...
Need help?
Do you have a question about the Nickelodeon Shimmer and Shine Magical Light-Up Genie Palace FLV06 and is the answer not in the manual?
Questions and answers