Advertisement
Advertisement
Table of Contents

Subscribe to Our Youtube Channel
Related Manuals for Rosco DMX IRIS


Summary of Contents for Rosco DMX IRIS
- Page 1 DMX IRIS Operations Manual...
-
Page 2: Setup And Installation
50 – 60 hz. Connect the included IEC power cord by firmly pushing it into the recessed socket on the DMX Iris. (Figure 1) When using the DMX Iris in regions using Figure 1 Power &... - Page 3 To operate the DMX Iris from a DMX lighting console, you will need to connect a 5-pin DMX cable to the unit. The DMX Iris is equipped with two DMX ports, IN and OUT. (Figure 1) Connect the 5-pin DMX cable coming from your lighting console to the IN port.
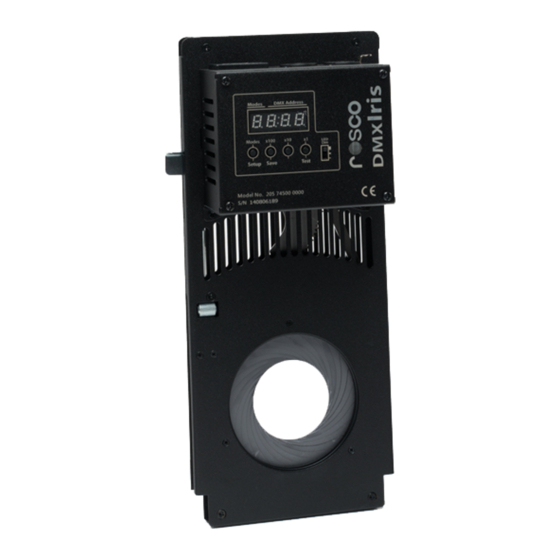
- Page 4 Ch 2 = Speed (0-100%) Setting DMX Address and Operation Mode On power up, the DMX Iris will restore to the last set mode and dmx address. The display will indicate these parameters as in Figure 2. To change Operation Modes, press and hold button B1 for a few seconds until the display changes to SET .
-
Page 5: Operation And Control
DMX Iris in place. To install the DMX Iris into your luminaire it is necessary that the Lock Slider be in the UP position, with the lock disengaged. -
Page 6: Troubleshooting
Use only properly rated IEC power cord (18AWG 3C SJT) and connect only to compatible voltage supplies (100-240v 50-60hz) • Always use a safety cable to insure the DMX Iris cannot fall out of the fixture. • Do not allow power cords or DMX cables to come in contact with the body of the luminaire or the rear lamp cap. -
Page 7: Specifications
Check that proper DMX signal is present (is the display flashing LOST / 512?) • If the DMX Iris is at the end of the DMX chain, connect a proper DMX terminator to the OUT port of the DMX Iris. Specifications Power Input 100 -240 v 50-60 hz, <... - Page 10 Rosco Iberica SA C/Oro,76 Polígono Industrial Sur 28770 Colmenar Viejo, Madrid. Espana (34) 918 473 900 FAX (34) 918 463 634 Rosco do Brasil Ltda. Rua Antonio De Barros, 827, São Paulo SP Brasil CEP 03401-000 (11) 218-2865 FAX (11) 218-0193 Rosco Australia Pty Ltd.
Need help?
Do you have a question about the DMX IRIS and is the answer not in the manual?
Questions and answers