
Related Manuals for Star Fans STAR 7


Summary of Contents for Star Fans STAR 7
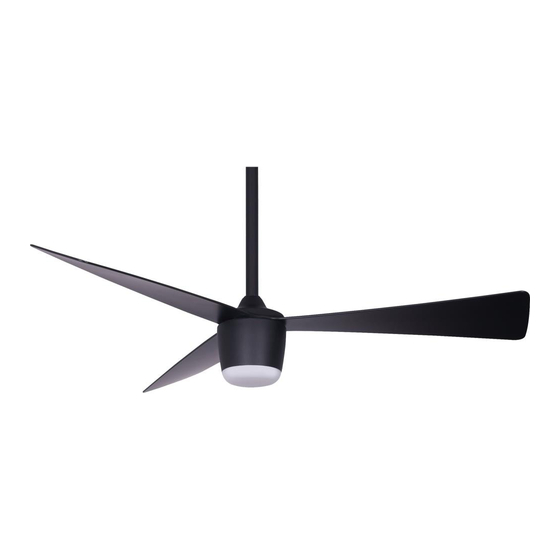
- Page 1 Use r' s ma nua l STAR 7 User's manual STAR PROPELLER WARNING : Read and follow these instructions carefully and be mindful of all warnings shown throughout.
- Page 3 Unpack and inspect fan carefully to be certain all contents are included. Hardware Bag Mounting Bracket For Mounting Bracket: Flat Washer S pring Washer x2 Machine S crew x2 Wood S crew ( For Wood beam) Receiver For Wire Connection: Wire Nut x 3 For B lade Installation: Blade S crew x 7...
- Page 4 Turn off power at breaker box to avoid possible Use metal outlet box suitable for fan suppor t. electrical shock. O FF O FF O Installing mounting bracket to ceiling outlet box Install mounting bracket to outlet box in ceiling by using screws included with the outlet box and washers Outlet Box from the hardware bag.
- Page 5 2.Connecting the wires Step 1. Receiver to outlet box wires electrical connections: Connect the WHITE wire (Neutral) from the outlet box to the WHITE wire marked ‘AC in N’ from the receiver. Connect the BLACK wire (Hot) from the outlet box to the BLACK wire marked ‘AC in L’...
- Page 6 3. CANOPY INSTALLATION Note: Two screws are pre-screwed on mounting bracket for canopy installation. Push up canopy until two pre-screwed screws on mounting bracket are engaged with two key holes on canopy. Rotate canopy slightly until two pre-screwed screws heads are engaged in the narrow end of key holes. Tighten both screws.
- Page 7 6.Remote Control Operation 1. TURN ON THE FAN Press any speed control button to turn on the fan and control the ceiling fan speed from low to high. Button (I) is for the lowest speed, and button (VI) is for the fastest speed. 2.
- Page 8 info@starfans.co www.starfans.co...
Need help?
Do you have a question about the STAR 7 and is the answer not in the manual?
Questions and answers