Advertisement
Quick Links
Advertisement

Summary of Contents for Mirror Models 35852
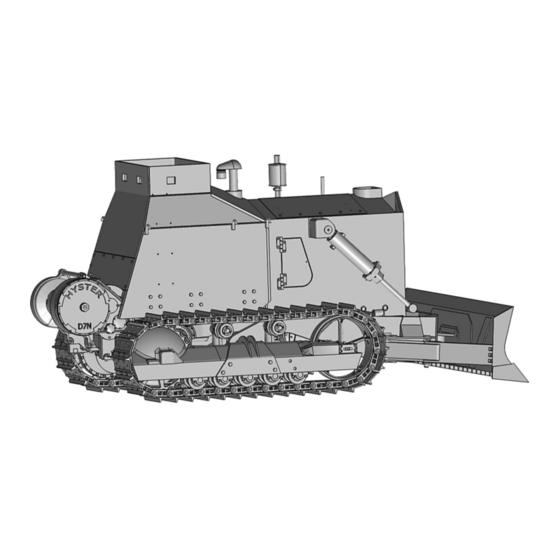
- Page 1 Mirror Models 35852 US Armored Bulldozer Assembly instructions...
- Page 2 Go through assembly guide before you start your work. We recommend to use a sharp scalpel to remove parts carefully. Heat up PE parts with lighter before use, brass will soften and become easy to bend and work with Tamiya Super Thin Glue recommended for plastic parts, let the glue work for a few seconds, then push parts together, melted plastic will fill the gaps between parts.
- Page 3 4x PE4...
- Page 4 26 27 do not glue! PE13 optional PE10 push 134 into 136 and 135 as deep as it goes 3x A17...
- Page 5 front rear glue 135 into 125 as deep as it goes!
- Page 6 make sure part 82 is facing front! 2x 0,5 wire for radiator support 0,5mm wire can be used to make pipes...
- Page 7 use Tamiya Super Thin glue to melt plastic properly and push 87 (94) well into 72 and 74 (73 and 75) Melted plastic Make two, left will fill nicely possible gaps and right (94) (73) (94) (75) W3 W1 W4 W2 84 (85) (81) metal springs...
- Page 8 77 (79) (78) 88-93 optional for assembly 92 (93) 90 (91) 88 (89) cut, remove...
-
Page 9: Track Assembly
Get carefully tiny levers through holes, openings and slots arm´s rests PE8 and A13 can be assembled only inside the seat cut, remove PE a Track assembly do not glue PE b glue click together... - Page 10 Early produced kits with shorter A10 pin assemble 35 links per track Later produced kits with longer A10 pin assemble 36 links per track - you can also shorten front rod a little (0,1-0,2mm) to adjust - loose tension of the track Mind correct direction of tracks! Track links are workable, however it is recommended to assemble them...
- Page 12 R5 (R6) Do not glue R5 and R6 until you have pulled blade arms through and fitted properly on pins ! do not glue X3 (X2) and R7 (R8) X3 (X2) R7 (R8) PE e PE c (d)
- Page 13 R9 (cut length according to blade lift wanted) PE g (h) X10 X11 0,5mm wire Additional equipment, earth scrapper, resin figures and more available at: www.LZmodels.com If you have experienced missing or damaged part, contact us directly for replacement at info@mirror-models.com You can download up to date Hi-Res instructions in PDF and detailed part list at http://www.mirror-models.com/135-US-Armored-Bulldozer.html...
- Page 14 wire 0,5mm, scale rope, PE detail set, limited British edition contains a resin driver figure...
Need help?
Do you have a question about the 35852 and is the answer not in the manual?
Questions and answers