Table of Contents
Advertisement
Quick Links
Advertisement
Table of Contents

Subscribe to Our Youtube Channel
Summary of Contents for Lumberjack PS165
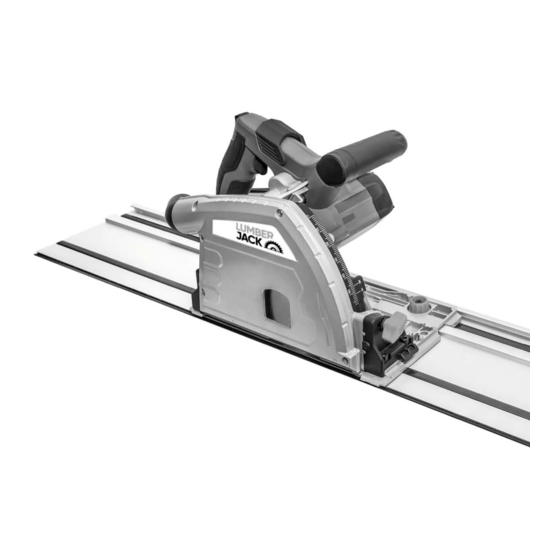
- Page 1 SAFETY AND OPERATING MANUAL Plunge Saw Kit PS165 ORIGINAL INSTRUCTIONS PS165...
-
Page 2: Table Of Contents
TABLE OF CONTENTS Welcome to Lumberjack! Dear customer, Congratulations on your purchase. Before using the product for the first time please be sure to read these instructions for use. They provide you with all information necessary for using the product safely and to ensure its long service life. -
Page 3: General Power Tool Safety Warnings
A wrench or a key left c) Do not expose power tools to rain or wet attached to a rotating part of the power tool may conditions. Water entering a power tool will result in personal injury. increase the risk of electric shock. PS165... - Page 4 Store idle power tools out of the reach of children and do not allow persons unfamiliar with the power tool or these instructions to operate the power tool. Power tools are dangerous in the hands of untrained users. PS165...
- Page 5 Investigate its own cord. Contact with a “live” wire will also and take corrective actions to eliminate the cause of make exposed metal parts of the power tool blade binding. “live” and shock the operator. PS165...
- Page 6 An unprotected, coasting blade will cause the saw to walk backwards, cutting whatever is PS165...
-
Page 7: Symbols & Cable Rating Chart
Caution! Risk of Injury! Do Caution! Wear ear defenders. The not reach into the running impact of noise can cause damage saw blade to hearing. Caution! Wear a dust mask. Class II Double Insulated PS165... -
Page 8: Machine Details And Product Features
10. Cutting line guide 2 x Hex key 11. Cutting depth scale Instruction Manual 12. Bevel angle scale 13. Cutting depth knob 14. Base plate 15. Blade locking lever 16. Guide rail adjusting knob 17. Rear handle PS165 AIR6V AIR6V AIR6V AIR6V... - Page 9 MACHINE DETAILS AND PRODUCT FEATURES PS165 AIR6V AIR6V AIR6V AIR6V...
-
Page 10: Assembly
2.Align Base Plate to desired angle on Bevel Angle centre. Scale. Depth & Bevel Adjustment Depth should be adjusted so that no more than one tooth is protruding through the timber. This helps to minimise splintering. 1. Loosen the Cutting Depth Knob. 3. Tighten Bevel Locking Knobs. PS165... -
Page 11: Operation
Note: Additional Guide Rails may be assembled if minimise or increase the clearance between the required by following the above steps. plunge saw and the guide rail. 3.Place the Plunge Saw in the Guide Rail. Note: In confined spaces using one 700mm guide rail is ideal PS165... - Page 12 7.Move the saw through the material to perform the cut. 3.Ensure the cutting depth is set and locked to the desired depth. 8.Once complete, release the ON/OFF trigger and move the saw blade upwards. PS165...
- Page 13 Blade Bolt is visible. The motor will lock into place. 6.Fit outer Blade Flange and blade bolt. Depress blade Locking Lever and tighten blade bolt. 3.Press and hold the Blade Locking Lever. 7.Set the plunge saw to its original position. PS165...
-
Page 14: Maintenance And Service
Always replace both carbon May indicate the carbon brushes have worn out brushes at the same time. and need to be replaced. Carbon brushes should only be replaced by a qualified electrician or power tool repairer. PS165... -
Page 15: Lumberjack Guarantee
If a return is requested by the Authorised Dealer or 1.2.3 If asked to do so by Lumberjack or its Lumberjack, you will be provided with a Returns Authorised dealer, you return the product at Material Authorisation number which must be your own cost to Lumberjack’s or supplying... - Page 16 Lumberjack. If you include a contact number with this it will speed your claim 2.4 Please note that it is essential that the letter of claim reaches Lumberjack on the last day of this Guarantee at the latest. Late claims will not be considered.
-
Page 17: Declaration Of Conformity
Old Heath Road, Wolverhampton, WV1 2RP. Tel: 01902 450 470 Declares that the Plunge Saw Kit(PS165) Is in compliance with the regulations included in the Directives:2006/42/EC EC DECLARATION OF CONFORMITY Certificate for EC-type examination delivered by TÜV Rheinland LGA Products Gmbh -,Tillystra ße 2 –... -
Page 18: Parts List
Flat round head screw M8x20 Upper cover Capacitor 0.33μ Pan head screw M5x35 Lock screw M4x12 Self tapping screw ST4.1x16-F Spanner for spindle lock Self tapping screw ST4.1x16-F Spring for spindle lock Self tapping screw ST4.1x16-F Bearing 6000 RS(8x22x7) PS165 AIR6V AIR6V AIR6V... - Page 19 Hexagon socket cap screw M6x15 Socket head wrench 3mm Small washer 6 Motor cover Spring washer 6 Screw Back bracket Holder plate Big washer 6 Ball bearing vibration damper Adjust knob Insulation Hexagon socket cap screw M5x12 Spring PS165 AIR6V AIR6V AIR6V...
-
Page 20: Parts Diagram
Parts Diagram PS165...


Need help?
Do you have a question about the PS165 and is the answer not in the manual?
Questions and answers