
Related Manuals for Lumberjack WB1620


Summary of Contents for Lumberjack WB1620
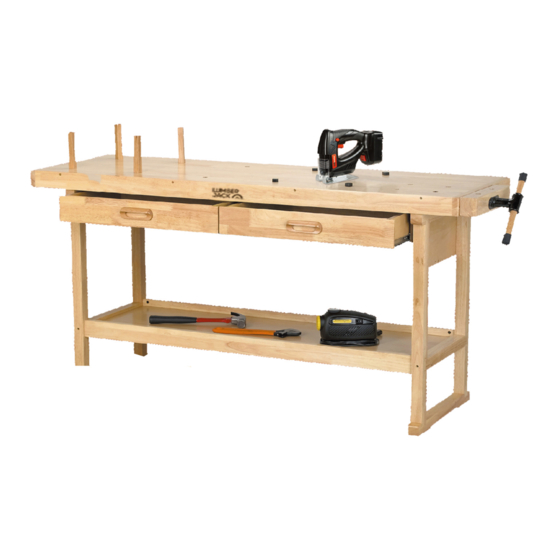
- Page 1 SAFETY AND OPERATING MANUAL Solid Hardwood Work Bench WB1620 ORIGINAL INSTRUCTIONS WB1620...
- Page 2 TABLE OF CONTENTS Welcome to Lumberjack! Dear Customer, Congratulations on your purchase. Before using the product for the first time please be sure to read these instructions for use. They provide you with all information necessary for using the product safely and to ensure its long service life.
-
Page 3: General Tool Safety Warnings
Do not assemble when tired or when under the influence of drugs or medication. j) This product is not a toy. Do not allow children to play with, on or near Workbench. k) Inspect before every use; do not use if parts are loose or damaged. WB1620... -
Page 4: Machine Details And Product Features
L 535mm X W 325mm X H 70mm Drawer Front panel(P1) x 2 Drawer Back Panel (P2) x 2 Drawer Panel(P3) x 2 Drawer Slot Panel(P4) x 2 Drawer Bottom(P5) x 2 Drawer Handle x 2 Drawer Screw x 4 WB1620... -
Page 5: Assembly
IN SEE Figures A and B. Note: When setting down the assembled Legs onto the Table Top, verify both Legs and Table Top are facing the correct direction. (Note the small “Front” labels placed on the items. These labels can be removed after assembly.) WB1620... - Page 6 Sliding Partition face the same way as the Drawer Note: Verify that the Sliding Partition and Table guide slots on the Legs. Top face the same direction. 9. Use the Hex Wrench and Screws (6) to fasten the tops of the Legs to the Table Top underside. WB1620...
- Page 7 Legs. Then use Screws (6) to fasten each end of Workbench located. the Lower Support to the sides of the Legs. 14. Remove the Vice Screw and Washer (12) from the middle thread of the Vice (5). WB1620...
- Page 8 (P1-P5). Use the Parts List as on page 10 as reference. This will help assure correct assembly. 20. Fasten Drawer Bottom to Drawer Pack Panel. Once Drawers are fully assembled, verify that the inside tracks along the Sliding Partition are pushed forward. WB1620...
- Page 9 21. Slide Drawers into tracks along Sliding Partition and insides of the Legs. 22. Once all Drawers are inserted, tap Wood Pegs (10) and Small Anvil Pegs (11) into desired holes on the Table Top. The Workbench is now fully assembled and ready for use. WB1620...
-
Page 10: Parts List/Parts Diagram
Lower Support Drawer Front Panel(P1) Vice Drawer Back Panel(P2) Screw Drawer Panel (P3) Bolt Drawer Slot Panel (P4) Connecting Nut Drawer Bottom (P5) Hex Wrench (50mm) Drawer Handle Anvil Peg Drawer Screw Vice Screw and Washer WB1620 AIR6V AIR6V AIR6V...
Need help?
Do you have a question about the WB1620 and is the answer not in the manual?
Questions and answers