Subscribe to Our Youtube Channel
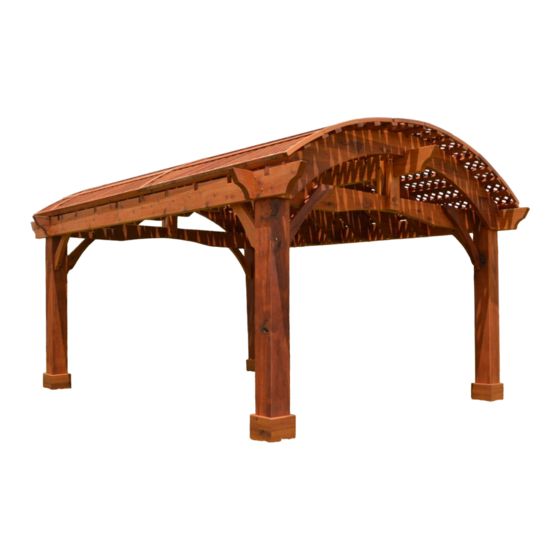
Summary of Contents for Forever Redwood CUSTOM ARCHED PERGOLA
- Page 1 866.332.2403 (Toll Free); 7am-7pm Pacific Time, Monday-Saturday Assembly Instructions for: CUSTOM ARCHED PERGOLA CUSTOM ARCHED PERGOLA www.foreverredwood.com...
- Page 2 CONTENT OF THE BOXES Quantity Description Drawing Posts Supports (21’-3”) Supports (16’) Arched Rafters Roof Slats Roof support Small supports for Roof support Braces (48”) Braces (46”) Lattice Panels Trim pieces for bottom of posts Ceiling fan base CUSTOM ARCHED PERGOLA www.foreverredwood.com...
- Page 3 Attach support to posts with four bolts (12” x 3/8”) washers & nuts. (Match numbers).Tap the bolt all the way into the wood to set it, then add a washer and nut and lightly tighten. Repeat this step with the other supports. CUSTOM ARCHED PERGOLA www.foreverredwood.com...
- Page 4 (16’) with two bolts (9” x 3/8”), washers & nuts. (Match numbers).Tap the bolt all the way into the wood to set it, then add a washer and nut and lightly tighten. Repeat this step with the other small supports. CUSTOM ARCHED PERGOLA www.foreverredwood.com...
- Page 5 (default rafter spacing is 18” on center unless custom ordered differently). Start at one end and attach one rafter at a time from both sides and on both ends before moving to the next rafter. And repeat the process in all Arched Rafters. CUSTOM ARCHED PERGOLA www.foreverredwood.com...
- Page 6 This completes the pergola assembly. Hope you enjoy your set for many decades. If you ever have a problem or a question, don't hesitate to call us (866 332 2403) or email us. We are here to support you. CUSTOM ARCHED PERGOLA www.foreverredwood.com...


Need help?
Do you have a question about the CUSTOM ARCHED PERGOLA and is the answer not in the manual?
Questions and answers