Advertisement
Quick Links
Advertisement

Related Manuals for Costway HW66747


Summary of Contents for Costway HW66747
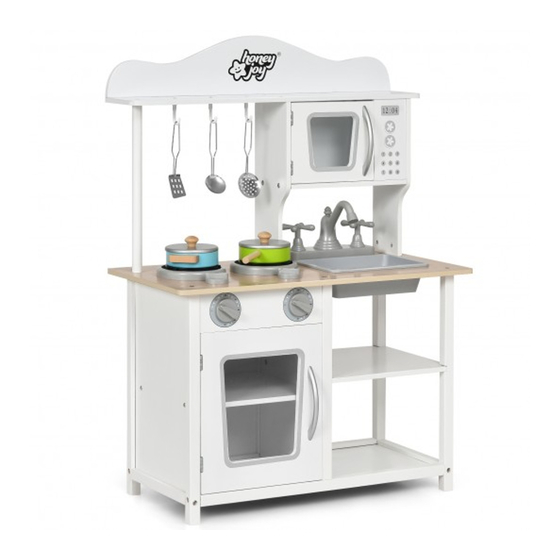
- Page 1 Kitchen Playset HW66747...
- Page 2 Please read all instructions carefully and keep it for future reference. General Security Warning Caution: The Product is not suitable for the children under 3 years Danger: Keep all small parts and packaging materials for this product away from babies and children, otherwise they may pose a choking hazard.
- Page 3 Ax12 Bx24 Cx42...
- Page 4 Insert the wooden plug A to the panel No.7 and 15 Assemble the part G,F to the panel No. 21,8 with screws B,and assemble the part N to the panel No. 21,8 with screws D Assemble the part M to the panel No. 2 with screws H, and the part E to the panel No.2,17with screws B, then insert the wooden plug A into the panel No.17...
- Page 5 Assemble the panel No. 1, 2 with screws C Assemble the panel No. 4, 5,6 with screws C Insert the panel No.3 between the panels No.4 and No.6,and assemble the panel No.7 to No.5 with wooden plug A...
- Page 6 Use screws C to assemble the parts of step 2 and step 4 together, and then assemble the part 9 to the panel No. 2 Install the part L,O,P to the panel No.10 with screws D, and the part J to the panel No.10 with screws I Assemble the part 11,12,13,20 with screws C...
- Page 7 Assemble the part 13, 14,22,24 with screws C Insert the panel No.21between the parts No.20 and No.22 Assemble the part 12,16,22,23 with screws C...
- Page 8 Insert the panel No. 18 between the parts No.12 and No.16,and assemble the panel No.17,21 and No.11 with screw C Assemble the panel No.17,18,19,28 with screws C Insert the panel No.25 between the part No.11 and No.12. Insert the panel No.15 between the part No.16 and No.26...
- Page 9 Attach the parts of step 6 to the part assembly of step 13 with screw C Attach the parts of step 5 to the part assembly of step 14 with screw C...
- Page 10 Install the panel No.8 to the panel No.4 with screws B Put the part K into the groove of the countertop...
- Page 11 Welcome to visit our website and purchase our quality products! With your inspiring rating, COSTWAY will be more consistent to offer you EASY SHOPPING EXPERIENCE, GOOD PRODUCTS and EFFICIENT SERVICE! US office: Fontana, California UK office: Ipswich Reward Points Exclusive Customer Service Personalized Recommenda�ons...
Need help?
Do you have a question about the HW66747 and is the answer not in the manual?
Questions and answers