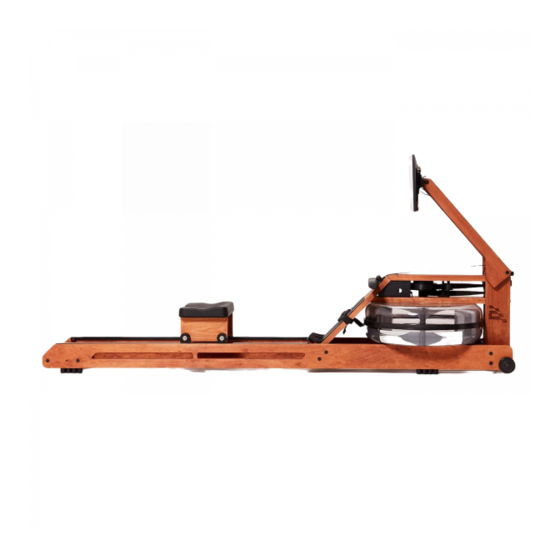
ERGATTA Rower Assembly Manual
Hide thumbs
Also See for Rower:
- Owner's manual (24 pages) ,
- Assembly manual (20 pages) ,
- Assembly manual (20 pages)
Advertisement
Quick Links
Advertisement

Subscribe to Our Youtube Channel
Summary of Contents for ERGATTA Rower
- Page 1 A S S E M B L Y M A N U A L...
- Page 2 For step-by-step video instruction, watch the assembly video at https://erga.io/rower-assembly...
- Page 3 M A I N P A R T S Rail x2* Tablet Rear Spacer* with Bungee Seat Footboard* Tank Assembly & Mounting Arm O T H E R P A R T S Dolly Wheel Assembly x 2 JC Bolt × 8 JC Nut ×...
- Page 4 Lay the rails on the floor parallel to one another. Make sure that the black extrusions are facing the inside of the rails.
- Page 5 Position the rear spacer so that the logo is facing up and the bolt with the bungee cord is facing down. Unscrew the JCN nuts from the rear spacer. JCN Nut (x4)
- Page 6 Connect the rear spacer to the rails.
- Page 7 Screw the JCN nuts back into the side of the rails. Use the 5mm Allen key to tighten. JCN Nut Allen Keys (x4)
- Page 8 Place the seat assembly between the rails. The indent on the seat should face the rear spacer. Note: it may be necessary to separate the rails slightly to fit.
- Page 9 JCN Nut Wheel Assembly (x2) (x2)
- Page 10 Place the tank assembly between the rails. Using the JCN nuts and JCB bolts, attach the tank to the rails. Use the 5mm Allen keys to screw and tighten. JCN Nut JCB Bolt Allen Keys (x4) (x4)
- Page 11 Place the tank assembly between the rails. Using the JCN nuts and JCB bolts, attach the tank to the rails. Use the 5mm Allen keys to screw and tighten. JCN Nut JCB Bolt Allen Keys (x4) (x4)
- Page 12 Press and hold the heel adjustment button to add the footpads. Footpads (x2)
- Page 13 Screw the handle rests into position using the handle rest bolts. Do not overtighten. Handle Rest Bolt (x2)
- Page 14 Stand the machine upright. Release the recoil belt and connect the bunjee to the recoil strap.
- Page 15 Fill a separate tank with water. Using the siphon, fill the water tank with water to the level 17 marker on the side of the tank. Add a purification tablet (provided in your Ergatta bag).
- Page 16 Raise the mounting arm, gently pull the spring lock on the back of the forward riser, and raise the arm until it locks in place.
- Page 17 Slide the tablet onto the end of the mounting arm (the speakers should be on the top). Using the tablet bolt and 1/8" Allen key, secure the tablet to the arm. Tablet Bolt...
- Page 18 Assemble the wires. Back Back of Monitor of Arm Side of Monitor...


Need help?
Do you have a question about the Rower and is the answer not in the manual?
Questions and answers