Table of Contents
Advertisement
Quick Links
Advertisement
Table of Contents

Summary of Contents for Hytera PD70XI
- Page 1 OWNER’S MANUAL DIGITAL PORTABLE RADIO DIGITAL TRUNKING PORTABLE RADIO...
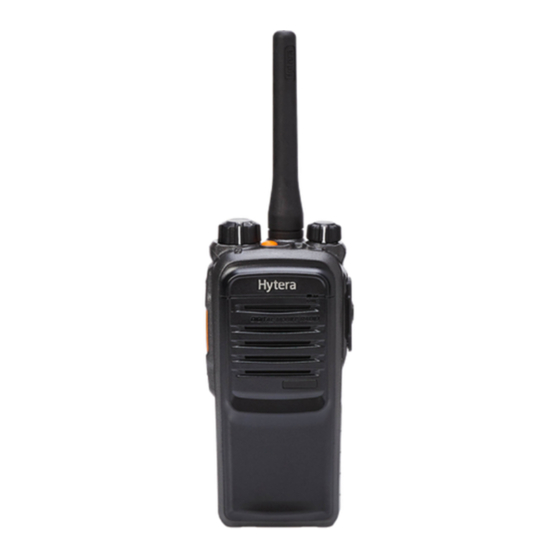
- Page 2 Manual along with the product. To avoid body injury or property loss caused by misoperation, please read the Safety Information Booklet carefully before use. This manual is applicable to the following product: PD70Xi Digital Portable Radio (X may represent 2, 5, 6 or 8)
- Page 3 Disclaimer Consult the dealer or an experienced radio/TV technician ● American National Standards Institute (ANSI)/ Hytera Communications Corporation Limited (the for help. Institute of Electrical and Electronic Engineers (IEEE) Company) endeavors to achieve the accuracy and C95. 1-1992;...
- Page 4 The antenna should be kept away from the face and eyes. When worn on the body, always place the radio in a Hytera-approved holder, holster, case, or body harness or by use of the correct clip for this product. Use of non-approved accessories may result in exposure levels which exceed the FCC's occupational/controlled environmental RF exposure limits.
-
Page 5: Table Of Contents
Contents Items in the Package ------------------------------------------------------------------ 2 Product Overview ---------------------------------------------------------------------- 2 Product Controls ------------------------------------------------------------------ 2 Programmable Keys ------------------------------------------------------------- 2 LED Indicator ----------------------------------------------------------------------- 2 Before Use -------------------------------------------------------------------------------- 3 Attaching the Battery ------------------------------------------------------------ 3 Attaching the Antenna ----------------------------------------------------------- 3 Attaching the Belt Clip ----------------------------------------------------------- 3 Checking the Battery Power --------------------------------------------------- 4 Basic Operations ----------------------------------------------------------------------- 4 Turning the Radio On/Off ------------------------------------------------------- 4... -
Page 6: Items In The Package
Caution: The TK key is programmed with Items in the Package Product Overview emergency feature by default (short press: Emergency On; long press: Emergency Off). It Please unpack carefully and check if all items listed is programmable by your dealer. Product Controls below are received. -
Page 7: Before Use
Before Use Attaching the Battery √ "click " Attaching the Accessories Step 1 Open the accessory connector cover as shown Step 3 Tighten the screw on the plug. below. Note: To remove the battery, turn off the radio first, and then slide the battery latch upwards to unlock the battery. -
Page 8: Checking The Battery Power
channels. The radio supports 3 zones, each of which LED Indication/Tone Battery Power consists of up to 16 channels. Your dealer can program The LED Indicator glows the zone for your specific needs. You can switch to the High green. Charge the Radio appropriate zone by pressing the programmed Zone Up The LED Indicator glows... -
Page 9: Private Call
Emergency Call needs to be configured and enabled by ● Vo i c e S e r v i c e s : C a l l w i t h o u t Private Call your dealer. Please refer to the Feature Description and Signaling, Call with Signaling, Initiating a Private Call Operation Manual along with the product for details. -
Page 10: Troubleshooting
Troubleshooting Phenomena Analysis Solution The battery may be improperly installed. Remove the battery and then reattach it. The battery power may run out. Recharge or replace the battery. The radio cannot be powered on. The battery may suffer from poor contact caused by dirtied or Clean the battery contacts. -
Page 11: Care And Cleaning
Care and Cleaning To guarantee optimal performance as well as a long service life of the product, please follow the tips below. Product Care ● Do not pierce or scrape the product. ● Keep the product far away from substances that can corrode the circuit. -
Page 12: Optional Accessories
Optional Accessories The following items are the main optional accessories for the product, and please consult your local dealer for more other accessories. Caution: Use the accessories specified by the Company only. If not, the Company shall not be liable for any loss or damage arising out of use of unauthorized accessories. - Page 13 Hytera Communications Corporation Limited. 2015 Hytera Communications Corporation Limited. Z04313 H05658 8 1 1 PD7 0 0 0 1 6 0 0...


Need help?
Do you have a question about the PD70XI and is the answer not in the manual?
Questions and answers