Advertisement
Advertisement
Table of Contents

Subscribe to Our Youtube Channel
Related Manuals for Singer SE017


Summary of Contents for Singer SE017
- Page 1 INSTRUCTION MANUAL SE017...
-
Page 2: Important Safety Instructions
IMPORTANT SAFETY INSTRUCTIONS When using an electrical appliance, basic safety precautions should always be followed, including the following: Read all instructions before using this household sewing machine. Keep the instructions at a suitable place close to the machine. Make sure to hand them over if the machine is given to a third party. - Page 3 • Switch the sewing machine off (“0”) when making any adjustment in the needle area, such as threading needle, changing needle, threading bobbin, or changing presser foot, etc. • Never drop or insert any object into any opening. • Do not use outdoors. • Do not operate where aerosol (spray) products are being used or where oxygen is being administrated. • To disconnect, turn all controls to the off (“0”) position, then remove plug from outlet. • Do not unplug by pulling on cord. To unplug, grasp the plug, not the cord. •...
- Page 4 Table of contents Cleaning ................21 Parts of the machine............5 Oiling ................21 Accessories ..............6 Replacing the stationary cutter ........22 Connecting the foot control and the power supply ..6 Storage ................22 Setting up the telescopic thread stand ......7 Servicing ................22 Opening and closing the front cover ........7 Trouble shooting ............23 Removing and replacing the flat bed extension....7 Stitch table ..............24...
-
Page 5: Parts Of The Machine
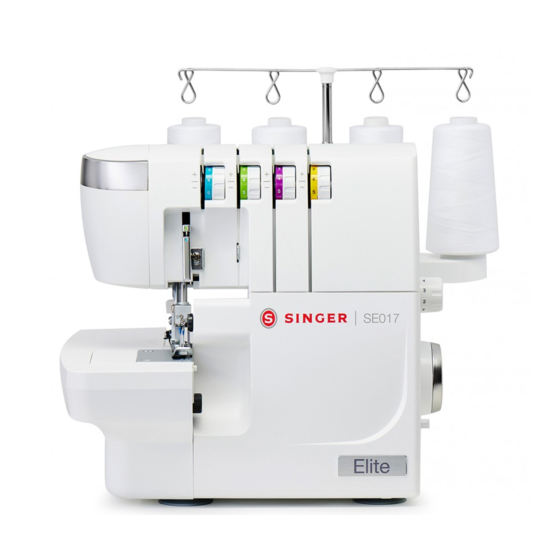
Parts of the machine 1. Presser foot pressure adjustment 2. Left needle thread tension dial (blue) 3. Right needle thread tension dial (green) 4. Upper looper thread tension dial (purple) 5. Lower looper thread tension dial (yellow) 6. Handle 7. Presser foot lifter 8. Stitch plate 9. Flat bed extension 10. Front cover 11. Differential feed adjusting lever 12. Power & light switch 13. Hand wheel 19. Presser foot 14. Stitch length dial 20. Movable upper cutter 15. Spool stand... -
Page 6: Connecting The Foot Control And The Power Supply
Accessories 1. 2-thread converter 2. Needle pack including two needles, size #14/90. Two needles, size #14/90, are in the machine on delivery. 3. Screwdriver 4. Tweezers 5. Lint brush 6. Spare lower knife 7 Waste tray Connecting the foot control and the power supply Foot control to use with this machine: - Type GTC/HKT 72C for 220-240V manufactured by DANYANG GUOTI MOTOR &...
Need help?
Do you have a question about the SE017 and is the answer not in the manual?
Questions and answers