Table of Contents
Advertisement
Quick Links
TNTDP / TNTDPB Touchscreen Thermostat Installation & User Guide
Installing the thermostat
Carefully separate the front half of the thermostat from the back plate by placing a small flat head
terminal driver into the slots on the bottom face of the thermostat.
Carefully unplug the cable connector which is plugged into the front half of the thermostat.
Place the thermostat front half somewhere safe.
Follow the Wiring Diagram to connect the floor heating cold leads, remote temperature sensor and
electrical supply to the appropriate terminals.
Screw the thermostat back plate on to the flush box. Re-connect the thermostat cable and clip the two
halves together.
Technical data
Supply voltage
Maximum Load
IP Rating
Warranty
Width
Height
Depth
Temp Range
Floor Sensor
(Resistance at 25°C )
Orientation
Setting the date and time
Press
and the time will begin to flash. Use
Press
until the day begins to flash (Note: Monday is Day 1). Use
Press
to save the settings
Heating Modes
When the timer is on, press the
Manual Mode
In manual mode press the
Schedule Mode
In the schedule mode the timer will follow the heating schedule that is set.
By pressing the
arrows it will override the current programmed temperature until the next programmed period.
Alternating between the thermostat and timer settings
When the unit is turned on press and hold
timer (with ON or OF displaying).
Advanced Settings
To access the advanced settings, turn the timer off by pressing
Press
to display setting 01. Use the
Press
to cycle between setting 01 to 04. Press
Menu
Description
01
Sensor Mode
02
Max Floor Temp Limit
03
5+2 or 7 day Programming
04
Screen saver
Key Lock
To lock the key pad, press and hold the
disappears.
230 - 240VAC
16A
IP30
2 Years
80mm
120mm
45mm (27mm in wall)
5°C - 35°C
10Kohm
Vertical
to select the correct time
to switch between manual and schedule modes.
to set the desired temperature in the thermostat setting or ON/OF status in the timer setting.
for about 5 seconds to switch between the thermostat (with temperature displaying) and the
to adjust the settings
to save the settings
A=Air Sensoring Only
AF=Air & Floor Sensoring
20°C - 40°C
01= 5+2 day program
ON = activated
for 5 seconds or until the
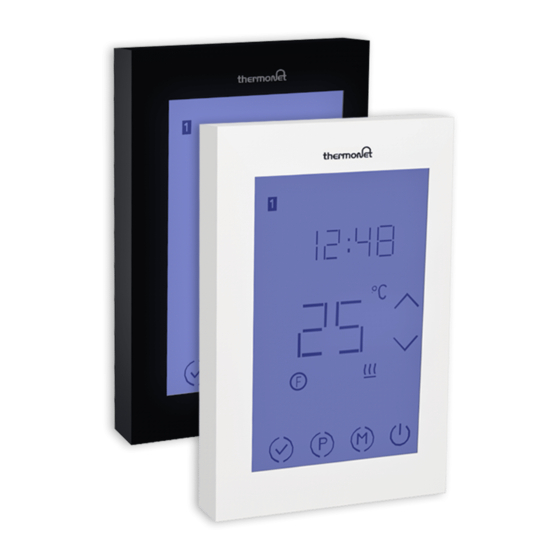
User Interface
to select the correct day
Range
F=Floor Sensoring
02 = 7 day program
OF = not activated
displays. To unlock press and hold the
1. Day indicator
2. Key lock icon
3. Schedule mode icon
4. Manual mode icon
5. Temperature indicator
6. Confirm settings
7. Program button
8. Mode button
9. Power button
10. Air/Floor sensoring mode
11. Up & down arrows
12. Program period
13. Time
Default
A= Air Sensoring Only
40°C by default
01 = 5+2 day program
OF= not activated
until the
Advertisement
Table of Contents

Subscribe to Our Youtube Channel
Related Manuals for Thermogroup TNTDP


Summary of Contents for Thermogroup TNTDP
- Page 1 TNTDP / TNTDPB Touchscreen Thermostat Installation & User Guide Installing the thermostat Carefully separate the front half of the thermostat from the back plate by placing a small flat head terminal driver into the slots on the bottom face of the thermostat.
- Page 2 Set up your heating schedule (For 5+2 Day Program) Turn the thermostat on by pressing To set up the heating schedule for Monday to Friday press The time for P1 will flash. This is the first ON period for the day. Use the to adjust the time to when the underfloor heating will turn on in the morning.
Need help?
Do you have a question about the TNTDP and is the answer not in the manual?
Questions and answers