
Subscribe to Our Youtube Channel
Related Manuals for ASA Electronics Jensen Heavy Duty JHD910BT

Summary of Contents for ASA Electronics Jensen Heavy Duty JHD910BT
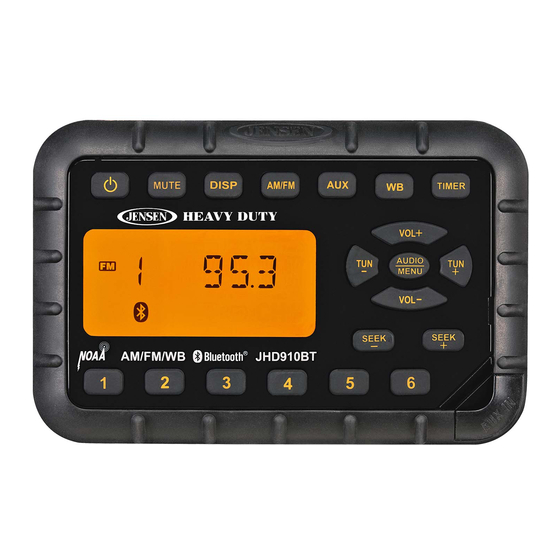
- Page 1 JHD910BT Owner’s Manual JENSEN MUTE DISP AM/FM TIMER HEAVY DUTY JENSEN VOL+ AUDIO MENU VOL- SEEK SEEK AM/FM/WB JHD910BT...
-
Page 2: Table Of Contents
JHD910BT CONTENTS Installation ........................3 Wiring .......................... 4 Basic Operation......................5 Tuner Operation ......................7 Bluetooth Operation ....................9 Weather Band Operation ..................11 Troubleshooting....................... 12 Specifications......................13... - Page 3 JHD910BT Features Features of the Jensen JHD910BT mobile audio system include: • Waterproof • uV and Corrosion Resistant • Electronic US/Euro AM/FM Tuner • 30 Programmable Presets (12 AM, 18 FM) • Non-Volatile Memory for User Settings and Preset Memories •...
- Page 4 JHD910BT Package Contents • JHD910BT Radio • Radio Mounting Bracket • Three (3) 10-16 x 3/4” Stainless Steel PPH Screws • Three (3) 10-32 x 5/8” Stainless Steel PPH Screws • There (3) 10-32 Stainless Steel Hex Nuts • Three (3) #10 Stainless Steel Washers •...
-
Page 5: Installation
JHD910BT INSTALLATION Mounting the Bracket Two options are provided for mounting the bracket (self-tapping screws or machine screws with nuts) to ensure a mounting option ideal for your mounting location. Avoid obstructing airflow to the rear cooling fins on the radio. NOTE: Mounting holes should be drilled to 7/32”. -
Page 6: Wiring
JHD910BT WIRING The wiring diagram depicts the wiring connections required for proper operation of the unit. Female Motorola Type Antenna Connector Red Female Black RCA Right Aux In Yellow Clear Bluetooth Antenna Wire White Female RCA Left 9-Pin Connector (Male) Aux In NOTE: Do not connect the red wire to a constant power connection. -
Page 7: Basic Operation
JHD910BT BASIC OPERATION Power Press the power button (1) to turn the unit on or off. This button is also used to access the version number of the software. To briefly display the software version on the LCD, press and hold the power button for more than five seconds. - Page 8 JHD910BT Auxiliary Input Function To connect a portable audio device (MP3 player, iPOD, etc.) to the JHD910BT, connect the headphone or line level output of the device to the 1/8" auxiliary input jack of the JHD910BT (14) using the audio patch cord (included). Press AUX (6) to select auxiliary input mode. Timer Press the TIMER button (8) to directly access timer mode.
-
Page 9: Tuner Operation
JHD910BT TUNER OPERATION Select a Band Press AM/FM (5) to directly access tuner mode from any other function mode. When the unit is already in tuner mode, press AM/FM to change between two AM bands (AM1 and AM2) and three FM bands (FM1, FM2 and FM3). NOTE: If the unit is programmed for European operation, the sequence will be MW1, MW2, FM1, FM2 and FM3. - Page 10 JHD910BT Preset Stations Six numbered preset buttons (17) store and recall stations for each AM and FM band. To store a station, select a band (if needed), then select a station. Press and hold a preset button for three seconds. The current station will be stored and the corresponding preset number will appear in the display.
-
Page 11: Bluetooth Operation
JHD910BT BLUETOOTH OPERATION The JHD910BT includes built-in Bluetooth technology that allows you to connect this head unit to wireless headphones and certain other Bluetooth devices. About Bluetooth Technology Bluetooth is a short-range wireless radio connectivity technology developed as a cable replacement for various electronic devices. - Page 12 JHD910BT Once a connection is made with the device, “COD: ****” appears on the display. Enter “0000” and then press the AUDIO/MENU button to complete the pairing process. Upon successful pairing, “SUCCESS” appears on the display. The unit is now paired with the selected BT headset.
-
Page 13: Weather Band Operation
JHD910BT WEATHER BAND OPERATION Accessing the Weather Band Press the WB button (7) to directly access the weather band mode from any other function mode. What is the NOAA Weather Radio? NOAA is a nationwide system that broadcasts local weather emergency information 24 hours a day. -
Page 14: Troubleshooting
JHD910BT TROUBLESHOOTING Table 1: Troubleshooting Problem Cause Corrective Action No power Vehicle ignition switch is not If the power supply is connected to the vehicle accessory circuits but the engine is not moving, switch the ignition key to “ACC”. The 3A fuse is blown Replace the 3A fuse. -
Page 15: Specifications
JHD910BT SPECIFICATIONS General Power Supply Requirements ......DC 12 Volts, Negative Ground Chassis Dimensions . - Page 16 ASA Electronics Corporation www.asaelectronics.com www.jensenheavyduty.com ©2017 ASA Electronics Corporation v. 120517...
Need help?
Do you have a question about the Jensen Heavy Duty JHD910BT and is the answer not in the manual?
Questions and answers