Table of Contents
Advertisement
Quick Links
Advertisement
Table of Contents

Summary of Contents for Apollo Enclosures OSB3800
- Page 1 User Guide OUTDOOR SOUNDBAR MODEL: OSB3800 www.apolloenc.com...
-
Page 2: Read Before Operating Equipment
17. Do NOT destroy, process, or place the product close to any heating device; do NOT bend or twist power cords, power plugs, cables, or wires with excessive force; do NOT place any heavy object on the product as all of the above may cause damages to the product and result in fire or electric shock. OSB3800 IG 200401... - Page 3 32. Never power wash or spray water at the front grill of the soundbar. While the speaker gaskets are IP65 rated and won't allow ingress of water to the electrical components, doing so may cause damage to the drivers and void the warranty. OSB3800 IG 200401...
-
Page 4: Fcc Caution
Record your soundbar's model and serial number here for future reference. Keep this user manual in an accessible location in the event settings need to be changed or service is desired. Note: Your soundbar's serial number can be found on the box and on the rear input panel. Model Number Serial Number OSB3800 IG 200401... - Page 5 O (1) wall plate N (2) M(1) AAA battery remote control E (2) C (1) D (1) extension brackets left mount bracket right mount bracket for use with Apollo 65", 75" & 86" enclosures OSB3800 IG 200401...
-
Page 6: Wall Mounting Hardware
8mm concrete anchor lock washer #14 x 2-1/2" wood screw U (2) W (2) M5 x 10mm P (2) M8 x 40mm hook-on bracket X (1) 4mm allen wrench Z (2) Y (2) .5" spacer .25" spacer OSB3800 IG 200401... - Page 7 Soundbar Bracket Assembly for Apollo Enclosures 43", 50" and 55" *Hardware included is for installing soundbar only. To attach display, use hardware included with display mount. Snap end caps on soundbar Position back panel of Apollo enclosure, inside facing down, on a flat clean surface.
- Page 8 Soundbar Bracket Assembly for Apollo Enclosures 65", 75" and 86" *Hardware included is for installing soundbar only. To attach display, use hardware included with display mount. Position back panel of Apollo enclosure inside facing down on a flat clean surface.
- Page 9 (2.5" (64mm) minimum depth required). 3. Mounting hole must center on stud. 4. Level wall plate. Install using wood screws provided. Q (2) SIDE VIEW Do not fully tighten tighten S (2) T (2) V (2) OSB3800 IG 200401...
- Page 10 Level wall plate. Mark mounting holes. R (2) Insert anchor flush to concrete. Level wall plate. Install using concrete anchors and wood screws provided. SIDE VIEW Q (2) Do not fully tighten tighten S (2) T (2) V (2) OSB3800 IG 200401...
-
Page 11: Battery Installation And Replacement
Plug the soundbar's power cable into the nearest outlet. Female 3.5mm to male RCA stereo Note: If the audio output of the TV is RCA stereo, a audio cable (sold separately) female 3.5mm to male RCA stereo audio cable will be required. OSB3800 IG 200401... -
Page 12: Using The Remote Control
Bluetooth enabled device. NOTE - The soundbar remote control does not carry an IP rating. Do NOT allow the remote control to get wet. Do NOT leave the remote control outside when the soundbar is not in use. OSB3800 IG 200401... -
Page 13: Troubleshooting
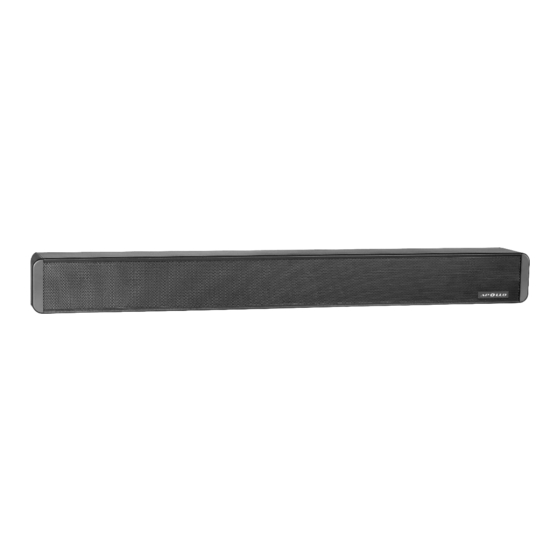
Rating Frequency Response 50Hz - 20kHz Operating Temperature Range -40° - 120°F (-40°C - 49°C) Vesa Mounting Pattern 400mm wide pattern Product Dimensions 38.13" x 3.91" x 4.32" (969 x 99 x 110mm) Product Weight 9.7lb (4.4kg) OSB3800 IG 200401... - Page 14 This warranty is made in lieu of all other warranties, expressed or implied, and all other liabilities on the part of Apollo Enclosures. Any other warranties, including the warranties of merchantability and fitness for a particular purpose are hereby disclaimed by Apollo Enclosures and its representatives and/or agents.
Need help?
Do you have a question about the OSB3800 and is the answer not in the manual?
Questions and answers