
Subscribe to Our Youtube Channel
Related Manuals for Muskoka sheridan


Summary of Contents for Muskoka sheridan
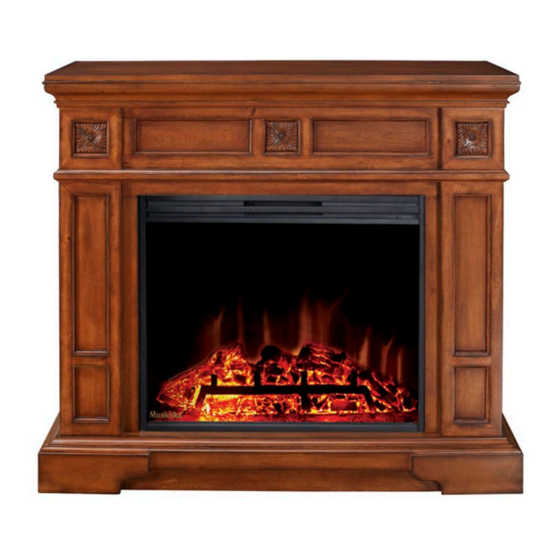
- Page 1 ELECTRIC FIREPLACE CHIMENEA ELÉCTRICA FOYER ÉLECTRIQUE Save these instructions | Conserver ces instructions | Guarde estas instrucciones sheridan English p. 1 MEF2885BP Français p. 8 Español p. 14 REV06-08...
- Page 2 2PCS ASSEMBLY TIPS 18PCS Ø8*30 Before you begin, locate the instructions and hardware. Take out all the parts and compare them to the diagrams below. Be sure you have all the parts and can identify them. Two people are required to assemble this product. Assembly time will take approximately 30-60 minutes.
- Page 3 ASSEMBLY Before assembly, use scissors to unwrap the parts from the packaging. DO NOT use a box cutter or exacto-knife as you may cut into the mantel pieces inside the box and damage the finish. Check for the hardware bag which is red and located inside the packaging, taped to the top box.
- Page 4 Locate the left and right front panels (D) and (E). Take left front panel (D) and line up the hole in the block of left front panel (D) with the hole in base (A) and the 2 wood dowels (a) in the base (A) with the 2 holes in the bottom of left front panel (D).
- Page 5 Insert 4 wood dowels (a) into the 4 holes in the tops of the left and right side panels (B) and (C). Insert 2 wood dowels (a) into the 2 holes in the top of the upper facing panel (F). Hardware Used Wood Dowel Locate top (G).
- Page 6 2PCS #8*1" Locate the firebox brace (e). Place the firebox brace (e) snuggly behind the firebox to hold it in position. Insert and tighten 2 screws (d) into the holes in the firebox support. These screws (d) will go into the base (A) once tightened. INSTALLING THE ROSETTES (OPTIONAL) 18PCS Ø...
- Page 7 WARRANTY Greenway Home Products is pleased to offer in-home warranty repairs. Please refer to your Firebox Use and Care Guide for warranty information on your Firebox. DO NOT RETURN THIS PRODUCT TO THE STORE: Please contact Customer Service at: 1-866-253-0447 Monday to Thursday from 8:30AM to 5:00PM (EST), Friday from 8:30AM to 4:00PM (EST) Email: support@greenwayhp.com Canada: 400 Southgate Dr., Guelph, Ontario, Canada, N1G 4P5...
Need help?
Do you have a question about the sheridan and is the answer not in the manual?
Questions and answers