Table of Contents
Advertisement
Quick Links
Copies of the I/B. Please reproduce them without any
changes except under special instruction from Bimar
(Italy). The pages must be reproduced and folded in
order to obtain a booklet A5 (+/- 148.5 mm width x 210
mm height). When folding, make sure you keep the good
'
numbering when you turn the pages of the I/B. Don
t
change the page numbering. Keep the language
Fax +32 030 9904733
integrity.
LIBRETTO ISTRUZIONI
NOTICE D'INSTRUCTIONS
INSTRUCTION BOOKLET
BEDIENUNGSANLEITUNG
FOLLETO DE INSTRUCCIONES
GUINZAGLIO A LED LUMINOSI PGL1
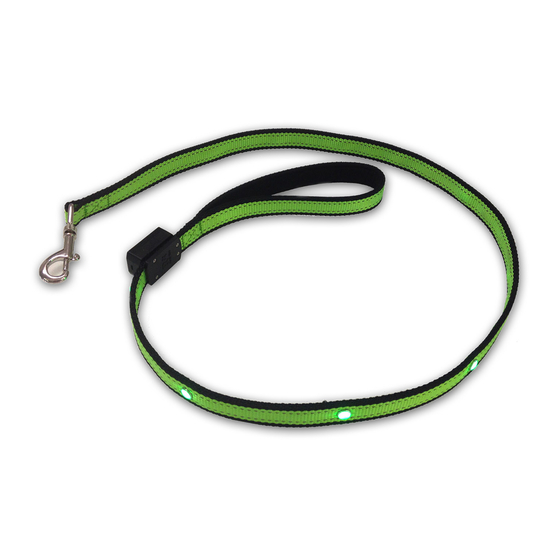
LEASH WITH 6 BRIGHT GEMS
LAISSE AVEC LED LUMINEUSES
LEINE MIT LEUCHTLEDS
TRAÍLLA DE LEDES LUMINOSOS
type PGL1 (mod. RW14110301)
1
8
/
Assembly page 1/8
Advertisement
Table of Contents

Subscribe to Our Youtube Channel
Summary of Contents for Bimar PGL1
- Page 1 Copies of the I/B. Please reproduce them without any changes except under special instruction from Bimar (Italy). The pages must be reproduced and folded in order to obtain a booklet A5 (+/- 148.5 mm width x 210 mm height). When folding, make sure you keep the good ’...
-
Page 2: Installazione
(vedi immagini sotto): appoggiare su una superficie orizzontale il guinzaglio con la parte dei loghi (Bimar+Hi pet) rivolta verso alto, spingere con un utensile “esempio: un cacciavite” per far scorrere verso esterno il cassettino del vano batterie,e inserire n.2 batterie tipo CR2025 rispettando la polarità (polo negativo “-” deve essere posizionato nella parte superiore) e richiudere il cassettino. -
Page 3: Installation
Copies of the I/B. Please reproduce them without any changes except under special instruction from Bimar (Italy). The pages must be reproduced and folded in order to obtain a booklet A5 (+/- 148.5 mm width x 210 mm height). When folding, make sure you keep the good ’... -
Page 4: Maintenance
The end opposite the part that is held comes with a swivel snap-hook for fastening onto your pet's collar. To replace the batteries (see images below): place the leash on a horizontal surface with the logos (Bimar + Hi pet) facing up, push with a tool "example: a screwdriver"... -
Page 5: Premiere Utilisation
Pour remplacer les piles (voir les images ci-dessous) : poser la laisse sur une surface horizontale avec la partie des logos (Bimar+Hi pet) tournée vers le haut, pousser avec un outil “exemple : un tournevis” pour faire glisser vers l’extérieur le compartiment des piles et insérer.2 piles de type CR2025 en respectant la polarité (pôle négatif “-” doit être placé... -
Page 6: Wichtiger Hinweis
Auswechseln der Batterien (siehe Abbildungen unten): Die Leine auf eine waagerechte Fläche legen, mit der Seite der Logos (Bimar+Hi pet) nach oben. Mit einem Werkzeug (z.B. einem Schraubenzieher) das Kästchen des Batteriefachs nach außen schieben und 2 Batterien des Typs CR2025 einlegen. Auf die Pole achten (der Minuspol "-"... -
Page 7: Instalación
Copies of the I/B. Please reproduce them without any changes except under special instruction from Bimar (Italy). The pages must be reproduced and folded in order to obtain a booklet A5 (+/- 148.5 mm width x 210 mm height). When folding, make sure you keep the good ’... -
Page 8: Mantenimiento
(véanse las imágenes abajo): apoye sobre una superficie horizontal la traílla con la parte de los logotipos (Bimar+Hi pet) hacia arriba, empuje con una herramienta “ejemplo: un destornillador” para hacer deslizar hacia afuera el cajoncito del compartimiento de la batería e introduzca n.2 baterías tipo CR2025 respetando la polaridad (polo negativo “-”...


Need help?
Do you have a question about the PGL1 and is the answer not in the manual?
Questions and answers