Table of Contents
Advertisement
Quick Links
Advertisement
Table of Contents

Subscribe to Our Youtube Channel
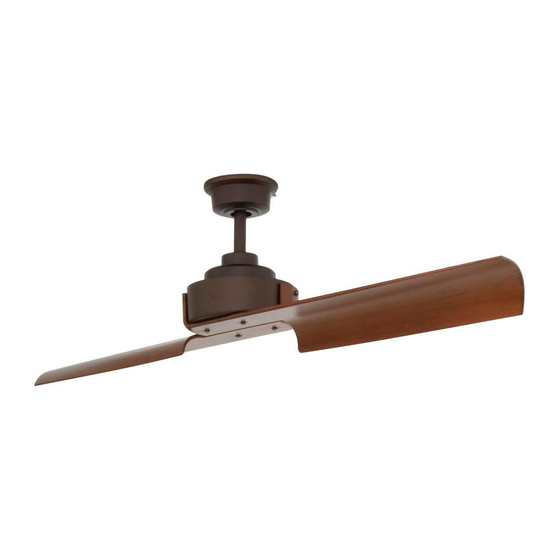
Summary of Contents for Aire Magnitude 34348
- Page 1 Magnitude READ AND SAVE ALL INSTRUCTIONS INSTRUCTION MANUAL WARRANTY CERTIFICATE...
- Page 2 ©2017 Minka Lighting Inc. Manual design and all elements of manual design are protected by United States Federal and/or State Law including Patents, Trademark, and/or Copyright Laws. 1151 W. Bradford Court, Corona, CA 92882 For Customer Assistance Call: 1-800-307-3267...
-
Page 3: Table Of Contents
WARRANTY The Aire warranty is for one (1) year from the date of purchase from an authorized Aire dealer. This warranty is only valid to the original purchaser or user against all defects in material and workmanship (light bulbs excluded) for one (1) full year. -
Page 4: Safety Rules
SAFETY RULES 1. To reduce the risk of electric shock, ensure electricity has been turned off at the circuit breaker or fuse box before beginning. 2. All wiring must be in accordance with the National Electrical Code “ANSI/NFPA 70-1999” and local electrical codes. Electrical installation should be performed by a qualified licensed electrician. -
Page 5: Package Contents
PACKAGE CONTENTS Unpack your fan and check the contents. You should have the following items: A. Mounting hardware: 1. Fan blades (2) #10 x 1.5" Wood screws (2 PCs.) 2. Canopy assembly #8 x 3/4" Machine screws (2 PCs.) 3. Standard downrod assembly Lock washers (2 PCs.) 4. -
Page 6: Pre-Installation
PRE-INSTALLATION DUAL MOUNTING INSTRUCTIONS This ceiling fan is supplied with two types of hanging assemblies: the standard ceiling installation using the downrod with ball and socket mounting, and the "close-to-ceiling" mounting. The "close-to-ceiling" mounting is recommended in rooms with less than 8 ft. ceilings or in areas where additional space is desired from the floor to the fan blades. When using the standard downrod installation, the distance from the ceiling to the bottom of the fan blades will be approximately 12 in. -
Page 7: Installing The Fan
Note: You may need a longer downrod to maintain proper blade clearance when installing on a steep, sloped ceiling. Longer downrods are available from your Aire dealer. To hang your fan where there is an existing fixture but no ceiling joist, you may need to install a hanger bar as shown in Fig. -
Page 8: Hanging The Fan-Standard Ceiling Mounting
The use of other parts, hardware or components not supplied by Aire with the fan will void the Aire Warranty. REMEMBER to turn off the power. Follow the steps below to hang your fan properly: Step 1. -
Page 9: Hanging The Fan-Close-To-Ceiling Mounting
The use of other parts, hardware or components not supplied by Aire with the fan will void the Aire Warranty. REMEMBER to turn off the power. Follow the steps below to hang your fan properly: Step 1. -
Page 10: Electrical Connections
Transmitter units have been preset at the factory. (Fig. 19) No frequency change is necessary, should you desire to install another Minka Aire DC motor fan within the same home or area with a separate frequency code please see the "frequency interference"... -
Page 11: Finishing The Installation
FINISHING THE INSTALLATION STANDARD CEILING MOUNTING WARNING: Locking slots of ceiling canopy are provided only as an aid to mounting. Do not leave fan assembly unattended until all four canopy screws are engaged and firmly tightened. Step 1. Slide canopy up to the ceiling as shown in Figure 21. Make sure you place the wires safely into the outlet box. Step 2. -
Page 12: Attaching The Fan Blades
ATTACHING THE FAN BLADES Align the holes from the blade to the holes from the motor, and secure the blade in place by using the screws with the hex wrench provided. Repeat this process to attach the other blades. (Fig. 23) MOTOR BLADES WASHERS... -
Page 13: Operating The Remote Control
OPERATING THE REMOTE CONTROL Remote Control only: Install a A23 12 volt battery (included). To prevent damage to transmitter remove the battery if not used for long periods of time. IMPORTANT: This remote control & dc fan motor are designed to perform a one time self calibration test. This test will begin once a new code has been set, and will last approximately six minutes. - Page 14 1. Lock position: The DC motor has a built-in safety against obstruction during operation. The motor will get locked operation and disconnect power after 30 seconds if interruption occurs. Please remove obstacles before re-set. 2. Over 38W protection: When the receiver detects motor power consumption which is greater than 38W, the receiver’s power will stop and operation will be immediately discontinued.
-
Page 15: Care Of Your Fan
CARE OF YOUR FAN Here are some suggestions to help maintain your fan. 1. Because of the fan's natural movement some connections may become loose. Check the support connections, brackets and blade attachments twice a year. Make sure they are secure. (It is not necessary to remove fan from the ceiling). -
Page 16: Troubleshooting
TROUBLESHOOTING SYMPTOM SOLUTION Fan will not start Check to make sure the wall switch is turned on. Check circuit fuses or breakers. Caution! Make sure the power is turned off before performing the following steps. Remove canopy and check wire connections. Check wall control transmitter connections (if applicable). -
Page 17: Specifications
Your cost depends on rates and use ● Energy Use: 20 Watts All estimates based on typical use, excluding lights ftc.gov/energy For any additional information about your Aire Ceiling fan, please write to: 1151 W. Bradford Court, Corona, CA 92882 For Customer Assistance Call: 1-800-307-3267...


Need help?
Do you have a question about the Magnitude 34348 and is the answer not in the manual?
Questions and answers