Advertisement
Quick Links
Advertisement

Subscribe to Our Youtube Channel
Related Manuals for peerless-AV KIP740


Summary of Contents for peerless-AV KIP740
- Page 1 2015-04-28 #:150-9053-4 (2020-03-31)
- Page 2 WARNING ENG - Do not begin to install product until you have read and understood the instructions and warnings contained in this user guide. This product is designed to be installed on wood stud walls. Hardware is included for wood stud installation.
- Page 3 Tools Needed for Assembly. ENG To properly tighten screws: Tighten until screw head makes contact, then tighten another 1/2 turn. Do not overtighten screws. +1/2 5/32" (4mm) 3/8" (10mm) 2015-04-28 #:150-9053-4 (2020-03-31)
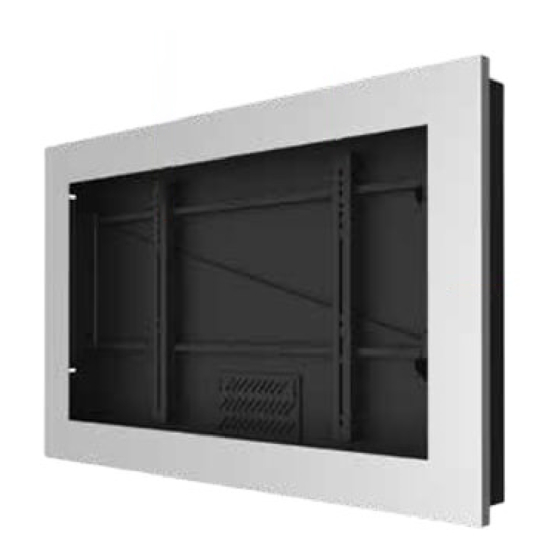
- Page 4 Parts (Before beginning, make sure you have all parts shown below). Parts List KIL740 KIL742 KIL743 KIL746 KIL747 KIL740-S KIL742-S KIL743-S KIL746-S KIL747-S Description Part # Part # Part# Part # Part # A back assembly 150-T1685 150-T1686 150-T1686 150-T1683 150-T1684 B M5 x 12mm pan phl screw 520-1027...
- Page 5 A ( 1 ) B (4) C (4) D (4) M5 x 12 mm M5 x 25 mm M6 x 12 mm back assembly E (4) F (4) M8 x 12 mm M6 x 25 mm G (4) H (4) L ( 1 ) M5/M4/M6 washer M8 x 25 mm...
- Page 6 WARNING ENG - When installing Peerless wall mounts on a wood stud wall covered with gypsum board (drywall), verify that the wood studs are a minimum of 2" x 4" nominal size. Do not install over gypsum board thicker than 5/8". Use stud finder to locate and mark stud center lines.
- Page 7 Level wallplate. Mark mounting holes on stud. 2.5" (64mm) 5/32" 5/32" (4mm) (4mm) Drill mounting holes into supporting surface (2.5" (64 mm) minimum depth required). 2015-04-28 #:150-9053-4 (2020-03-31)
- Page 8 Level wallplate. Install using wood screws provided. 3/8" (10mm) Maximum 80 in. • lb (9 N.M.). M (4) 2015-04-28 #:150-9053-4 (2020-03-31)
- Page 9 Center adapter brackets vertically on back of screen. N (2) ENG If there is interference on the back of the display with the adapter bracket, use the spacers provided. The depth of the spacers will need to be added to the depth of the display when determining if they will fit within the kiosk.
- Page 10 Note: Mounting Arm swings out to access adapter brackets and behind display 2015-04-28 #:150-9053-4 (2020-03-31)
- Page 11 2015-04-28 #:150-9053-4 (2020-03-31)
- Page 12 J (2) KIL740, KIL740-S, KIL742, KIL742-S, KIL743, KIL743-S, KIL746, KIL746-S, KIL747, KIL747-S, KIL748, KIL748-S, KIL749, KIL749-S, KIL755, KIL755-S, 2015-04-28 #:150-9053-4 (2020-03-31)
- Page 13 This page intentionally left blank. 2015-04-28 #:150-9053-4 (2020-03-31)
- Page 14 This page intentionally left blank. 2015-04-28 #:150-9053-4 (2020-03-31)
- Page 15 This page intentionally left blank. 2015-04-28 #:150-9053-4 (2020-03-31)
- Page 16 Garantia TÜR Garanti̇ Garanzia Záruka www.peerless-av.com/warranty Peerless-AV Peerless-AV Europe Peerless-AV América Latina 2300 White Oak Circle Unit 3 Watford Interchange, Av. de las Industrias 413 Aurora, IL 60502 Colonial Way, Watford, Herts, Parque Industrial Escobedo Email: tech@peerlessmounts.com WD24 4WP, United Kingdom General Escobedo N.L., México 66062...
Need help?
Do you have a question about the KIP740 and is the answer not in the manual?
Questions and answers