Table of Contents
Advertisement
Quick Links
Installation and service instructions
for contractors
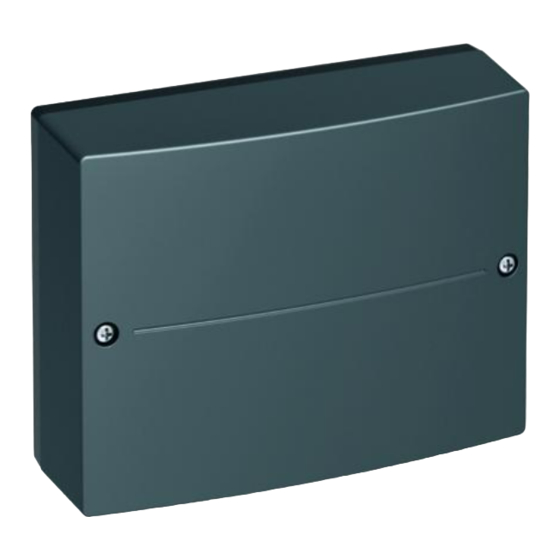
EM-P1 extension
ADIO electronics module
Function extension for connecting circulation pumps
Safety instructions
Please follow these safety instructions
closely to prevent accidents and material
losses.
Safety instructions explained
Danger
This symbol warns against the risk of injury.
!
Please note
This symbol warns against the risk of material
losses and environmental pollution.
Installation, commissioning, inspection, maintenance
and repairs must only be carried out by an authorised,
competent person (heating engineer/installation con-
tractor).
Before working on the appliance/heating system, iso-
late it from the power supply (e.g. by removing a sepa-
rate mains fuse or by means of a mains isolator) and
safeguard against unauthorised reconnection.
When using gas as fuel, also close the main gas shut-
off valve and safeguard against unintentional reopen-
ing.
Disposal of packaging
Please dispose of packaging waste in line with statu-
tory regulations.
5838022 GB
5/2020
Note
Details identified by the word "Note" contain additional
information.
Check for gas tightness after installation.
Wear suitable personal protective equipment when
carrying out any work.
Repairing components that fulfil a safety function can
compromise the safe operation of the system.
For replacements, use only original spare parts sup-
plied or approved by Viessmann.
Install the components with new gaskets.
VIESMANN
Please keep safe.
Advertisement
Table of Contents

Subscribe to Our Youtube Channel
Related Manuals for Viessmann EM-P1


Summary of Contents for Viessmann EM-P1
- Page 1 For replacements, use only original spare parts sup- safeguard against unauthorised reconnection. plied or approved by Viessmann. Install the components with new gaskets. When using gas as fuel, also close the main gas shut- off valve and safeguard against unintentional reopen- ing.
-
Page 2: System Examples
Symbols Symbol Meaning Reference to other document containing further information Step in a diagram: The numbers correspond to the order in which the steps are carried out. Warning of material losses and environ- mental pollution Live electrical area Pay particular attention. Component must audibly click into place. -
Page 3: Wall Mounting
Spare parts lists Information about spare parts can be found at www.viessmann.com/etapp or in the Viessmann spare part app. Wall mounting Fig. 1 Overview of electrical connections [{] [{] [{] [{{] fÖ sÖ 230 V~/50 Hz Fig. 2 Plug 230 V~ Power supply fÖ... - Page 4 Overview of electrical connections (cont.) LV connections Note PWM1 No function Apply strain relief to on-site cables. No function Secure individual wires directly to each plug using No function cable ties. Immersion temperature sensor, low loss Seal any unnecessary apertures with cable grommets header (not cut open).
- Page 5 Connecting a 230 V~ heating circuit pump Specification Rated current Recommended connecting H05VV-F3G 0.75 mm cable H05RN-F3G 0.75 mm Fig. 4 Heating circuit pump Plug sÖ to slot P1 Connecting pumps with switching input Heating circuit pump with power consumption greater Specification for switching the contactor: than 1 A or high efficiency circulation pumps with high Rated voltage...
- Page 6 H05VV-F3G 0.75 mm cable H05RN-F3G 0.75 mm N PE Fig. 6 Heating circuit pump Plug to EM-P1 extension sÖ Contactor Separate power supply (observe manufacturer's instructions) Connecting a 400 V~ heating circuit pump Specification for switching the contactor: Rated voltage...
- Page 7 Rotary switch S1 Rotary switch S1 on the EM-P1 extension and rotary switch S1 on the mixer extension kit must be set according to the following table. Heating Rotary switch S1 Rotary switch S1 circuit on EM-P1 exten- on mixer extension...
-
Page 8: Separate Power Supply
Power supply Power supply at heat generator Connect the power cable to the extension. Route the power cable to the heat generator and con- nect to plug . Observe the fuse protection of the contact (output) on the heat generator. If the power supply is connected to another accessory, use plug fÖ... - Page 9 Power supply (cont.) Connect the power supply in accordance with the dia- gram. If the power supply to the appliance is connected with a flexible cable, ensure that the live conductors are pulled taut before the earth conductor in the event of strain relief failure.
-
Page 10: Connection And Wiring Diagram
Note In this event, the accessories concerned cannot be isolated with the ON/OFF switch on the control unit. Connection and wiring diagram Fig. 14 A1 PCB, EM-P1 extension (ADIO electronics module) F1 Fuse A2 PCB S1 Rotary switch... -
Page 11: Specification
Connection and wiring diagram (cont.) 230 V~ plugs No function Heating circuit pump (on site) Immersion temperature sensor, low loss sÖ header DHW circulation pump (on site) PlusBus for connection to the heat generator Power supply 230 V/50 Hz fÖ control unit and one other accessory Power supply for accessories fÖ... -
Page 12: Declaration Of Conformity
Declaration of Conformity We, Viessmann Werke GmbH & Co. KG, D-35107 Using the serial number, the full Declaration of Con- Allendorf, declare as sole responsible body that the formity can be found on the following website: named product complies with the European directives www.viessmann.co.uk/eu-conformity...
Need help?
Do you have a question about the EM-P1 and is the answer not in the manual?
Questions and answers