
Related Manuals for Digitus DN-7039


Summary of Contents for Digitus DN-7039
- Page 2 Table of Contents 1. Introduction..........................3 2. Connecting the Router ........................ 4 3. Verifying Connection to the Router.................... 5 4. Configuring the Router ....................... 8 Cable Modem..........................9 DSL ............................10 5. Connecting to the Router Wirelessly ..................11 6. Web Configuration Utility ......................12 6.1 Setup ...........................
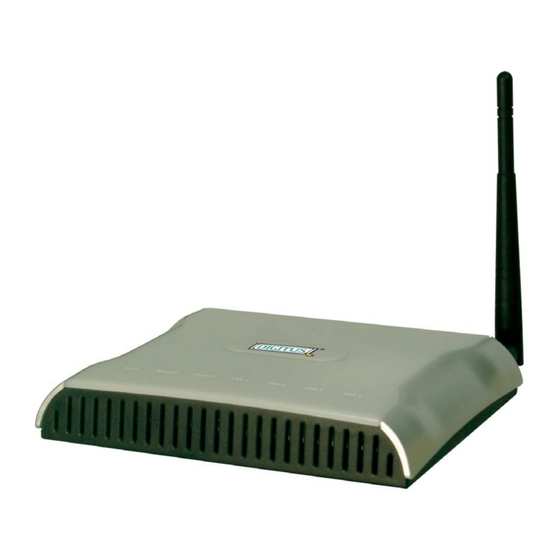
- Page 3 1. Introduction Congratulations on your purchase of this Super G Wireless Broadband Router. This product is specifically designed for Small Office and Home Office needs. It provides a complete SOHO solution for Internet surfing and is easy to configure and operate even for non-technical users.
- Page 5 3. Verifying Connection to the Router Step 1 Go to Start, Run, type command (for Windows 95/98/ME) or cmd (for Windows 2000/XP) and click OK. You will see the command prompt as below. Step 2 Type ping 192.168.1.1 and press Enter. You should get four reply responses back.
- Page 6 Step 5 Type ipconfig/renew and press Enter. You should get an IP address of 192.168.1.x (where x is a number between 2 - 254). Proceed to Section 3, Configure the Router. If you don’t get an IP address, reset the router by holding in the reset button at the back of the router for 10 seconds while it is ON and try ipconfig/renew again.
- Page 7 Step 8 After your IP address is released, click Renew. You should get an IP address of 192.168.1.x (where x is a number between 2 - 254). If you don’t get an IP address, reset the router by holding in the reset button at the back of the router for 10 seconds while it is ON and try Renew again.
- Page 8 4. Configuring the Router Step 1 Open the web browser and type 192.168.1.1 in the URL Address field and press Enter. Step 2 Enter admin for both the username and password fields and click OK.
- Page 13 Assigning Static IP Address If you want to assign a static IP Address to one of the computers in your network, click on the Assign Static DHCP button. Step 1 Enter the Static IP Address in the Assign this IP field. Step 2 Enter the MAC address of the corresponding computer in the To this MAC field.
- Page 26 PCs: Click on the Edit List button to specify the network clients. Policy only applies to the PCs that are in the list. You can specify each client by its MAC Address or IP Address. You can also specify a group of clients by entering their IP Address Range.
- Page 27 Blocked Application Port Select which application port to block, if any, when the specified PCs have Internet access. For your convenience, 10 preset applications and their ports are listed. If you have a custom application, select Custom and manually enter its port number. Website Blocking You can block the specified clients from accessing certain websites by URL or Keyword.
Need help?
Do you have a question about the DN-7039 and is the answer not in the manual?
Questions and answers