
Subscribe to Our Youtube Channel
Related Manuals for Gymstick GX6.0


Summary of Contents for Gymstick GX6.0
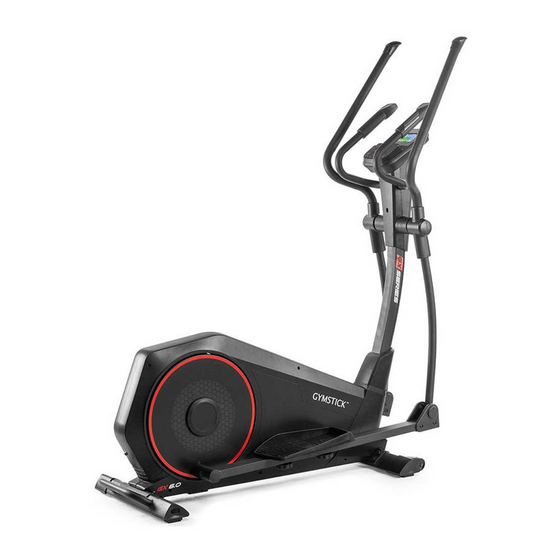
- Page 1 GX6.0 CROSSTRAINER USER MANUAL IMPORTANT: Read all instructions carefully before using this product. Retain this owner’s manual for future reference. The specifications of this product may vary from this photo, subject to change without notice.
-
Page 2: Table Of Contents
BEFORE YOU BEGIN Thank you for choosing the Gymstick GX6.0 Crosstrainer. We take great pride in producing this quality product and hope it will provide many hours of effective exercise to make you feel better, look better and enjoy life to its fullest. -
Page 3: Safety Instructions
14. Before exercising, always do warm-up and stretching first. 15. Maximum user weight 120kg. WARNING! BEFORE BEGINNING THIS OR ANY EXERCISE PROGRAM, CONSULT YOUR PHYSICIAN FIRST. THIS IS ESPECIALLY IMPORTANT FOR INDIVIDUALS OVER THE AGE OF 35 OR PERSONS WITH PRE-EXISTING HEALTH PROBLEMS. GX6.0 CROSSTRAINER... -
Page 4: Exploded Drawing
EXPLODED DRAWING 17 7 GX6.0 CROSSTRAINER... - Page 5 EXPLODED DRAWING GX6.0 CROSSTRAINER...
-
Page 6: Hardware Package
HARDWARE PACKAGE #2 M5*10 4PCS #7 d8 2PCS #17 M8*20*S13 2PCS ¦ µ #25 d8* 3 2*2 2PCS #40 M8*45*20*S14 4PCS #42 M8*60*30 4PCS #A S13-14-15 1PC #B S13-15 1PC GX6.0 CROSSTRAINER... -
Page 7: Assembly Instruction
Attach Front stabilizer (51) and rear stabilizer (57). to Main Frame (54) with Bolts (17), Spring Washers (7) and washers(38) that were removed by Wrench(B). #7 d8 8PCS #17 M8*20*S13 8PCS #38 d8* 22*2 8PCS Φ #B S13-15 1PC GX6.0 CROSSTRAINER... - Page 8 Fix handlebar post(9) to Main Frame (54) with Bolts (17), Spring Washers (7), Arc washer(18) and Washers (8) by Wrench(B). #7 d8 6PCS #8 d8* 20*2 4PCS Φ #17 M8*20*S13 6PCS #18 d8* 20*2*R30 2PCS Φ #B S13-15 1PC 17 7 GX6.0 CROSSTRAINER...
- Page 9 Connect trunk wire 1(10) with computer wire(1b) well. Attach computer (1) to handlebar post(9) with bolts(2) by wrench(B). #2 M5*10 4PCS #6 M8*16*S13 4PCS #7 d8 4PCS #8 d8* 20*2 4PCS Φ #A S13-14-15 1PC #B S13-15 1PC ¢ ñ ¢ ò GX6.0 CROSSTRAINER...
- Page 10 Attach Handlebar(21L/R) to handlebar post(9) with Bolts (17), Spring Washers (7) and Washers (25) by wrench(B). Attach computer (1) to handlebar post(9) with bolts(2) by wrench(B). #7 d8 2PCS #17 M8*20*S13 2PCS #25 d8* ¦ µ 3 2*2 2PCS #B S13-15 1PC GX6.0 CROSSTRAINER...
- Page 11 Attach swing bar(32L/R) to Handlebar(21L/R) with Bolts (17), arc Washers (29) and spring washer (7) by wrench(B). Attach Pedal(41L/R) to pedal arm(43L/R) with bolts(40) and nut(42). #7 d8 4PCS #17 M8*20*S13 4PCS #29 d8* ¦ µ 2 0*2*R16 4PCS #40 M8*45*20*S14 4PCS #42 M8*60*30 4PCS #B S13-15 1PC GX6.0 CROSSTRAINER...
- Page 12 Cover(23+24) and R Handlebar Cover(30+31) to pedal arm(43L/R) with bolts(22). Pedal arm L/R cover(35+36) to Pedal arm (43L/R) with bolts(2). The assembly is complete! #2 M5*10 10PCS #4 ST4.2*16*8 2PCS #22 ST4.2*16*7 4PCS #A S13-14-15 1PC 36 2 GX6.0 CROSSTRAINER...
-
Page 13: Adjustments Guide
To move the machine, press on the handlebar (21L/R) until the transportation wheels on the front stabilizer (51) touch the ground. With the wheels on the ground, you can transport the bike to the desired location with ease. GX6.0 CROSSTRAINER... -
Page 14: Computer Operation Instructions
In stop mode, press this button to confirm setting and enter the program. MODE In running mode, it is invalid to press this button. 1. Select workout mode DOWN(-) 2. Decrease function setting value. RECOVERY Test heart rate recovery status. BODY FAT Test your body fat percentage. GX6.0 CROSSTRAINER... - Page 15 6). After setting, press “START/STOP” button, console start to exercise and calculate. During workout, user can press UP(+)/DOWN (-) to increase or decrease LOAD level (Figure 7 & 8). Figure 4. Figure 5. Figure 6. Figure 7. Figure 8. GX6.0 CROSSTRAINER...
- Page 16 When the TIME counts down to 0:00, system will stop exercising. Press RESET button will clear all workout data. Long pressing RESET button for 3 seconds will reboot the console. Figure 12. Figure 13. Figure 14. GX6.0 CROSSTRAINER...
- Page 17 “START/ STOP” button to stop exercise. Press RESET button will clear all workout data. Long pressing RESET button for 3 seconds will reboot the console. Figure 18. Figure 19. Figure 20. Figure 21. GX6.0 CROSSTRAINER...
- Page 18 “FX”(X=1..6), and alarm one beep sound. Press RECOVERY to reverse back to main menu. (3) During RECOVERY function, user can press RECOVERY button to stop measure and go back to previous Page (Figure 27). Figure 26. Figure 27. GX6.0 CROSSTRAINER...
- Page 19 This console has a built-in USB Port which enables charging many USB Devices. Please note! charging increases the power consumption and the power supplied from the USB port may not be enough to operate the device and charge it at the same time. Use supplied adapter (9V 1.3A). GX6.0 CROSSTRAINER...
-
Page 20: Warm Up And Cool Down Routine
SHOULDER LIFTS Lift your right shoulder toward your ear for one count. Then lift your left shoulder up for one count as you lower your right shoulder. GX6.0 CROSSTRAINER... - Page 21 15 counts and repeat with left foot. INNER THIGH STRETCH Sit with the soles of your feet together and your knees pointing outward. Pull your feet as close to your groin as possible. Gently push your knees toward the floor. Hold for 15 counts. GX6.0 CROSSTRAINER...
- Page 22 Keep your right leg straight and the left foot on the floor; then bend the left leg and lean forward by moving your hips toward the wall. Hold, then repeat on the other side for 15 counts. GX6.0 CROSSTRAINER...
-
Page 23: Implied Warranty
Note: Wear parts and expendable parts are also not covered. The device is intended for home use. Manufactured for: Gymstick International Oy Ratavartijankatu 11 15170 Lahti, FINLAND Devices marked with this symbol must be disposed of separately from your household waste, as they contain valuab- le materials which can be recycled.
Need help?
Do you have a question about the GX6.0 and is the answer not in the manual?
Questions and answers