Advertisement
Available languages
Available languages
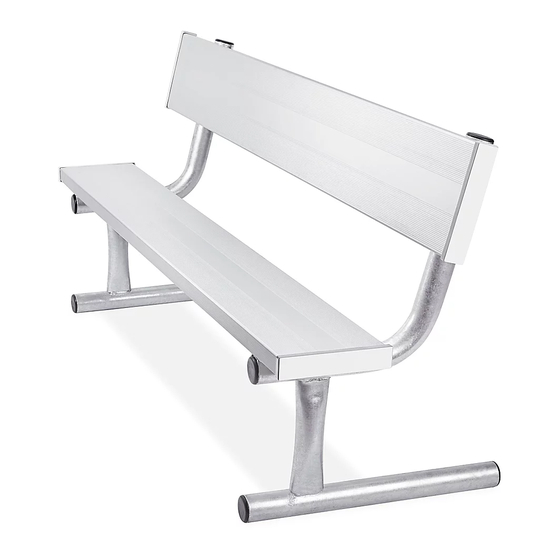
H-8704
ALUMINUM BENCH
WITH BACK
TOOLS NEEDED
Power Drill
Two Person Assembly
Recommended
Aluminum Plank x 2
End Cap for Plank x 4
1.
Lay aluminum planks upside down on a flat surface.
Slide end caps onto each end of planks. The
pre-drilled holes of end cap should be facing up.
Use power drill and two self-tapping screws to secure
each end cap onto each end of planks.
(See Figure 1)
Figure 1
PAGE 1 OF 6
1-800-295-5510
uline.com
Socket Wrench
Hold Down Clip x 16
3/16" Self-Tapping Screw x 8
ASSEMBLY INSTRUCTIONS
Rubber Mallet
PARTS
5/16" x 1½"
Carriage Bolt x 16
5/16" Flange Nut
x 16
2. Rotate seat plank onto side. Place one leg frame at a
time on side 6" from end of seat plank. (See Figure 2)
Figure 2
Para Español, vea páginas 3-4.
Pour le français, consulter les pages 5-6.
Plastic
Round Cap x 8
Galvanized Leg Frame x 2
0721 IH-8704
Advertisement
Table of Contents

Related Manuals for U-Line H-8704


Summary of Contents for U-Line H-8704
- Page 1 Para Español, vea páginas 3-4. Pour le français, consulter les pages 5-6. H-8704 1-800-295-5510 uline.com ALUMINUM BENCH WITH BACK TOOLS NEEDED Socket Wrench Rubber Mallet Power Drill Two Person Assembly Recommended PARTS Aluminum Plank x 2 Plastic Round Cap x 8 Hold Down Clip x 16 5/16"...
- Page 2 ASSEMBLY INSTRUCTIONS CONTINUED 3. Loosely attach legs to aluminum plank using four 5. Push plastic round caps into each leg frame using a hold down clips, four 5/16" flange nuts and four 5/16" rubber mallet. (See Figure 5) carriage bolts per leg frame. (See Figure 3) Figure 5 Hold Down...
-
Page 3: Herramientas Necesarias
H-8704 800-295-5510 uline.mx BANCA DE ALUMINIO CON RESPALDO HERRAMIENTAS NECESARIAS Taladro Eléctrico Llave de Dado Mazo de Caucho Se Recomienda Armar Entre Dos Personas PARTES 2 Tablas de Aluminio 8 Tapas Redondas de Plástico 16 Clips de Ajuste 16 Pernos de Cabeza Redonda de 5/16"... - Page 4 CONTINUACIÓN DE LAS INSTRUCCIONES DE ENSAMBLE 3. Fije las patas sin apretarlas utilizando para cada 5. Presione las tapas redondas de plástico en cada pata cuatro clips de ajuste, cuatro tuercas con pata del armazón utilizando un mazo de caucho. reborde de 5/16"...
-
Page 5: Outils Requis
H-8704 1-800-295-5510 uline.ca BANC EN ALUMINIUM AVEC DOSSIER OUTILS REQUIS Perceuse électrique Clé à douille Maillet en caoutchouc Montage à deux personnes recommandé PIÈCES PARTS Planche en aluminium x 2 Capuchon rond en plastique x 8 Pince de maintien x 16 Boulon de carrosserie de 5/16 po x 1 ½... - Page 6 INSTRUCTIONS DE MONTAGE SUITE 3. Attachez sans serrer les pieds à la planche en 5. Enfoncez les capuchons ronds en plastique dans aluminium en utilisant quatre pinces de maintien, chaque cadre de pied à l'aide d'un maillet en quatre écrous à embase de 5/16 po et quatre caoutchouc.
Need help?
Do you have a question about the H-8704 and is the answer not in the manual?
Questions and answers