Advertisement
Quick Links
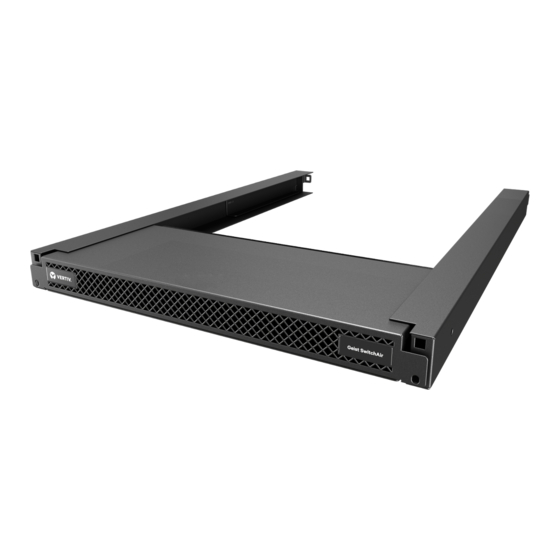
GEIST™ S
WITCH
AIRFLOW MANAGEMENT DEVICE
Quick Installation Guide
Models:
SA1-01001SS
Switch Type:
Side air intake-front (port) exhaust
switch
CAUTION: Ensure the required
airflow for safe operation of
equipment is not compromised
when installing the Geist SwitchAir
device.
WARNING: Take precaution to
avoid interference with the switch's
input power cords when installing
behind a live switch.
1. Installing the adjustable
rails
Using customer-provided
hardware, insert cage nuts into
the front two holes as well as
the rear extension tab hole of
each adjustable rail.
Select a 1U space in the rack
and hold one of the rails
between the front and rear rack
uprights. Lengthen or shorten
the adjustable rail by adjusting
the rear extension tab, loosely
fitting the rail between the
insides of the rack uprights.
Attach the front of the
adjustable rail to the front
upright using only the top hole
of the 1U space. Leave the
bottom front hole open for
later use.
Attach the rear rail extension
tab to the rear rack upright. Use
the center hole of the 1U space
for this attachment.
2. Installing the wiper
Attach the SwitchAir wiper
using the provided screws.
Orient the wiper with the tab
facing away from the centerline
of the device.
3. Installing the switch
Slide the network switch into the
rails. Using customer-provided
A
IR
Geist SwitchAir Airflow Management Device
Geist SwitchAir Rack Rail Installation
Adjustable rail
Rack uprights
U-space top screw
Geist SwitchAir Wiper Installation
Extension tab
1
Adjustable rail
U-space middle screw
Rack uprights
Extension tab
2
Wiper
Wiper tab
VM1229/590-1229-501A
1
Advertisement

Subscribe to Our Youtube Channel
Related Manuals for Vertiv GEIST SwitchAir SA1-01001SS


Summary of Contents for Vertiv GEIST SwitchAir SA1-01001SS
- Page 1 GEIST™ S WITCH AIRFLOW MANAGEMENT DEVICE Quick Installation Guide Models: Geist SwitchAir Airflow Management Device SA1-01001SS Switch Type: Side air intake-front (port) exhaust switch CAUTION: Ensure the required airflow for safe operation of equipment is not compromised when installing the Geist SwitchAir device.
- Page 2 To contact Vertiv Technical Support: visit www.VertivCo.com © 2019 Vertiv Co. All rights reserved. Vertiv and the Vertiv logo are trademarks or registered trademarks of Vertiv Co. All other names and logos referred to are trade names, trademarks or registered trademarks of their respective owners. While every precaution has been taken to ensure accuracy and completeness herein, Vertiv Co. assumes no responsibility, and disclaims all liability, for damages resulting from use of this information or for any errors or omissions.
Need help?
Do you have a question about the GEIST SwitchAir SA1-01001SS and is the answer not in the manual?
Questions and answers