Table of Contents
Advertisement
Quick Links
Advertisement
Table of Contents

Related Manuals for Floormaster CORDED ECO VAC F19

Summary of Contents for Floormaster CORDED ECO VAC F19
- Page 1 F19 01082018 CORDED ECO VAC Instruction Manual Model Ref: F19...
-
Page 3: Table Of Contents
Introduction Thank you for choosing the Floormaster Corded Eco Vac. All products brought to you by Floormaster are manufactured to the highest standards of performance and safety. Before use, please read this manual carefully. It gives important instructions about safety, use and maintenance of your vacuum. -
Page 4: Important Safety Information
IMPORTANT SAFETY INFORMATION WARNING - To reduce the risk of fire, electric shock, or injury: • DO NOT run the vacuum over the power cable. • DO NOT operate the vacuum if any part of it has been dropped or damaged. •... - Page 5 • Keep hair, loose clothing, fingers and all parts of the body away from opening and moving parts. • Use extra care when cleaning on stairs. • Only use the vacuum for its intended use. • Keep the power cable away from any heated surfaces. •...
-
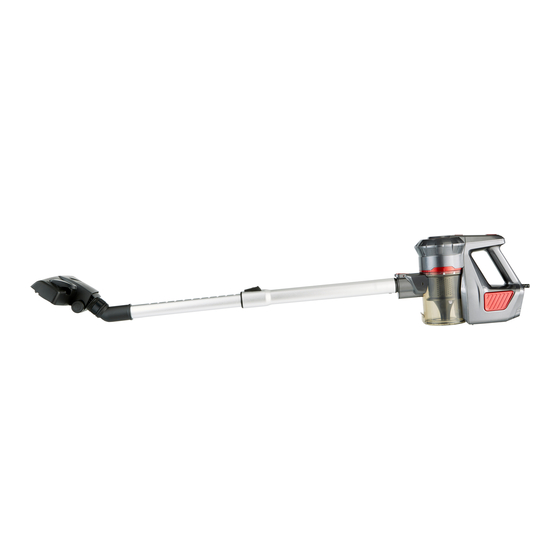
Page 6: Product Overview
PRODUCT OVERVIEW 1. Dual Speed On/Off Switch 2. Power Cable 3. Dust Tank Release Button 4. Suction Nozzle Release Button 5. Dust Tank 6. Telescopic Extension Tube 7. Brush Head 8. Crevice Tool Attachment 9. Upholstery Tool Attachment 10. Accessory Adapter 11. -
Page 7: Before First Use
BEFORE FIRST USE WARNING: Please keep the plug out of the socket during assembly and disassembly. Before using your vacuum for the first time, wipe all parts with a soft damp cloth. INSTALLATION INSTRUCTIONS Assembly Instructions 1. Slot the handle (11) into place on the dust tank (5) until it clicks securely into place (Fig 1). -
Page 8: Dissasembly Instructions
4. Connect the telescopic extension tube (6) into the brush head (7) (Fig 4). DISASSEMBLY INSTRUCTIONS 1. Remove the brush head (7) from the telescopic extension tube (6) (Fig 5). 2. Remove the telescopic extension tube (6) from the accessory adapter (10) (Fig 6). -
Page 9: Accessory Installation
4. Press the dust tank release button (3) and carefully separate the motor (12) from the handle (11) (Fig 8). Note: Do not attempt to separate the motor (12) from the handle (11) without first ensuring the motor release button is pressed (3). ACCESSORY INSTALLATION ACCESSORY INSTALLATION 1. -
Page 10: Emptying The Dust Tank
EMPTYING THE DUST TANK 1. Place the vacuum over your waste bin. 2. Open the dust tank (5) by releasing the clip (13) (Fig 13). Dust Tank Release 3. Gently shake the dust tank to empty all the waste (Fig 14). -
Page 11: Cleaning & Maintenance
CLEANING & MAINTENANCE Cleaning the Filters This must be done at least once a month (for heavier vacuum usage, clean the filter regularly). 1. Press the dust tank release button (3) to remove the handle Dust Tank Release (11) from the dust tank (5) Button (Fig 15). - Page 12 5. Wash the filter and its case and rinse with water at least once per month (Fig 19). Note: When clean, leave them to dry in a warm, well ventilated place. It is recommended to leave the filter for 24 hours to completely dry before reassembly.
- Page 13 Clearing a Blockage IF THE BRUSH HEAD BECOMES BLOCKED DURING USE, THE VACUUM WILL STOP. 1. Before checking for a blockage, remove the brush head (7) from the telescopic extension tube (6) (Fig 21). 2. Carefully pull any hair or fibre from the brush head (7).
-
Page 14: Troubleshooting
TROUBLESHOOTING QUESTION ANSWER Empty the dust tank Check that the dust tank is correctly fitted The vacuum isn’t cleaning well Check the filter is correctly fitted Clean the filter Check the power cable for damage The vacuum cleaner is cutting out or isn’t working as intended Clear debris from the motorised brush head Check the power connections... -
Page 15: Disposal Information
As a reminder of the need to dispose of household appliances separately, the product is marked with a crossed-out wheeled dustbin. For replacement filters call 0161 480 6204 or email Info@floormaster.co.uk stating the catalogue number... - Page 16 Wellington Grove, Stockport Cheshire, SK2 6RH JA1731XQ...