Advertisement
Quick Links
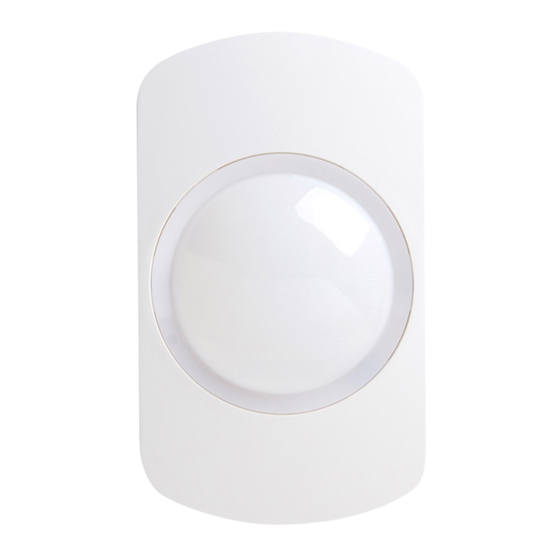
Guardall Detectors GP15, GQ20,
GD20, GCQ and GCD Installation
Manual
Quick Installation
Opening the device
The devices are supplied in the unlocked position. If locked.
Use a flat bladed terminal driver and turn the locking
mechanism ¼ turn anti- clockwise.
Slide the front down and towards you to remove.
For ceiling mount devices remove the facia by
turning it anti-clockwise, and then unlock as above.
Figure 1: Locking Mechanism
© 2021
Carrier Fire & Security Australia Pty
Ltd. All rights reserved.
1 / 13
Figure 2: Ceiling facia removal
Mounting and cable entry
Location
Ensure you have the correct device for the intended
application, and that it is sited correctly in the desired
location. The field of view should be free from obstacles and
any potential false alert causes.
Devices should be mounted on stable internal surfaces and
are NOT suitable for use externally.
P/N MAINST-GUARDALLPIR • REV 1.0 • ISS 15MAR21
Advertisement

Subscribe to Our Youtube Channel
Summary of Contents for Guardall GP15
- Page 1 Guardall Detectors GP15, GQ20, GD20, GCQ and GCD Installation Manual Quick Installation Figure 2: Ceiling facia removal Opening the device The devices are supplied in the unlocked position. If locked. Use a flat bladed terminal driver and turn the locking mechanism ¼...
- Page 2 Avoid common false alert causes Ensure surrounding structures are stable For internal use only Ensure the devices field of view is not obstructed Screws & Fixing A minimum of 2 opposing fixing holes should be used to ensure maximum stability. When corner mounting care should be taken to ensure the chassis is not twisted, if the corner is uneven then two fixings on the same side would be acceptable.
- Page 3 Cable Routing Cable routing If the bottom cable entries are used, care should be taken to ensure that the cable passes around the post as shown. This helps avoid cable snagging when refitting the front chassis. NOTE: Do not use the screw fixing points to route cable. Corner mount Wall, ceiling &...
-
Page 4: Mode Selection
This is the default state for optimum catch performance and false activation immunity. Switch 2 and the lens obscuration slider should be in the down position. • GP15 15m @ 90° compliant to EN50131-2-2, INCERT and PD6662 • GQ20 20m @ 90° compliant to EN50131-2-2, INCERT and PD6662 •... - Page 5 When using Pet mode, switch 2 and the lens obscuration slider should both be placed in the UP position. • GP15 10mtr @ 90° up to 35kg pet immunity • GQ20 12mtr @ 90° up to 20Kg pet immunity •...
- Page 6 Testing, commissioning & LED indications When installation is complete, the device should be thoroughly walk tested to ensure the desired protection is being achieved, and any adjustments to the device are made to cater for the specific location and any local site conditions. Note: LED’s are disabled during normal use if the RLED switch is ON.
- Page 7 Pet Coverage Variants Guardall GP15 G2 Coverage P/N MAINST-GUARDALLPIR • REV 1.0 • ISS 15MAR21 7 / 13...
- Page 8 Guardall GQ20 Pet Coverage G2 Coverage P/N MAINST-GUARDALLPIR • REV 1.0 • ISS 15MAR21 8 / 13...
- Page 9 Guardall GD20 Pet Coverage G2 Coverage P/N MAINST-GUARDALLPIR • REV 1.0 • ISS 15MAR21 9 / 13...
- Page 10 Guardall GCQ DO NOT USE Guardall P/N MAINST-GUARDALLPIR • REV 1.0 • ISS 15MAR21 10 / 13...
- Page 11 Optional wall or ceiling mount brackets Part Numbers Pack of 10 brackets AFU-0004 Screws & Fixings To ensure maximum stability 2 screws should be used for either mounting option. Dependent on the mounting substrate, suitable fixings may be required. The size and type will depend on the choice of fixing screw.
-
Page 12: Specification
0-95% non-condensing Temperature Weight -10°C to 55° GP15, GQ20, GCQ (no ring or fascia) –106g GP15, GQ20 (with fascia and insert) – 124g GCQ (with ring) – 163g GD20, CD (no ring or fascia) – 110g GD20 (with fascia and insert) – 128g GCD (with ring) –... -
Page 13: Contact Information
Carrier Fire & Security Australia Pty Ltd. responsible or liable for any damages incurred by the buyer or any third party arising from its use, or their inability to use the product. Guardall is a Carrier brand. Contact information For contact information, see www.firesecurityproducts.com.au...


Need help?
Do you have a question about the GP15 and is the answer not in the manual?
Questions and answers