Table of Contents
Advertisement
Quick Links
Advertisement
Table of Contents

Summary of Contents for Arkon VeriMAG2
-
Page 2: Table Of Contents
3. Tester menu ..................................4 3.1. Main screen 3.2. Start Test 3.3. After the test 3.4. SW Installation 3.5. Connecting to VeriMAG2 3.6. Printing from SW 4. Meter Dimensions ................................8 5. Appendix ..................................9 5.1. CE requirements 5.2. Warranty 5.3. -
Page 3: Introduction
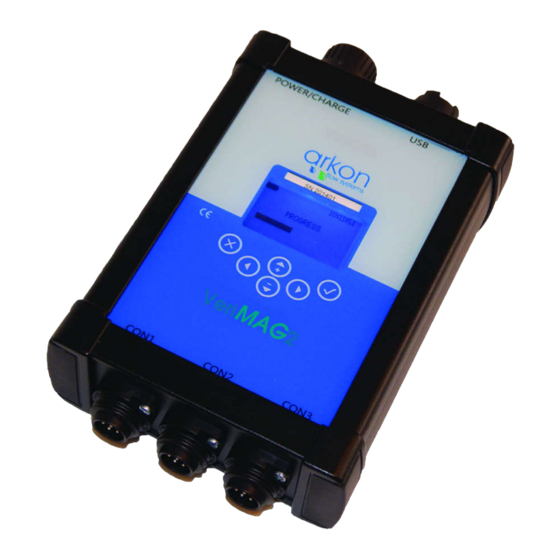
Introduction 1.1. Operating Principle The VeriMAG2 is a device used to test and verificate the MAGX2 flowmeters in their whole scope of operation. The process can take place when the meter is installed as well as on uninstalled flowmeter. The VeriMAG2 is to be wired in between of the sensor and transmitter to measure their status. -
Page 4: Wiring
3pin connector in place of IOUT output (IO - V-IO - V+IO), 2pin connector in place of Frequency output (OPC, OPE)* 6 – Switch on VeriMAG2 7 – Switch on power to the meter 8 – Run the Test – chapter 3.2 9 –... -
Page 5: Tester Menu
POWER OFF – power the device off, to turn it on press any key for 5 seconds. Unit No. - unique serial number of the VeriMAG2 device. Firmware - version of FW for the device. Calibration Date - date of the last calibration of the device. To keep traceability it is recommended to let the VeriMAG2 device calibrated once a year. -
Page 6: Start Test
Sensor Firmware - FW of sensor communication module is lower than 30.03 Timeout Magx2 Passwords - VeriMAG2 cannot communicate with MAGX2, all other tests are stopped, Test ID is not incremented MagX2 Unit No. - error in communication with MAGX2... -
Page 7: Sw Installation
To install the SW double right click on setup.exe and select option Run as Administrator and follow instructions. Connect the VeriMAG2 device to your computer via USB port and install driver – in case it is not installed automatically you can find the driver in the installation folder – default in: Program Files\Arkon Flow Systems\VeriMAG2 3.5. -
Page 8: Printing From Sw
Select the verification report you want to print in the internal database – you can see it in the Selected Record area and press Print button. A new window will appear allowing you to check the print out and select the printer. The report can be printed anytime later from the internal database. VeriMAG2 User Guide V1.2 2018-01-25... -
Page 9: Meter Dimensions
Meter Dimensions A - 143 mm B - 195 mm C - 56 mm VeriMAG2 User Guide V1.2 2018-01-25... -
Page 10: Appendix
The VeriMAG2 verificator is manufactured conform CE requirements. 5.2. Warranty The warranty conditions are covered by Arkon Flow Systems, s.r.o. Terms & Conditions of Sale and by Arkon Flow Systems, s.r.o Return Regulations and Warranty Conditions. The Arkon Flow Systems, s.r.o Terms &...
Need help?
Do you have a question about the VeriMAG2 and is the answer not in the manual?
Questions and answers