Table of Contents
Advertisement
Quick Links
Advertisement
Table of Contents

Subscribe to Our Youtube Channel
Related Manuals for Harken 50.2 PTBBB


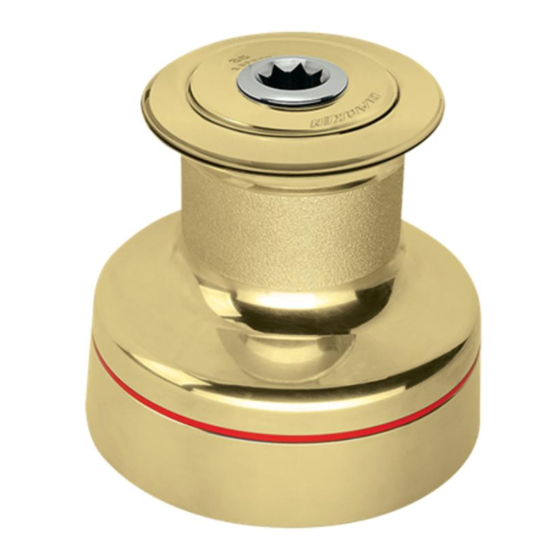
Summary of Contents for Harken 50.2 PTBBB
- Page 1 Installation and Maintenance Manual MRW-A Radial Winch 50.2 PT BBB / CCC...
- Page 2 Procedure Installation procedure Maintenance Washing Maintenance table Disassembly procedure Exploded view with maintenance products Assembly Harken limited worldwide warranty ® Ordering spare parts Exploded view Parts List Radial Winch 50 PTBBB Radial Winch 50 PTCCC 50.2 PT BBB / CCC Radial Winch Installation and Maintenance Manual - Mod.A...
-
Page 3: Technical Characteristics
In case of doubt the Harken ® Tech Service is at your disposal at techservice@harken.it This Manual is available only in English. If you do not fully understand the English language, do not carry out the operations described in this Manual. -
Page 4: Installation
It is the installer's responsibility to choose the correct screws ® taking account of the loads they will have to bear. Harken assumes no responsibility for incorrect installation of its winches or for an incorrect choice of mounting screws. - Page 5 The winch can be installed following the Procedure below: Procedure To install the winch you must remove the drum and use Socket Head (SH) and Hexagonal Headed (HH) bolts. Tools needed One medium flat-bladed screwdriver To identify the various parts, refer to the exploded view at the end of this Manual. Torque to apply when assembling 2.
-
Page 6: Installation Procedure
B. Remove the winch and drill the five 8.2 mm diameter holes. ® C. Bolt the base of the winch to the deck using five M8 bolts (not supplied by Harken ), correctly chosen for the thickness and type of the boat deck. Consult the yard that built the boat in case of doubt. -
Page 7: Maintenance
Installation and maintenance of winches must be carried out exclusively by specialized personnel. ® In the case of doubt contact Harken Tech Service at techservice@harken.it Disassembly procedure Tools needed... - Page 8 Carry out the Procedure as shown in the paragraph on winch installation and then do the following: 4. Completely unscrew the three screws n° 28 5. Remove the socket support n°22 6. Slide out the central shaft n°20 7. Unscrew the 5 hex screws n°17 ( 8Nm/71 in-lb) 8.
- Page 9 10. Remove the washer n°13 11. Remove the gear n°9 and remove the pawls n°6. To facilitate the operation press the spring 12. Slide off gear n°2 against the pawl with a blade. 13. Remove the pinion n°10. To facilitate 14.
- Page 10 15. Remove washer n°4 Once the winch is completely disassembled, clean the parts with a degreasing that does not leave residues, proper to clean metal components; rinse plastic parts in fresh water. Once you have done this, dry the parts with cloths that do not leave residue. Inspect gears, bearings, pins and pawls for any signs of wear or corrosion.
- Page 11 Apply Harken grease: 1. on assy socket screw - 2. on drum gear ® NOTICE On every gear and every component that must be greased, apply Harken grease with a brush in a proper ® quantity as shown below: NOTICE...
-
Page 12: Ordering Spare Parts
Once in position, check that the pawls can be easily opened and closed with a finger. ® In case of doubt concerning the assembly procedure contact Harken Tech Service: techservice@harken.it ® Harken limited worldwide warranty ®... - Page 13 Manufacturer Harken Italy S.p.A. ® Tech Service Via Marco Biagi, 14 Email: techservice@harken.it 22070 Limido Comasco (CO) Italy Tel: (+39) 031.3523511 Customer Service Fax: (+39) 031.3520031 Tel: (+39) 031.3523511 Email: info@harken.it Email: info@harken.it Web: www.harken.com Headquarters Harken , Inc. ®...
-
Page 14: Exploded View
Exploded view 1/2 Radial Winch 50.2 PTBBB, PTCCC 50.2 PT BBB / CCC Radial Winch Installation and Maintenance Manual - Mod.A... - Page 15 Exploded view 2/2 Radial Winch 50.2 PTBBB, PTCCC 50.2 PT BBB / CCC Radial Winch Installation and Maintenance Manual - Mod.A...
-
Page 16: Parts List
Assy Housing Winch 50 A94134800 Housing Winch 50 S414900080 Bushing Ø12xØ14x8 Bushing Ø12xØ14x11 S413330085 S4133200B3 Bushing for support *Available with service kit; see website www.harken.com **Winch product sticker 50.2 PT BBB / CCC Radial Winch Installation and Maintenance Manual - Mod.A... - Page 17 Assy Housing Winch 50 A94134800 Housing Winch 50 S414900080 Bushing Ø12xØ14x8 Bushing Ø12xØ14x11 S413330085 S4133200B3 Bushing for housing *Available with service kit; see website www.harken.com **Winch product sticker 50.2 PT BBB / CCC Radial Winch Installation and Maintenance Manual - Mod.A...
Need help?
Do you have a question about the 50.2 PTBBB and is the answer not in the manual?
Questions and answers