Advertisement
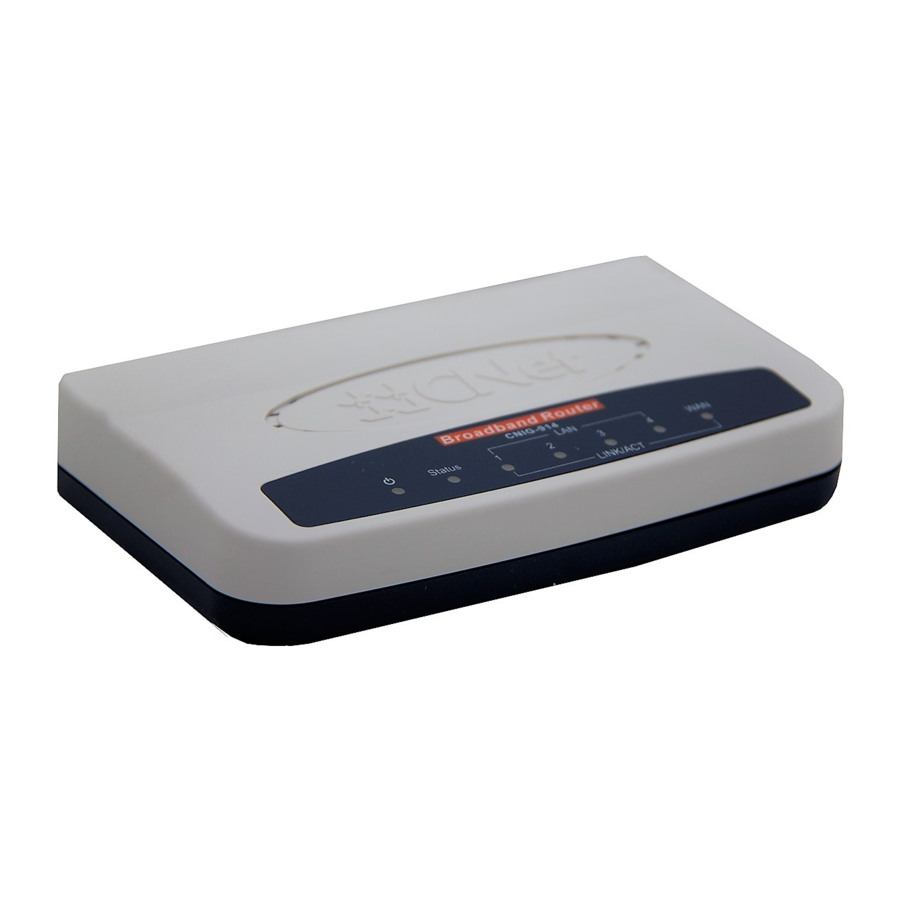
CNIG-914 Broadband Router/Vista compatibility work around
It's been found that computers with Windows Vista operating system connected to CNet
CNIG-914 will not receive DNS info from Cable/DSL modems connected to the router's
WAN port. Below are the steps to overcome this problem while CNet resolves the issue.
• Connect the Vista system to one of the LAN ports on the router.
• Bring up a command prompt window and type ipconfig. Make sure the system is
getting an IP from the router. See picture below.
• Enter the IP address 192.168.1.1 in the address box of your browser.
• Enter admin and admin for username and password to access the configuration
page of the router. See picture below.
Advertisement
Table of Contents

Related Manuals for CNET CNIG-914


Summary of Contents for CNET CNIG-914
- Page 1 CNIG-914 will not receive DNS info from Cable/DSL modems connected to the router’s WAN port. Below are the steps to overcome this problem while CNet resolves the issue. • Connect the Vista system to one of the LAN ports on the router.
- Page 2 ISP. • When done wait for the router to reboot and then from the main page click on advanced setup to see the status page showing both WAN and LAN IPs. Please note that when connected to the Internet the WAN port should receive an IP address with gateway and DNS IPs from the service provider as shown below.
- Page 3 • On the Vista system go to control panel and double click on Network and sharing center icon. • Then click on manage network connections on the left and go to the properties of the local area connection.
- Page 4 • Highlight IPv4 and click on properties. In the section for DNS IP, select the button next to use the following DNS server and enter the DNS IP address you read from the status page of the router.
- Page 5 • The system is all set now. Just OK out of all the screens, bring up your browser and go to your desired website. Thank you!
Need help?
Do you have a question about the CNIG-914 and is the answer not in the manual?
Questions and answers