Goodwe SMT Series Quick Installation Manual
Hide thumbs
Also See for SMT Series:
- User manual (64 pages) ,
- Quick installation manual (22 pages) ,
- Quick installation manual (94 pages)
Table of Contents
Advertisement
Quick Links
Advertisement
Table of Contents

Subscribe to Our Youtube Channel
Related Manuals for Goodwe SMT Series


Summary of Contents for Goodwe SMT Series
- Page 1 SMT Series Quick Installation Guide Ver.1.0 2021-06-30...
-
Page 2: Safety Precaution
• Before installations, read through the quick installation guide and the user manual to learn about the product and the precautions. • All installations should be performed by trained and knowledgeable technicians who are familiar with local standards and safety regulations. • Check the deliverables for correct model, complete contents, and intact appearance. Contact after sales service if any damage is found or any component is missing. • Use insulating tools and wear personal protective equipment when operating the equipment to ensure personal safety. Wear anti-static gloves, cloths, and wrist strip when touching electron devices to protect the inverter from damage. • Strictly follow the installation, operation, and configuration instructions in this guide and user manual. The manufacturer shall not be liable for equipment damage or personal injury if you do not follow the instructions. For more warranty details, please visit http://www.goodwe.com. Safety Disclaimer Warning DC Side: 1. Ensure the component frames and the bracket system are securely grounded. 2. Connect the DC cables using the delivered DC connectors and terminals. The manufacturer shall not be liable for the equipment damage if other connectors or terminals are used. 3. Ensure the DC cables are connected tightly and securely. 4. Measure the DC cable using the multimeter to avoid reverse polarity connection. Also, the voltage should be under the permissible range (≤1100V). AC Side 1. The voltage and frequency at the connecting point should meet the on-grid requirements. 2. An additional protective device like the circuit breaker or fuse is recommended on the AC side. Specification of the protective device should be at least 1.25 times the AC output... - Page 3 High voltage hazard. Power Potential risks exist. Wear off the inverter first before any proper PPE before any operations. operations. Read through the guide before Delayed discharge. Wait until any operations. the components are totally discharged after power off. 5min High temperature hazard. Do not touch the equipment to avoid being hurt. Check Items Before Switching Power ON Check Iterm The inverter is firmly installed at a clean place where is well-ventilated and easy- to-operate. The PE cable, DC input cable, AC output cable, and communication cable are connected correctly and securely. Cable ties are routed properly and evenly, and no burrs. Unused ports and terminals are sealed. The voltage and frequency at the connection point meet the on-grid requirements.
-
Page 4: Product Introduction
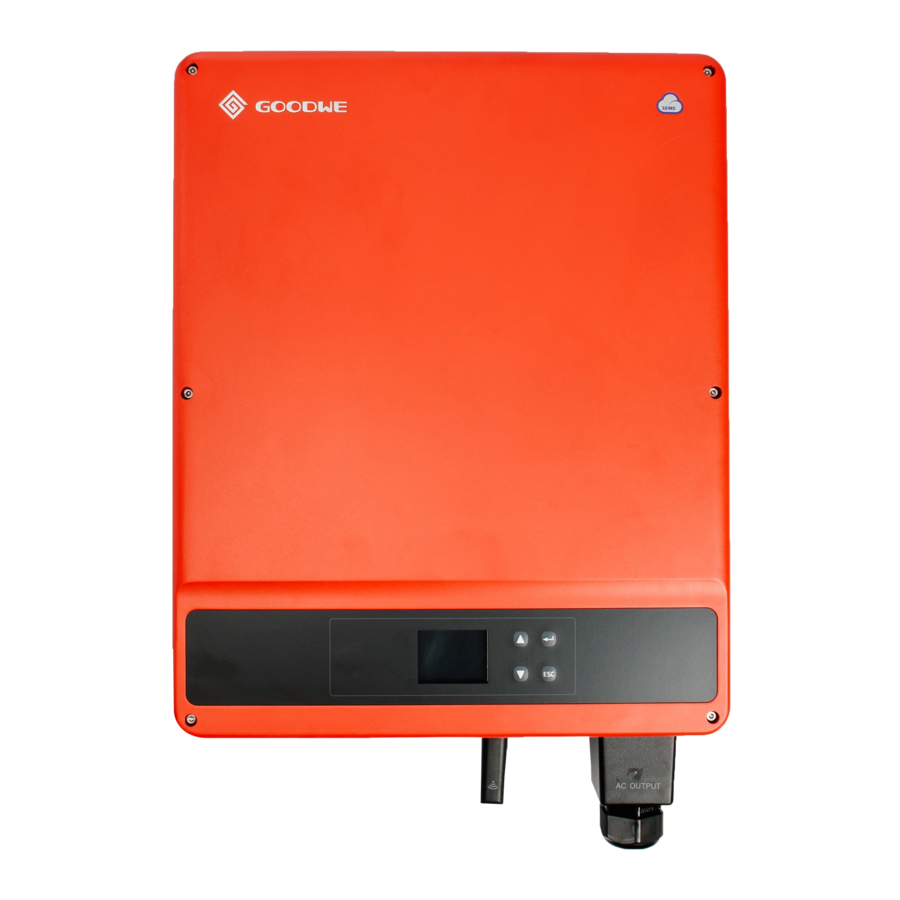
Product Introduction Parts DC Switch PV Input Terminal WiFi/4G/LAN/GPRS Module Port Communication Cable AC Terminal Indicator Port[1] LCD[2] Button Mounting Plate Handle[3] 12. PE Terminal 1. DRED or RSD or RS485 or USB, depending on different inverters. 2. Some models are designed without LCD. 3. The handle is optional. Dimensions 480mm 200mm 180mm 180mm 360mm 360mm 180mm 180mm... -
Page 5: Inverter Installation
Inverter Installation Packing List Expansion Positive PV Negative PV Mounting Inverter*1 Bolts Connector Connector Bracket*1 Cold Pressed PIN COM Spare Terminal & Terminal Connector Screw Terminal Insulating Sleeve COM Documentation AC Connector USB Cable Module • Number of expansion bolts, PIN terminals, screws, COM connector, PV connectors are various depending on different inverters. The actual accessories may be different. • Communication module types: WiFi/4G/LAN/GPRS etc. The actual module delivered depends on the communication method of the selected inverter. • The COM connector is used to connect RS485, and remote shutdown communication cables. • USB cable is optional. Space Requirements ≥300mm ≥600mm ≥600mm... - Page 6 -30℃~60℃ IP65 0%~100%RH Angle Requirements ≤15° Installing the Inverter Avoid the water pipes and cables buried in the wall when drilling holes.
-
Page 7: Electrical Connection
Installing inverters without handles Installing inverters with handles Electrical Connection Connecting the PE Cable L=L1+(1~2)mm 1.6~2N·m Copper,S≥4mm2 1.2~2N·m... - Page 8 Connecting the AC Cable 12~36kW: 10mm2≤S≤25mm2 40kW: 16mm2≤S≤25mm2 90mm Φ 22~30mm 70mm 11mm N PE L1 L2L3 0.6~0.8N·m 3.8~4.2N·m...
- Page 9 Connecting the DC Cable Click 7~8mm Φ: 4~5mm 7~8mm 2.5mm2≤S≤4mm2 Click Click ≤1100V...
- Page 10 Connecting DRED or RS485 6pin Communication Cable (optional) 6.5mm 25mm DRED RS485 DRED1 RS485-A1 DRED2 RS485-B1 DRED3 RS485-A1 DRED4 RS485-B1 0.3~0.4N·m REF1 RS485-A2 REF2 RS485-B2...
- Page 11 Connecting Remote Shutdown 2pin Communication Cable (optional) 6.5mm 25mm Function SC-A SC-B 0.6~0.8N·m Connecting USB Cable (optional)
- Page 12 Connecting RS485 5pin Communication Cable (optional) 6.5mm 25mm Function RS485-A1 RS485-B1 RS485-A1 0.6~0.8N·m RS485-B1...
- Page 13 Installing Communication Module Power On 1. If it displays Select Country/Region on the LCD when you power on the equipment for the first time, you can set the safety country via the LCD or SolarGo APP. For more details, refer to Commissioning part. For other settings, please refer to the user manual. User Manual 2. Observe the indicators to check the inverter status. If any fault exists, please refer to the Troubleshooting part in the user manual. Inverter PV String AC Switch Grid PV String DC Switch...
- Page 14 Indicator Status Description Steady Green Power On Power Power Off The power grid is working properly. The Steady Green inverter is on grid. Off grid Single Green Operating Self-check before grid tying. Blinking Slowly Single Green The inverter is to be grid-tied. Blinking Quickly Steady Green The wireless monitoring is normal. Single Green WiFi module reset or restore. Blinking Quickly Double Green Not connected to the router Blinking SEMS Quartic Green Not connected to the monitoring Blinking website Single Green RS485 working normally Blinking Slowly The WiFi module is restoring. Steady Red System Fault. Faulty No Fault. Commissioning Commissioning via LCD Select the right safety country via LCD if the inverter is equipped with an LCD.
- Page 15 Commissioning via SolarGo APP Note 1. Search for “Solar Go APP” in Google Play or App Store. 2. Operation steps are the same for Android system and iOS system, although the two interfaces are slightly different. The introduction here is based on SolarGo App Android system. 3. Log in using the initial password for the first time and change the password as soon as possible. To ensure account security, you are advised to change the password periodically and keep the new password in mind. Bluetooth: SOL-BLE******** WiFi: SOL-WiFi******** WiFi initial password: 12345678 Scan the QR Code on the equipment if you need to use GPRS or 4G. * are the last 8 digits of the inverter SN. VIRGIN 4:21 PM 100% Grid connection parameters Basic setting Connection Jump off setting Safety option VDE4110 Grid connection Triangle Grid (3W/PE)
- Page 16 340-00559-01 SEMS Portal App GOODWE Official SolarGo App Website JIANGSU GOODWE POWER SUPPLY TECHNOLOGY CO.,LTD No. 90 Zijin Rd., New District, Suzhou, 215011, China www.goodwe.com service@goodwe.com...
Need help?
Do you have a question about the SMT Series and is the answer not in the manual?
Questions and answers