Table of Contents
Advertisement
Quick Links
Advertisement
Table of Contents

Subscribe to Our Youtube Channel
Related Manuals for Arrows Hobby Husky


Summary of Contents for Arrows Hobby Husky
- Page 1 1800MM HUSKY OPERATING MANUAL...
- Page 2 WARNING: This manual contains important information that will help you maintain and operate your model aircraft in a reliable and safe manner. Please read the instructions and warnings carefully prior to assembly, setup or use. As this model aircraft is a sophisticated hobby product, it must be flown with safety and common sense in mind, failure in doing so may result in injury or property damage.
-
Page 3: Table Of Contents
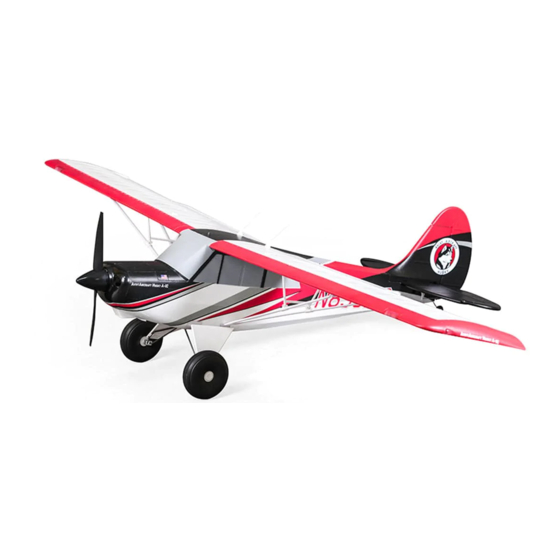
Introduction The Husky is a PA-18 inspired, high-winged light utility aircraft which made its first flight in 1986. Arrows Hobby has recreated this backcountry workhorse- from rivet lines and body panels to the predictable STOL flight characteristics- without overlooking any detail when creating the 1800mm Husky. -
Page 4: Model Assembly
Model assembly Installation of the landing gear set 1. With the fuselage inverted, slide the 2. Slide the landing gear retainers into the landing gear into the fuselage slots as shown. fuselage slots and secure the assembly using the included screws. Wing installation 1. - Page 5 Model assembly Wing installation 3. With the fuselage inverted, connect the aile- ron servo wire then secure the wing and wing struts using the included screws. Horizontal and vertical stabilizer installation 1. Place the horizontal stabilizer onto the fuse- lage cutout. 2.
- Page 6 Model assembly Puhsrod installation 1. With the servo and elevator centered, 2. With the servo and rudder centered, con- connect the servo to the control surface using nect the servo to the control surface using a a pushrod. pushrod. Antenna installation Propeller and spinner installation 1.
-
Page 7: Battery Installation
Battery installation 1. Remove the battery hatch. 2. Remove the hook and loop tape from the fuselage. Apply the looped surface to the battery. 3. Install the battery into the fuselage- securing it with the preinstalled battery straps. Note: The weight of each battery may vary due to different manufacturing techniques. -
Page 8: Clevis Installation
Aileron Elevator Rudder Control throws The suggested control throw setting for the Husky Special Edition are as follows (dual rate setting): Tips: The maiden flight should always be flown using low rates, fly the aircraft until High Rate... -
Page 9: Before Flying The Model
Control horn and servo arm settings Horns Arms More control throw 1. The table shows the factory settings for the control horns and servo arms. Fly the aircraft at the factory settings before making changes. 2. After flying, you may choose to adjust the linkage positions for the desired control Less control throw response. -
Page 10: Flying Course
Before flying the model Always turn your transmitter on first. Install a fully charged battery in the battery bay, then connect it to the ESC. In this process, make sure that the throttle cut functionality is on, and that the throttle stick is secured in its lowest position otherwise, the propeller/fan will engage and possibly cause bodily harm. -
Page 11: Troubleshooting
Troubleshooting Problem Possible Case Solution Aircraft will not respond to • ESC is not armed. • Lower throttle stick and throttle trim to lowest the throttle but responds to • Throttle channel is reversed. settings. other controls. • Reverse throttle channel on transmitter. •...
Need help?
Do you have a question about the Husky and is the answer not in the manual?
Questions and answers