Advertisement
MR4-C-S
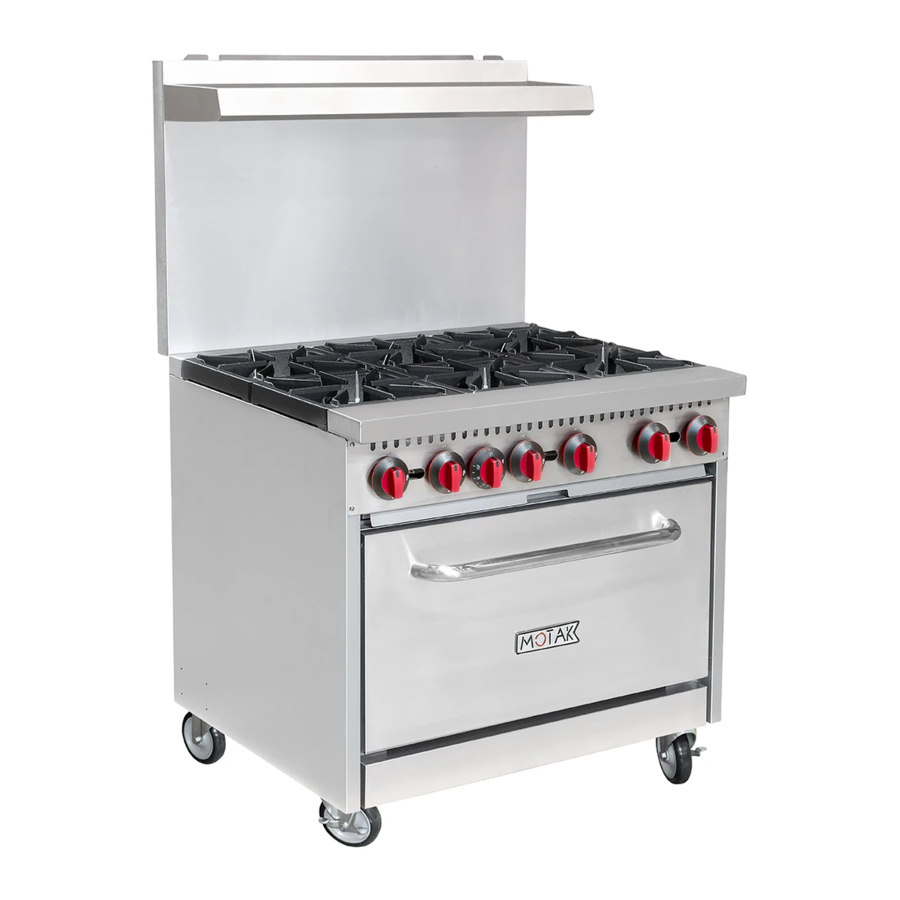
MR6-C-S
MR10-C-S
MR10-C
This manual contains important information regarding your MOTAK unit. Please read the
manual thoroughly prior to equipment set-up, operation and maintenance. Failure to comply
with regular maintenance guidelines outlined in the manual may void the warranty. Improper
installation, adjustment, alteration, service or maintenance can cause property damage, injury
or death. Read this manual thoroughly before installing or servicing this equipment.
For Warranty Service Call: 833-474-0367
GAS RANGE MANUAL
GAS RANGES WITH GRIDDLES
Models:
MR4
MR6
MR10
MR4-C
MR6-C
MR6-G24-C-S
MR10-G24-C-S
MR10-RGB24-C-S
MR6-G24
MR10-G24
MR10-RGB24
MR6-G24-C
MR10-G24-C
MR10-RGB24-C
MUST READ!
1
Range Owner's Manual 20201109
Advertisement

Subscribe to Our Youtube Channel
Related Manuals for Motak MR4-C-S

Summary of Contents for Motak MR4-C-S
- Page 1 MR10-G24-C MR10-C MR10-RGB24-C This manual contains important information regarding your MOTAK unit. Please read the manual thoroughly prior to equipment set-up, operation and maintenance. Failure to comply with regular maintenance guidelines outlined in the manual may void the warranty. Improper installation, adjustment, alteration, service or maintenance can cause property damage, injury or death.
-
Page 2: Table Of Contents
Congratulations! You have purchased one of the finest pieces of commercial cooking equipment on the market. You will find that your new equipment, like all MOTAK equipment, has been designed and manufactured to meet the toughest standards in the industry. Each piece of MOTAK equipment is carefully engineered, and designs are verified through laboratory tests and field installations. - Page 3 ✓ Any self-modification, wrong installation, adjustment or maintenance can lead to property loss or casualty. Please contact the manufacturer for any adjustment or maintenance, and have the work done by a trained & qualified person. ✓ For your safety, please keep the machine away from any liquid, gas or other object which is flammable or explosive.
-
Page 4: Specifications
Contact your local representative or MOTAK first. 3. Select a location for the Range that has a level, solid, nonskid surface that is nonflammable and away from water hazards or sinks and is in a well-lighted work area away from children and visitors. - Page 5 9. There must be adequate clearance for removal of the front panel. All major parts except the burners are removable through the front if the gas is disconnected. 10. A manual gas valve should be installed upstream of the device where is easy to reach to shut off the fuel supply to the range in the event of an emergency.
-
Page 6: Precautions & Recommendations
Checking For Gas Leaks: Use of a gas leak detector or a soapy water solution is recommended for locating gas leaks. Matches, candle flame, or other sources of ignition shall not be used for this purpose. Check entire piping system for leaks. DO NOT use an open flame to check for leaks. -
Page 7: Operation
OPERATION Control Panel: (Top Section View) Burner Knobs Oven Thermostat Crumb Tray Pilot Adjustment Valves Top Burners: 1. Connect the gas supply and ignite the pilot flame with a lighter. During the first use or when device has not been used in a long time, it is normal that the duration of ignition may be a little longer (about two or three minutes). - Page 8 If the pilot flame appears larger than necessary, turn it down and retest the burner ignition. The pilot flame should be as small as possible but large enough to guarantee reliable ignition of the burners when the knobs are turned to “ON”.
-
Page 9: Routine Inspection
OPERATING THE OVEN: Before using, please clean the oven and range completely. Remove all the packing materials and film. Before cleaning the stainless steel accessories, make sure the detergent is suitable for stainless steel surface cleaning and contains no corrosive substances. Then dry the range with clean cloth. For first use, the duration of ignition may be a little longer due to the air existing in the new pipe. -
Page 10: Cleaning & Maintenance
Cleaning & Maintenance ✓ Before cleaning, please turn off the range and the gas valve upstream. ✓ Please clean the burners and tray for crumbs and debris regularly. ✓ Clean the stainless steel surface with non-corrosive detergent suitable for stainless steel every day and rinse it completely. - Page 11 Recommended Cleaning of the Griddle • DO NOT use any abrasive or flammable cleaning fluids. • DO NOT hose down, immerse, or pressure wash any part of the Griddle, excluding the catch tray. NEVER use a scrubber pad (on all exterior surfaces, except the griddle plate), steel wool or abrasive material, or cleaners containing chlorine, iodine and ammonia, or bromine chemicals as these will deteriorate the stainless steel and shorten the life of the unit.
-
Page 12: Trouble Shooting
Trouble Shooting Symptoms Causes Solutions 1. The gas pressure is not 1. Adjust the pressure regulator to sufficient. get a proper pressure. 2. The nozzle is blocked. 2. Unblock the nozzle. The pilot flame cannot be 3. Connection of the 3. - Page 13 THIS PAGE LEFT BLANK INTENTIONALLY Range Owner’s Manual 20201109 For Warranty Service Call: 833-474-0367...
- Page 14 THIS PAGE LEFT BLANK INTENTIONALLY Range Owner’s Manual 20201109 For Warranty Service Call: 833-474-0367...
- Page 15 THIS PAGE LEFT BLANK INTENTIONALLY Range Owner’s Manual 20201109 For Warranty Service Call: 833-474-0367...
- Page 16 When service is needed, contact an MOTAK Authorized Service Agency, or your dealer. To avoid confusion, always refer to the Model Number, Serial Number, and the Gas Type of your unit.
Need help?
Do you have a question about the MR4-C-S and is the answer not in the manual?
Questions and answers
What size or type of thermocouple goes in the MR10-C-S 60” gas range/10 burners?
The specific size or type of thermocouple compatible with the Motak MR10-C-S 60” gas range is not provided in the available information.
This answer is automatically generated