Advertisement
Network Setup Instruction
Connect the network cable and power on
Step 1. Connect Network Cable
Obtain IP Address
1. Press Menu on Control Panel
Menu
Set Date and Time from Web Browser
Step 1. Open Internet browser / Type in Printer IP Address
IP Address
Setup the Mail Server
Step 1. Click on Properties tab
Step 2. Connect Power Cord
2. Select Information tab
Menu
System
Copy
ID Card Copy
Scan
Report
Information
a.
Properties
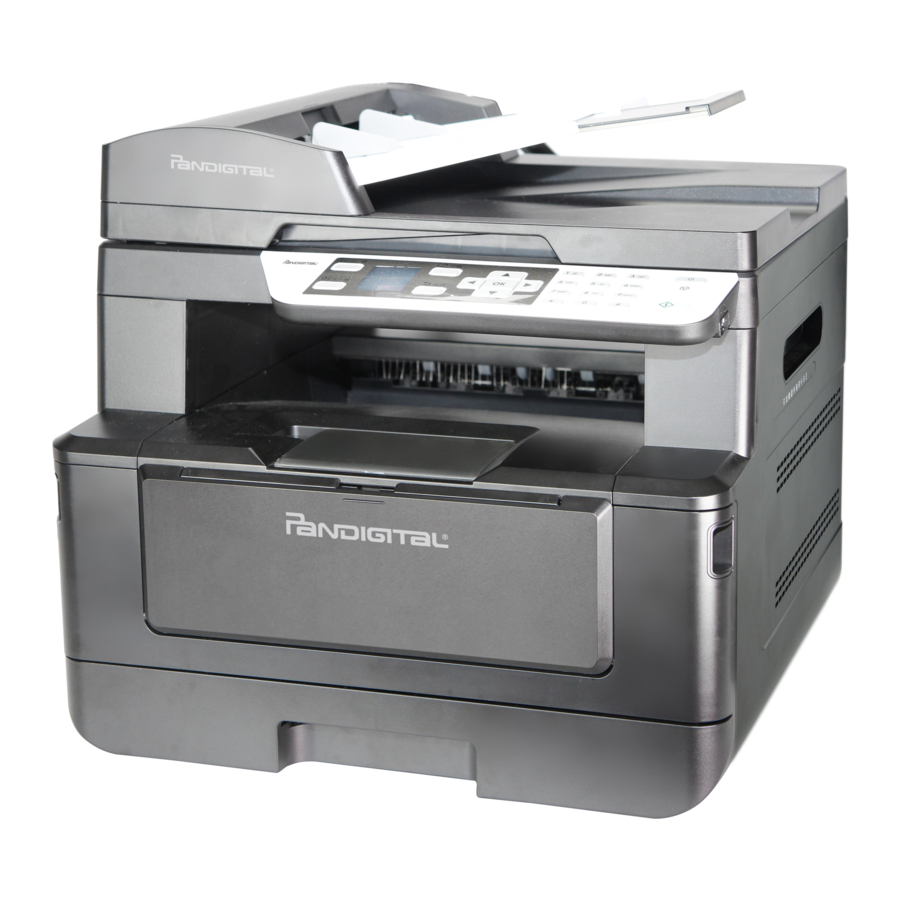
M1 MFP Network Laser Printer
Step 3. Press the Power Button
3. Select IP Address tab
Information
Host Name
IP Address
SSID
LAN MAC
Wi-Fi MAC
Step 2. Click on Systems Settings tab to Edit
System Settings
a.
b.
Date and Time
Step 2. Click on left side tab Network SMTP
b.
c.
Network
SMTP
4. Write down IP Address
IP Address
xx.xx.xx.xx
d.
1
Advertisement
Table of Contents

Subscribe to Our Youtube Channel
Related Manuals for Pandigital M1


Summary of Contents for Pandigital M1
- Page 1 M1 MFP Network Laser Printer Network Setup Instruction Connect the network cable and power on Step 1. Connect Network Cable Step 2. Connect Power Cord Step 3. Press the Power Button Obtain IP Address 1. Press Menu on Control Panel 2.
- Page 2 Pandigital M1 MFP Network Laser Printer Create Your Address Book Step 1. Click on Properties, then click address Step 2. Type in the address book contact Properties Add New Address Book Individual Create Filing Profiles Step 1. Click on Properties, then click FTP/CIFS Setup Step 2.
Need help?
Do you have a question about the M1 and is the answer not in the manual?
Questions and answers