
Subscribe to Our Youtube Channel
Related Manuals for DeDietrich DOD1278B


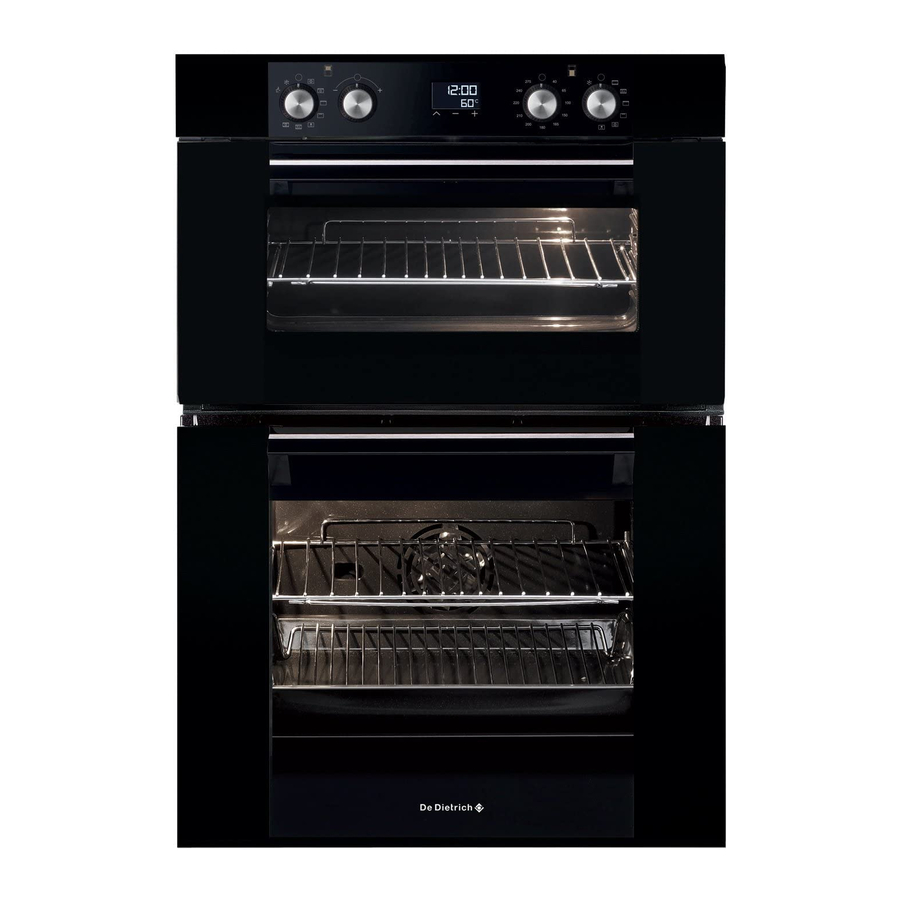
Summary of Contents for DeDietrich DOD1278B
- Page 1 FR GUIDE D'INSTALLATION EN GUIDE TO INSTALLATION Four De Dietrich De Dietrich Oven...
- Page 2 Dear valued customer, To discover a D D e e D D i i e e t t r r i i c c h h product is to experience the range of unique emotions which only high-value items can produce. The attraction is immediate, from the moment you set eyes on the product.
-
Page 3: Table Of Contents
TABLE OF CONTENTS 1 / NOTICES TO THE USER • • Safety instructions _________________________________________ • • Caring for the Environment __________________________________ 2 / INSTALLING YOUR APPLIANCE • • Choice of location __________________________________________ • • Build-in ___________________________________________________ • • Electrical connection _______________________________________ •... -
Page 4: Safety Instructions
1 / NOTICES TO THE USER — When in use, the appliance becomes hot. Important Be careful not to touch the heating elements Keep this user guide with your located inside the oven. appliance. If the appliance is ever sold or —... -
Page 5: Caring For The Environment
1 / NOTICES TO THE USER — Never use steam or high-pressure devices to clean the oven (electrical safety requirement). — For your safety, your oven is equipped with an AUTOMATIC STOP, if you forget to turn off your oven by mistake. After 23 hours and 30 minutes of continuous use, the AS (Automatic Stop) feature will be activated and your oven will turn itself off. -
Page 6: Choice Of Location
2 / INSTALLING YOUR APPLIANCE fig.1 • • CHOICE OF LOCATION • • BUILD-IN The above diagrams show the dimensions of a To do this: cabinet that will be able to hold your oven. 1) Remove the rubber screw covers to access The oven can be installed in a cabinet column the mounting holes. -
Page 7: Electrical Connection
2 / INSTALLING YOUR APPLIANCE lectrical connections The electrical connections are made before the oven is installed in its housing. ➀ • The fuse for your installation must conform to the table shown opposite. • Where the oven is connected using a separate plug and socket this must be accessible after the oven has been installed. -
Page 8: Changing The Power Supply Cable
2 / INSTALLING YOUR APPLIANCE Warning We cannot be held responsible for any accident resulting from inexistent, defective or incorrect earthing. If the electrical installation in your residence requires any changes in order to hook up your appliance, contact a professional electrician. If the oven malfunctions in any way, unplug the appliance or remove the fuse corresponding to the sector where the oven is hooked up. -
Page 9: Description Of Your Appliance
3 / DESCRIPTION OF YOUR APPLIANCE • • ACCESSORIES depending on the model) • • Safety grid with handle (fig.1) Rear Equipped with a handle at the front to make it easy to grasp. The grid can be used to hold all dishes and moulds containing foodstuffs to be cooked or browned. - Page 10 3 / DESCRIPTION OF YOUR APPLIANCE • • ACCESSORIES depending on the model) • • Multi-purpose 5 mm dish (fig.4) This serves as a cake dish and has a sloped edge. It is used for cooking pastries such as cream puffs, meringues, cup cakes, puff pastry, etc.
-
Page 11: Caring For And Cleaning Your Appliance
4 / CARING FOR AND CLEANING YOUR APPLIANCE CLEANING THE OUTER SURFACES • • To clean both the electronic programmer window and the oven door, use a window washing product applied to a soft cloth. Do not use abrasive creams or scouring sponges. Warning Do not use abrasive cleaning products or hard metallic scrapers for... -
Page 12: Self-Degreasing Catalytic
4 / CARING FOR AND CLEANING YOUR APPLIANCE SELF-DEGREASING CATALYTIC • • enamelled oven) - This oven is composed of an enclosure fitted with detachable walls covered with a special microporous enamel (catalytic enamel), which provides its self-degreasing properties. As soon as dirt appears, it spreads out and is dispersed into the microporous holes. -
Page 13: What Is Pyrolysis
4 / CARING FOR AND CLEANING YOUR APPLIANCE • • WHAT IS PYROLYSIS? Warning Remove any cookware, grids and trays from the oven and clean any major spill residue before carrying out the pyrolysis. Your oven is equipped with enamelled wire shelf supports: these need to be removed before running the pyrolysis cycle. -
Page 14: Replacing The Oven Lamp
5 / ADJUSTING YOUR APPLIANCE REPLACING THE OVEN LAMP • • Warning Make sure appliance Light disconnected from the power before replacing the lamp in order to avoid the risk of electric shock. Change the lamp only when the appliance has cooled down. The lamp is accessible: fig.1 I I n n s s i i d d e e t t h h e e o o v v e e n n ( ( f f i i g g . -
Page 15: Troubleshooting
6 / TROUBLESHOOTING I I f f y y o o u u h h a a v v e e a a d d o o u u b b t t a a b b o o u u t t t t h h e e c c o o r r r r e e c c t t f f u u n n c c t t i i o o n n i i n n g g o o f f y y o o u u r r o o v v e e n n , , this does not necessarily mean that there is a malfunction. -
Page 16: After-Sales Service
7 / AFTER-SALES SERVICE • SERVICE CALLS Any repairs that are made to your appliance must be handled by a qualified professional authorised to work on the brand. When you call, mention your appliance’s complete reference (model, type, serial number). This information appears on the manufacturer’s nameplate (fig.1).
Need help?
Do you have a question about the DOD1278B and is the answer not in the manual?
Questions and answers