Advertisement
Quick Links
INSTALLATION MANUAL
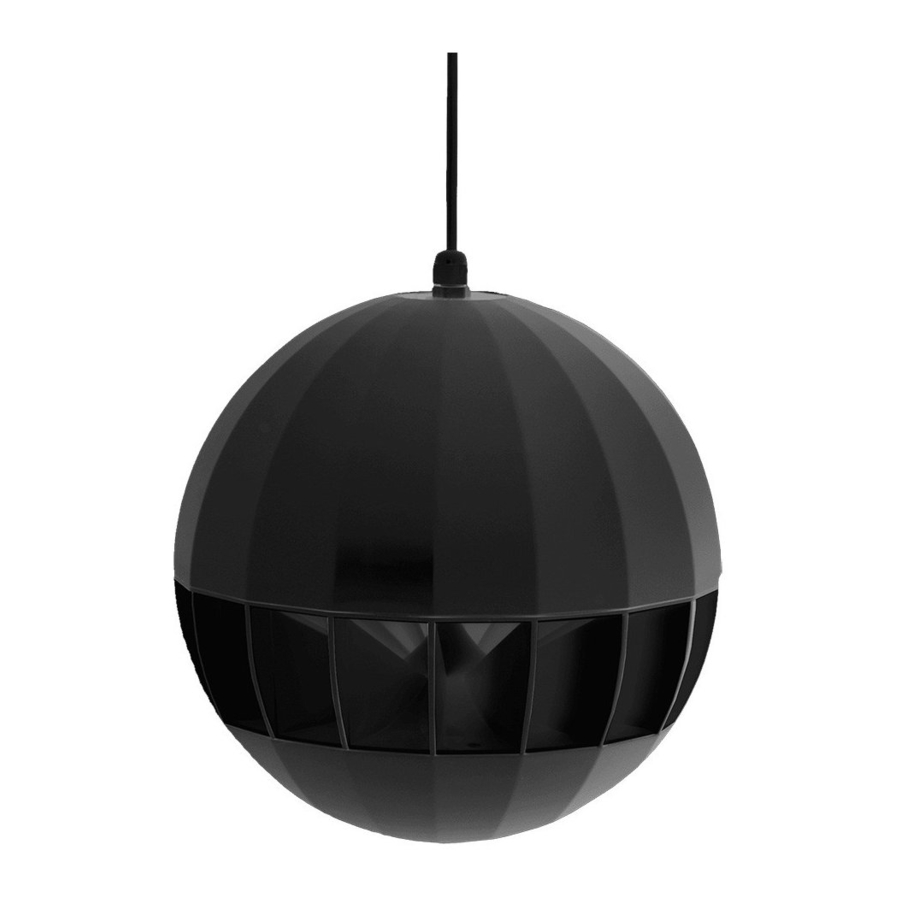
ASP20 SPHERICAL HANGING SPEAKER
STEP 1
STEP 2
STEP 3
STEP 4
STEP 5
The ASP20 comes with a fixed connection cable with a length of 3.5
meters. The connection cable consists of 5 copper cores whereby the
desired power tapping can be selected and a steel core for safe & secure
mounting and suspension of the speaker.
Slide the ceiling cover cap over the connection wire and put the
connection cable through the bottom hole of the included plastic wire
holder as shown in the drawing. Feed the cable through until the
required cable length for suspending is reached. Then pull the cable
through the second hole (middle one) until it is tight.
Cut the excess length of the cable to the desired length for reaching the
connection box, and remove the outer jacket for about 10 centimeters.
Once the outer jacket is removed, terminate the steel safety wire with
a loop whereby it can be hung to the included snap hook. Termination
of the steel core is done by inserting into the screw cable clamp, pulling
it through and insert it on the other end so a loop is made. Tighten the
screw afterwards.
Hang the speaker to the provided point on the ceiling and fix it by
suspending the plastic wire holder to it using the included snap hook.
Make sure the suspension point can structurally support the weight
of the speaker and choose the fasteners depending on the mounting
surface (concrete, wooden, steel, ...).
Connect the speaker. The correct power tapping is chosen by connecting
the appropriate conductors to the wires coming from the amplifier. A
description of the power tap selection is shown on the sticker on top
of the loudspeaker or as follows:
•
Red: 250 Ω - 70V/20W
•
Yellow: 500 Ω - 100V/20W - 70V/10W
•
Blue: 1k Ω - 100V/10W - 70V/5W
•
Green: 2k Ω - 100V/5W - 70V/2.5W
•
Black: COM
Slide the ceiling cover over the connection and fixation parts to finish it.
Advertisement

Subscribe to Our Youtube Channel
Related Manuals for AUDAC ASP20


Summary of Contents for AUDAC ASP20
- Page 1 ASP20 SPHERICAL HANGING SPEAKER STEP 1 The ASP20 comes with a fixed connection cable with a length of 3.5 meters. The connection cable consists of 5 copper cores whereby the desired power tapping can be selected and a steel core for safe & secure mounting and suspension of the speaker.
- Page 2 INSTALLATION MANUAL ASP20 SPHERICAL HANGING SPEAKER PRECAUTIONS • IF THERE IS ANY DAMAGE TO THE CARTON BOX • ALWAYS KEEP THESE INSTRUCTIONS FOR FUTURE OR THE UNIT ITSELF, INFORM YOUR VENDOR REFERENCE. NEVER THROW THEM AWAY • ALWAYS HANDLE THIS UNIT WITH CARE IMMEDIATELY.
Need help?
Do you have a question about the ASP20 and is the answer not in the manual?
Questions and answers