Table of Contents
Advertisement
Quick Links
WARRANTY SHEET
Final inspection:
Name:
Signature:
The product is under warranty for period of
24 months after date of purchase.
The warranty covers faulty material and
processing defects.
Warranty conditions:
1.
The product can be used entirely for the purpose it is designed and the instructions in the user guide must
be followed.
2.
The product has to be properly used, cleaned and stored in accordance to the user guide instructions.
3.
The warranty does not cover: failures caused by overloading of the products, forced damage, unauthorized
changes made on the device and/or its accessories and natural wear and tear of parts, especially upholstery
dirt and damage, wear of plastic parts, brakes, tyre profile and tyre puncture.
4.
The warranty claim has to be applied by the seller or authorised service agent of the device.
5.
The properly filled warranty sheet and purchase confirmation must be declared by the warranty applica-
tion.
6.
The claim procedure can be started when the device is delivered complete and in origin packing, carefully
packed and secured against damage. The owner is committed to deliver the device cleaned, washed and
hygienic unobjectionable according general hygienic requirements. The basic maintenance and washing
cannot be expected or even requested in the claim.
7.
The warranty period does not stand for usage period, that means for the period when by correct use and
maintenance the device in accordance to its features, purpose and construction could be used.
8.
Neither producer nor its agent will be liable for any loses and injuries caused by manipulation and usage
of the product in contradiction of the "User Guide" instructions.
9.
The warranty is termined whenever the following conditions arise: the user fails to follow the instruction
mentioned in this user guide and manufacturer's storage and maintenance suggested procedures, or when-
ever the product is serviced by any other party except by the authorised service centres, or when the iden-
tification label is not sticked on the stroller and also in the warranty sheet.
Purchase date (day, month, year):
___.___.200__
Name (type), phone number, stamp, signature of seller:
USER GUIDE
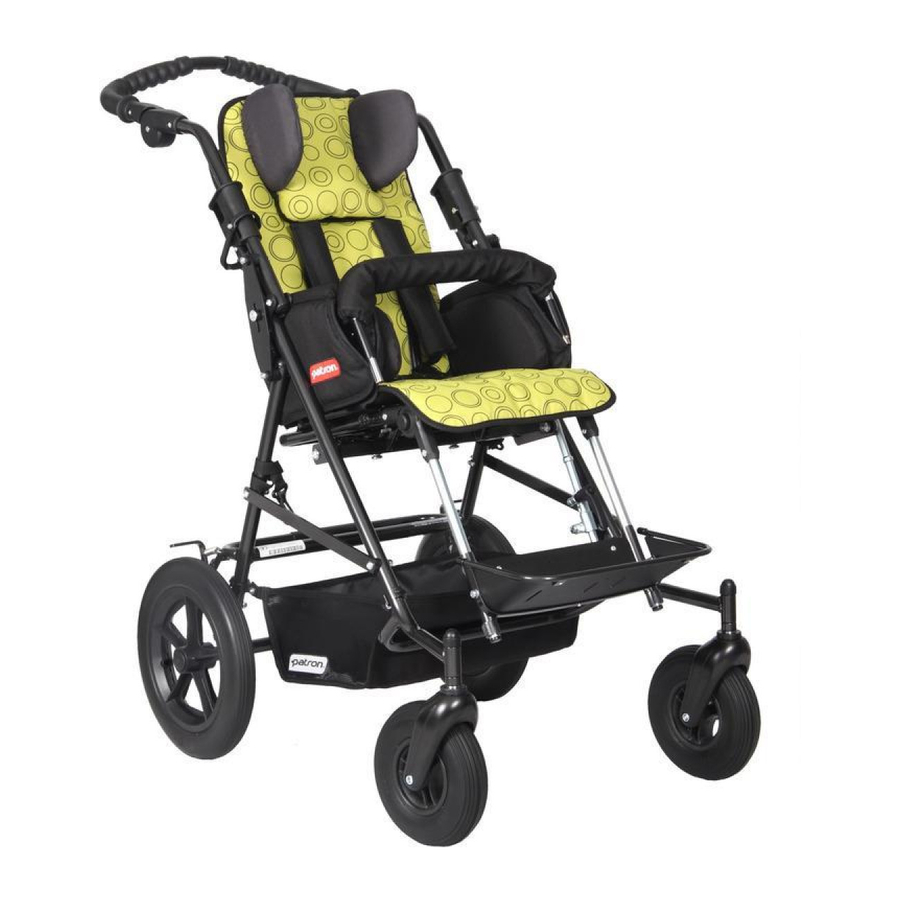
OPTIONAL ACCESSORIES - REHAB STROLLERS
(except of rehab-buggies all types)
Manufacturing and Distribution:
PATRON Bohemia a.s.
CZ- 27601 Mělník, Česká Republika
tel.: +420-315 630 111
fax.: +420-315 630 199
http:// www.patron.eu
Českolipská 3419
Info.cz@patro.eu
141124
Advertisement
Table of Contents

Subscribe to Our Youtube Channel
Related Manuals for Patron TOM4


Summary of Contents for Patron TOM4
- Page 1 Purchase date (day, month, year): Name (type), phone number, stamp, signature of seller: Manufacturing and Distribution: PATRON Bohemia a.s. Českolipská 3419 CZ- 27601 Mělník, Česká Republika tel.: +420-315 630 111 fax.: +420-315 630 199...
- Page 2 TOM4 BEN4 TOM5 Hood fit - remove the side paddings in the upper part of backrest and Hood the hood brackets put into both hood attachments on the Abductor block backrest frame, side parts of the hood upholstery fasten with plastic clips to the chassis, or unzip and put into the net pocket.
- Page 3 Alternatively, PATRON Bohemia a.s. customer department is available for products information. only PATRON Bohemia a.s. replacement parts should be used on these accessories.
- Page 4 Peel off the cover of the backrest (with Velcro). Stick the wedge of backrest to the desired height with Velcro. Stick the cover back. TOM4 TOM5 Two points imm. belt fit - fix the belt in the lowest attachments at the rear of backrest (it is...
- Page 5 Legsmuff - summer Five point fixation belt Slip the muff over the footrest and attach it by the dry zipper Mounting bands to the handle tube. Run lower straps between backrest and side cushions and run them through lower cam buckles and secure them. In case that there would be two accessories fixed in the cam buckles, run straps through cam bucklesonly once.
- Page 6 H-style harness Abduction belt Mounting - Run lower straps between backrest and side Mounting - Run the straps with velcro through these holes cushions and run them through lower cam bucklesplaced (TOM: run straps with velcro through the gap between the bac- on the back plate of the backrest, in case that there would krest upholstery and seat).
Need help?
Do you have a question about the TOM4 and is the answer not in the manual?
Questions and answers