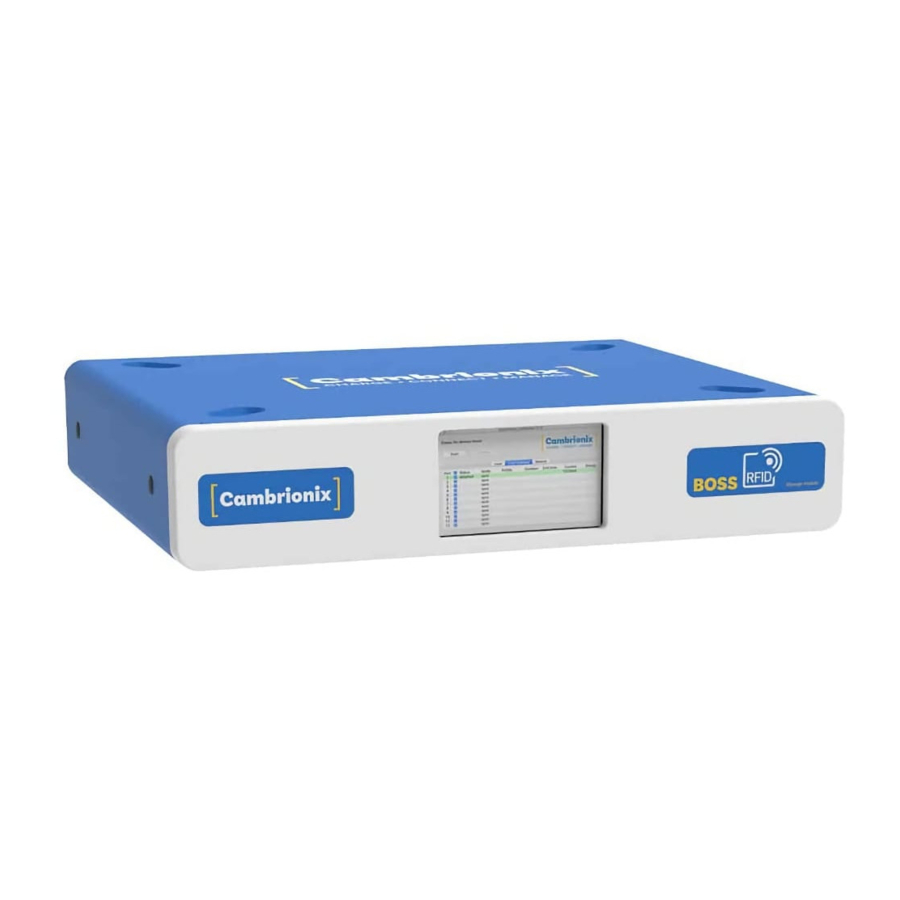
CAMBRIONIX ModIT-Boss User Manual
Hide thumbs
Also See for ModIT-Boss:
- User manual (23 pages) ,
- User manual (21 pages) ,
- User manual (23 pages)
Table of Contents
Advertisement
Quick Links
Advertisement
Table of Contents

Summary of Contents for CAMBRIONIX ModIT-Boss
- Page 1 User Manual ModIT-Boss...
-
Page 2: Table Of Contents
2.2.Safety alert symbol 2.3.Pictograms 2.4.Product modification 2.5.Power supply 2.6.Storage and Installation 3.Getting Started 3.1.What's Included 3.2.Connecting to the mains 3.3.Registration 3.4.Cleaning your ModIT-Boss 4.Installing Host System 5.Product Specifications 5.1.Input Power 5.2.Physical specifications 6.Compliance and Standards ModIT-Boss Page 2 of 15... -
Page 3: Safety
Indicates a potentially hazardous situation which, if not avoided, may result in moderate or minor (reversible) injury. Indicates a potentially hazardous situation which, if not avoided, may result in damage to the product and/ or its functions or of a property in its proximity. ModIT-Boss Page 3 of 15... -
Page 4: Safety Alert Symbol
Mandatory regulation 2.4.Product modification Cambrionix products are designed and manufactured to meet the requirements of UK and International safety regulations. Modifications to the product could affect safety and render the product non-compliant to relevant safety standards, which could result in injury or damage to the product. -
Page 5: Power Supply
Do not short circuit the Power Supply Unit (PSU) supplied with your product Do not disconnect the power cord while the product is being used Do not bend or pull the power cord with excessive force ModIT-Boss Page 5 of 15... -
Page 6: Storage And Installation
Do not place the power cord near heat sources Connect the plug to an earthed socket Damage to your Cambrionix product may occur Operate the product only in an environment where the ambient temperature is inside the operating temperature range... -
Page 7: Getting Started
3.Getting Started 3.1.What's Included 2m Mains power cable (Country specified on order) ModIT-Boss Unit 3.2.Connecting to the mains Making sure you adhere to local safety regulations, connect the power cable to the socket and switch the power supply on. 3.3.Registration You may register your product at www.cambrionix.com... -
Page 8: Cleaning Your Modit-Boss
If there is a dirt/ spillage over a ventilation slot, external data/ power connector or product aperture, please remove power from the unit without touching the liquid and contact Cambrionix immediately Ensure that the product is switched off and the power cord is removed from the product. -
Page 9: Installing Host System
Remove these using a screwdriver and slide the top of the Boss Module 4 inches, as demonstrated in the in the graphic below. The graphic below demonstrates how the product should look at this stage. Notice the highlighted yellow screws, which should all have been removed at this point ModIT-Boss Page 9 of 15... - Page 10 (highlighted in yellow) in order to remove the Mac mini chassis. Once you have removed the Mac mini chassis place your Mac mini on the circular mat (outsides highlighted below). You can then attach the mini Mac to the three wires on the left. ModIT-Boss Page 10 of 15...
- Page 11 Once the Mac mini is securely, reattach the Mac mini chassis. and the side panels in the same order that they were removed. You have now successfully installed your Mac mini into the Boss Module. ModIT-Boss Page 11 of 15...
-
Page 12: Product Specifications
5.2.Physical specifications Ambient Operating Temperature range 0-35°C Relative humidity 5% to 95% non-condensing Dimensions 445 x 89 x 370mm Weight 5.8kg Rfid operating frequency 125/132 kHz and 13.56MHz Host system space MacMini, Intel NUC, Raspberry Pi ModIT-Boss Page 12 of 15... -
Page 13: Compliance And Standards
CB Certificate Complies with EN60950 safety requirements for IT equipment FCC Part 15 Tested and marked Housed within a UL94-VO specification fire enclosure RoHS Compliant Independently safety tested by the Underwriters Laboratory (UL) under file #E346549 ModIT-Boss Page 13 of 15... - Page 14 This manual may make reference to trademarks, registered trademarks, and other protected names and /or symbols of third-party companies not related in any way to Cambrionix. Where they occur these references are for illustrative purposes only and do not represent an endorsement of a product or service by Cambrionix, or an endorsement of the product(s) to which this manual applies by the third-party company in question.
- Page 15 Cambrionix Ltd The Maurice Wilkes Building Cowley Road Cambridge CB4 0DS United Kingdom T +44 (0) 1223 755 520 E enquiries@cambrionix.com W www.cambrionix.com © 2021 Cambrionix Ltd. All rights reserved.


Need help?
Do you have a question about the ModIT-Boss and is the answer not in the manual?
Questions and answers