
Subscribe to Our Youtube Channel
Related Manuals for DaytonAudio IO8XTW


Summary of Contents for DaytonAudio IO8XTW
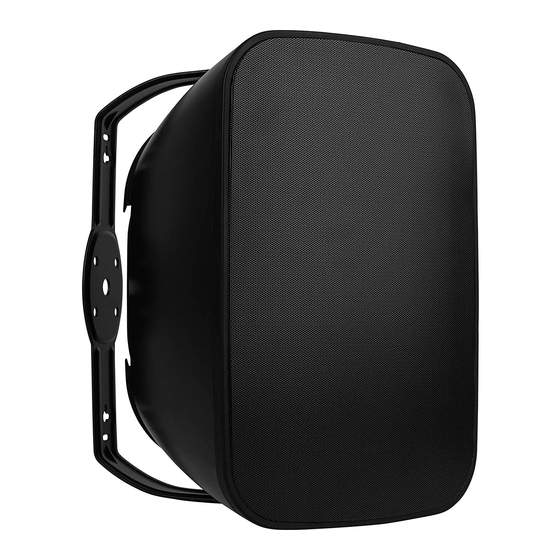
- Page 1 8" 70/100V 8 OHM INDOOR/ OUTDOOR 2-WAY SPEAKER WITH BASS RADIATOR Models: IO8XTW (White) IO8XTB (Black) User Manual...
- Page 2 Thank you for purchasing the IO8XT 8" Indoor/Outdoor Speaker. This speakers is the perfect choice for quality audio indoor or outdoor. Residential applications such as patio, pool, garden or commercial offices, bar/restaurants, hotel. The IO8XT features weath- er-resistant construction, high-quality components and exclusive acoustic tuning by Dayton Audio for optimal performance.
- Page 3 To mark the proper locations for mounting, remove the speaker mounting bracket by unscrewing the round plastic endcaps at each end of the speaker. If needed use a stud finder to locate a solid mounting area. Place the speaker mounting bracket against the mounting surface, use a level to ensure the mount is straight and mark the hole locations on the mounting surface with a pencil. If drilling is required re- move the speaker bracket from mounting surface prior to avoid any damage. Next install the speaker mounting bracket firmly to the mounting surface using the supplied mounting hardware.
- Page 4 Speaker Cable Don’t compromise your sound quality by using thin, inexpensive speaker wire. We recommend using high quality oxygen free copper two-conductor speaker cable. For low-impedance applications (8 ohm) and runs less than 50 feet we recommend 16-gauge cable, and for longer runs we recommend 14 gauge or larger cable. (Wire size is less important for 70-volt distributed audio applications but still may affect performance.) Note that most municipalities require the use of CL2 rated speaker cable for cable runs through walls and ceilings. Leave enough excess speaker cable so you can stand comfortably on the floor or ladder while connecting the speaker cable to the speakers. If mounting the speakers outdoors, you may wish to fill the hole that the speaker wire passes through with a caulking material to prevent water intrusion and air infiltration. Speaker Connection Remove about 4" of the cable jacket to expose the inner conductors. Strip ¼" of insulation from each conductor.
- Page 5 Transformer settings Depending on your application you will need to adjust the transformer settings. If you are using stereo amplifier the transformer should set to the 8 ohm position. If you are using a 70V/100V amplifier set the dial to the desired 70V/100V tap setting. Remove the endcap to expose the settings dial, this adjustment can be made with flat head screw driver. Replace the endcap once the adjustment has been made. 12.5W 100V 12.5W 100V Final Installation To install the speaker into their final location, place it into the yoke bracket and align the threaded inserts in the enclosure for the endcap screws with the matching holes in the yoke brackets, then install the endcap screws. Select an angle for the enclo- sure that will allow the entire listening area to be within line-of-sight to the tweeter dome, which is visible through the grill, and then tighten the endcap screws by hand. At this time, installation is complete.
- Page 6 Caring for your Speaker Outdoor speakers are designed to withstand outdoor environments, including incidental exposure to water. They are also designed to allow use of pressure washing or hose nozzle cleaning. Cleaning can also be done with use of a damp sponge or cloth. 10. Troubleshooting Should your speaker not work properly, check the following: No sound from speaker or quiet/strange sound: • Make certain you observed proper polarity. Check the connections at the back of the amplifier, and then at the speaker. • Most stereo receivers have an A/B speaker selector switch. Make certain that this switch is in the proper position, and that the proper audio source is selected.
- Page 7 14-3/4" 14-7/8" 9" 10-3/8" 9-7/8"...
- Page 8 5-Year Limited Warranty See daytonaudio.com for details daytonaudio.com 705 Pleasant Valley Dr. Springboro, OH 45066 tel + 937.743.8248 info@daytonaudio.com Dayton Audio Last Revised: 12/29/2020 ®...
Need help?
Do you have a question about the IO8XTW and is the answer not in the manual?
Questions and answers