
Subscribe to Our Youtube Channel
Related Manuals for Net World Sports Vermont TEACHING TENNIS BALL CART


Summary of Contents for Net World Sports Vermont TEACHING TENNIS BALL CART
- Page 1 TEACHING TENNIS BALL CART @NetWorldSports www.networldsports.co.uk / / +44 (0) 1691 683 807 / / cs@networldsports.co.uk www.networldsports.com / / 1-866-861-9095 / / cs@networldsports.com...
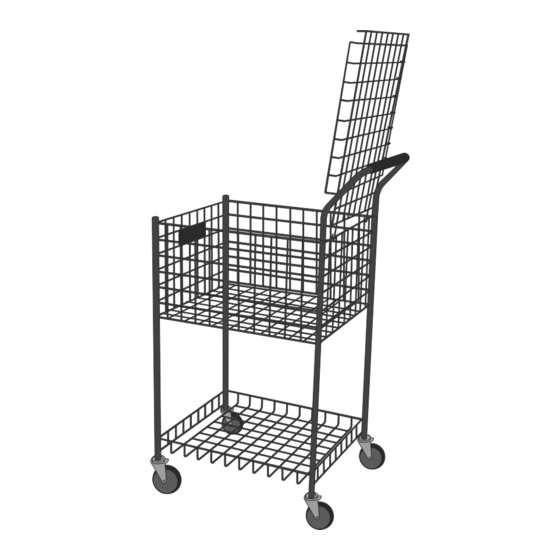
- Page 2 PARTS LIST Part D Part A Part C BACK X1 HANDLE X1 FRONT X1 Part E Part F BOTTOM TRAY X1 BASKET X1 CASTOR X4 NUTS & BOLTS HANDY EXTRAS Screwdriver Wrench Check parts for any defects prior to assembly. Do not ride on or in the ball cart, this may cause serious injury.
- Page 3 STEP 1. Fit wheels Slide one castor into each of the uprights on the back and front (parts C and D). Align the holes in the castor with the pre-drilled holes in the tubes, once this is done slide a bolt through each of the holes and secure in place with the nuts provided.
- Page 4 STEP 3. Fit back panel and handle. Slide the handle into the top of the back panel. Locate the assembled back panel over the threaded ends of the basket and tray. Once the back panel is in place screw bolts on to the threaded ends to secure the trolley together.
Need help?
Do you have a question about the Vermont TEACHING TENNIS BALL CART and is the answer not in the manual?
Questions and answers