Table of Contents
Advertisement
Quick Links
INTERFACING SOLUTIONS
PRODUCT FEATURES:
Activates Uconnect Touchscreen Radio for enabling Video features
•
Aftermarket Rear-view Camera included
•
Automatically switches to Rear-view when car is in Reverse mode
•
Forced reverse camera view feature
•
• VIM function
Plug & Play Installation
•
PARTS INCLUDED:
INSTALLATION DIAGRAM:
GRAY
22-PIN
(MALE)
GRAY
22-PIN
(FEMALE)
Crux Interfacing Solutions • 21541 Nordhoff St., Unit C, Chatsworth, CA 91311
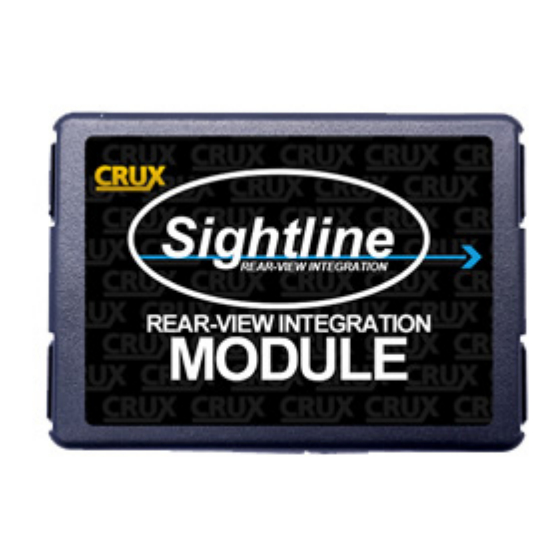
Sightline
R
Multi View Integration
RVCCH-75E Module
TO RADIO
WHITE
22-PIN
(MALE)
WHITE
22-PIN
(FEMALE)
TO FACTORY
HARNESS
(Camera Power Output
ON
DP
LED*
DIP
SWITCH
phone: (818) 609-9299 • fax: (818) 996-8188 • www.cruxinterfacing.com
for CHRYSLER & DODGE Vehicles with 8.4" Screen
RVCCH-75E Harness
RED Wire
Tape O
(Not Used)
To Source Ground
(ground wire)
(not chassis ground)
Represents Solder Joint
WHITE Wire*
+12V 250mA)
GREEN WIRE
ACTIVATE VIDEO BYPASS
*White wire does not supply Reverse Trigger on Manual Transmissions.
8-Pin Molex
Camera power must be connected to factory reverse light wire instead.
*LED RED = Power ON Status
LED BLUE = Data Bus ON Status
1 of 4
RVCCH-75E
Rear View Integration Interface
WHITE Wire
Parking Guideline
Regulator
20 Ft. Coax Cable
rev.020520
Advertisement
Table of Contents

Subscribe to Our Youtube Channel
Related Manuals for Crux RVCCH-75E


Summary of Contents for Crux RVCCH-75E
- Page 1 *LED RED = Power ON Status LED* LED BLUE = Data Bus ON Status SWITCH 1 of 4 rev.020520 Crux Interfacing Solutions • 21541 Nordhoff St., Unit C, Chatsworth, CA 91311 phone: (818) 609-9299 • fax: (818) 996-8188 • www.cruxinterfacing.com...
- Page 2 WHITE and GRAY connectors of the RVCCH-75E T-harness. Mate the YELLOW male and female video RCAs of the RVCCH-75E T-harness and the camera cable. Use the thin RED wire on the camera cable to power the camera. Connect the thin RED wire to the WHITE wire on the RVCCH-75E harness. The RED wire near the camera is not used and needs to be insulated with tape.
- Page 3 Make sure that the connectors are plugged in all the way. 5. Route the camera cable towards the radio/RVCCH-75E location. 3 of 4 rev.020520 Crux Interfacing Solutions • 21541 Nordhoff St., Unit C, Chatsworth, CA 91311 phone: (818) 609-9299 • fax: (818) 996-8188 • www.cruxinterfacing.com...
- Page 4 For radios without a separate CD slot (one piece radio) use part# RVCCH-75C. No CD slot 4 of 4 rev.020520 Crux Interfacing Solutions • 21541 Nordhoff St., Unit C, Chatsworth, CA 91311 phone: (818) 609-9299 • fax: (818) 996-8188 • www.cruxinterfacing.com...
Need help?
Do you have a question about the RVCCH-75E and is the answer not in the manual?
Questions and answers